
Double-Sided Plywood Game Board
A downloadable game
Build Log
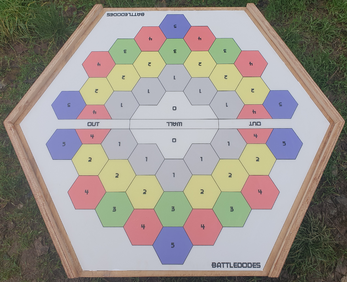
A flippable hexagonal plywood game board, including magnetic wall, raised borders, and protective epoxy. Rebuild of an earlier prototype as both games have changed:
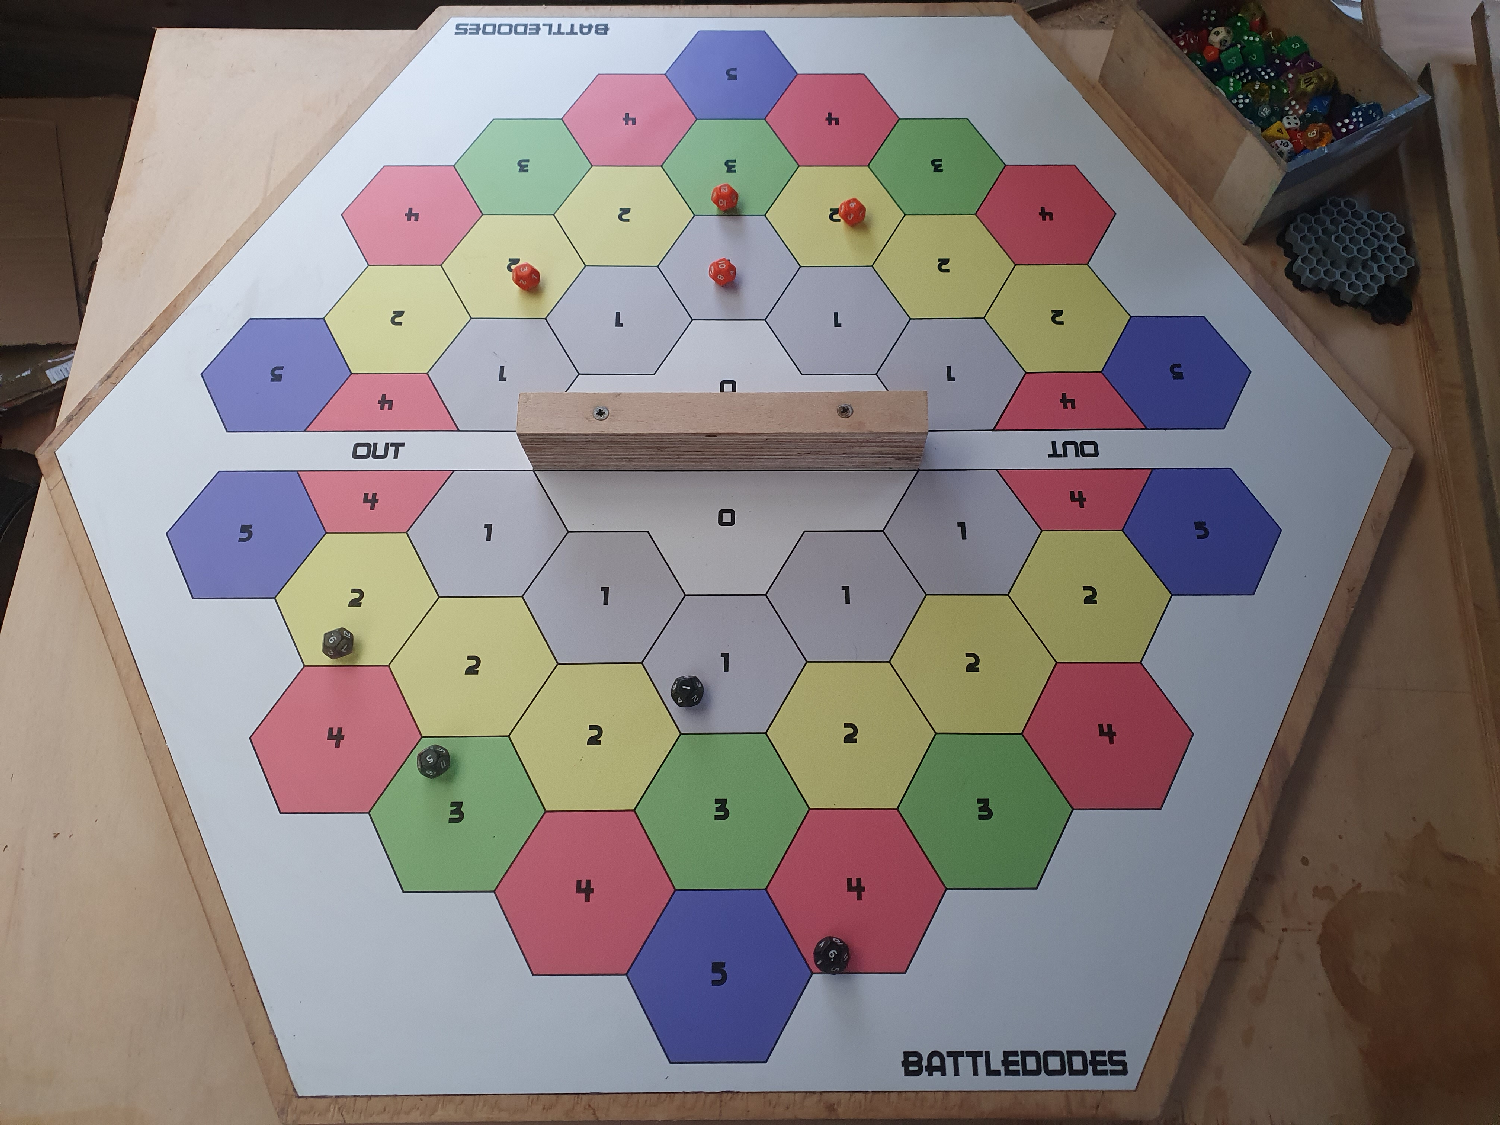
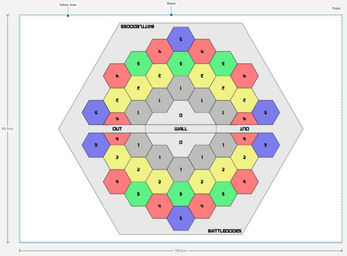
- Side A: Battledodes
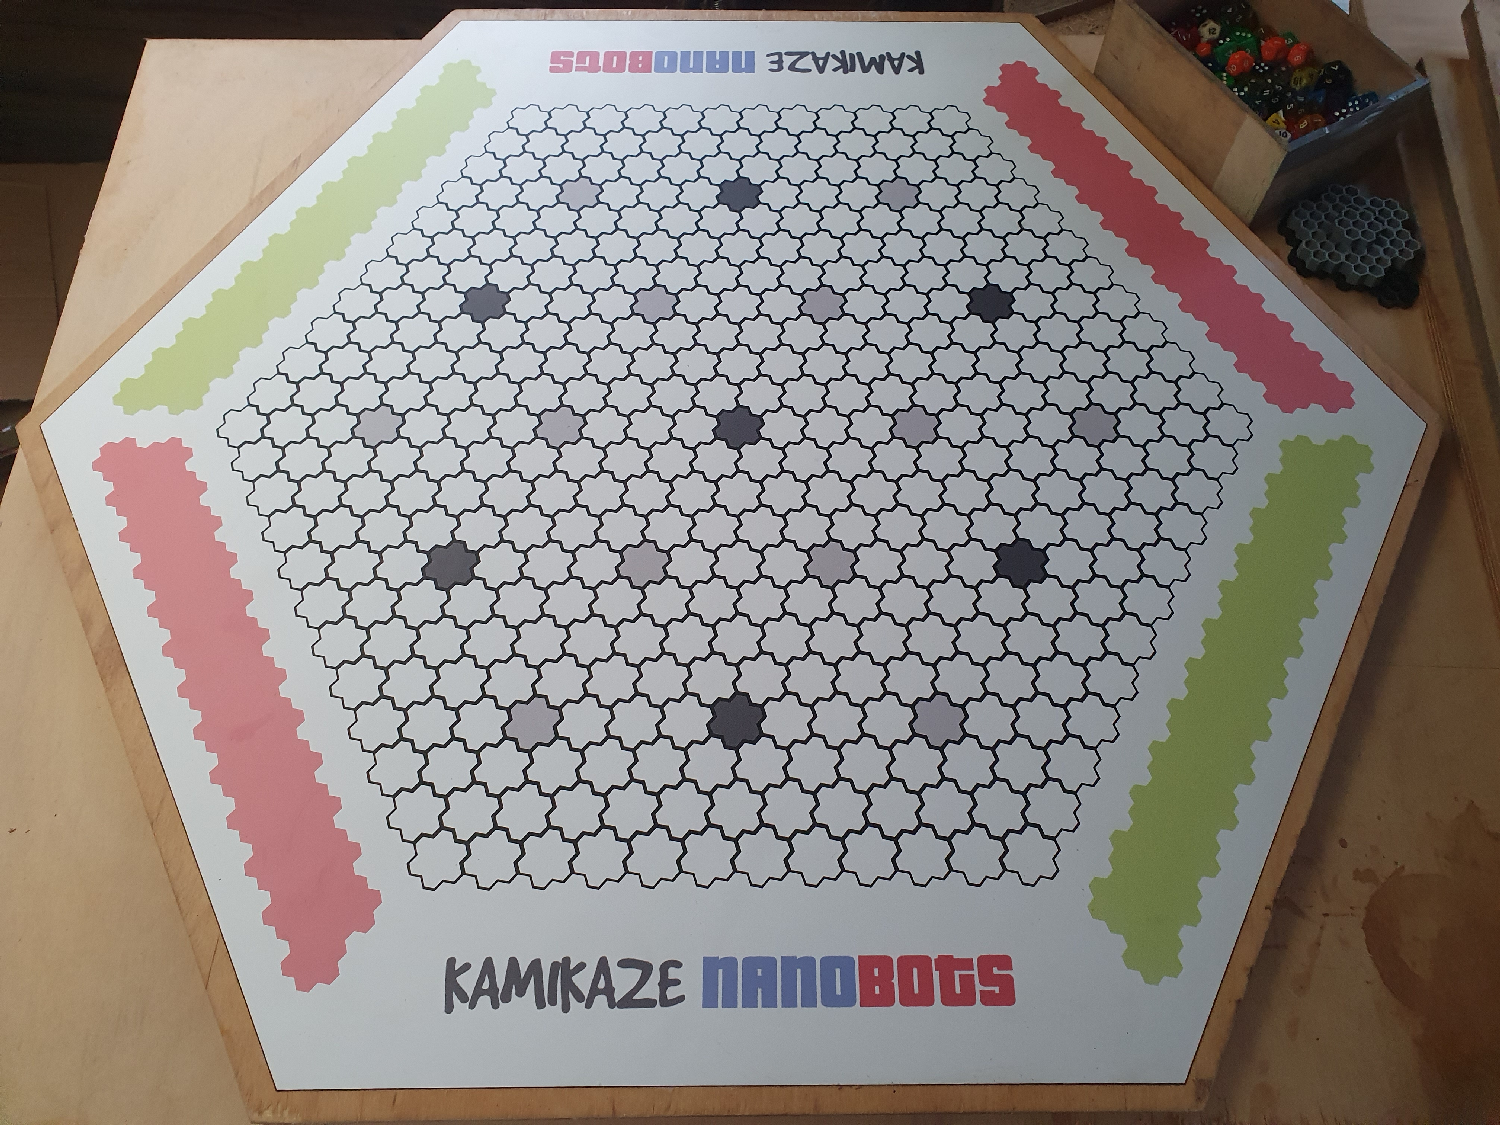
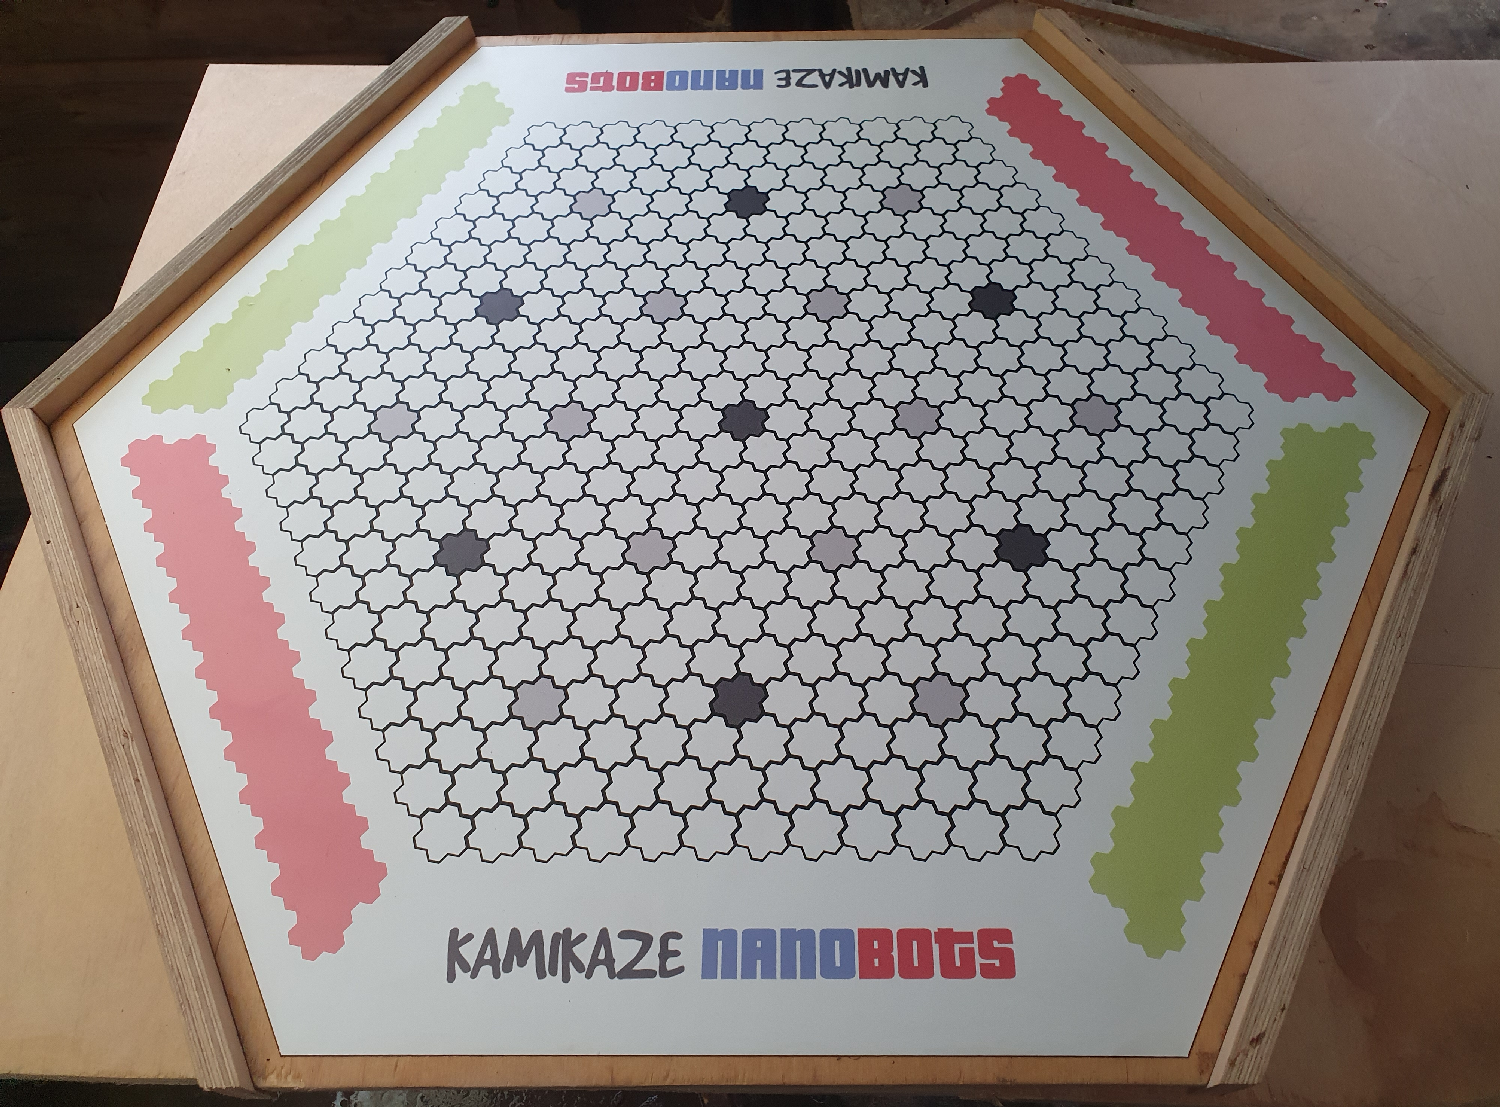
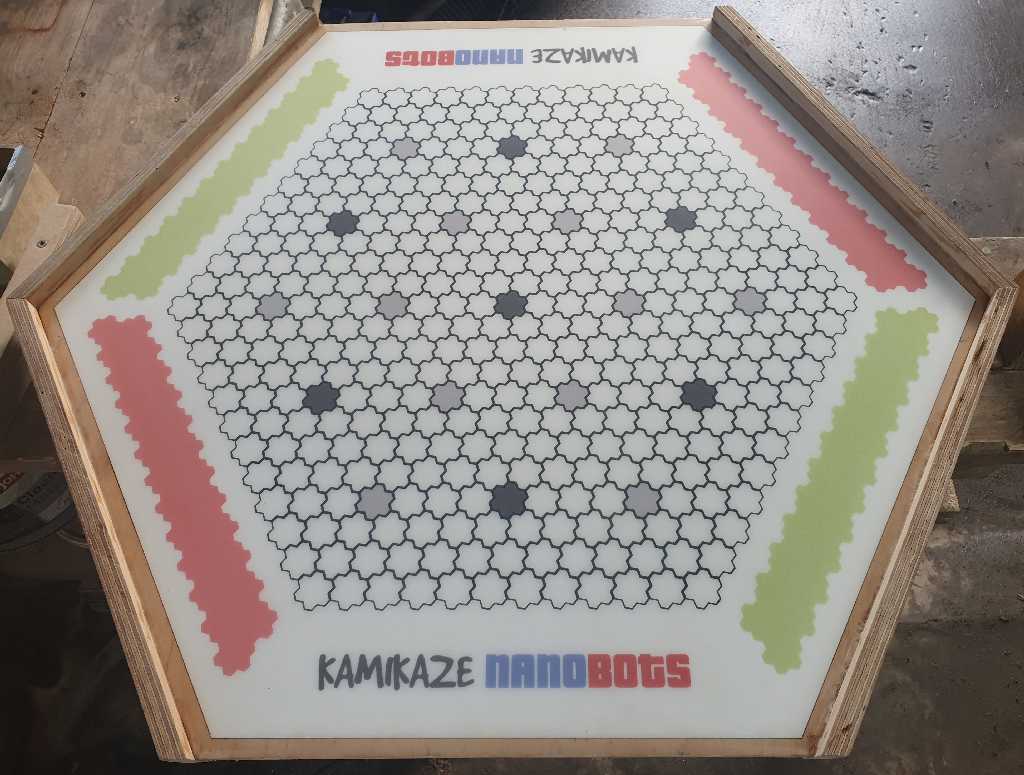
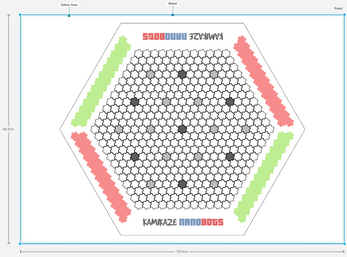
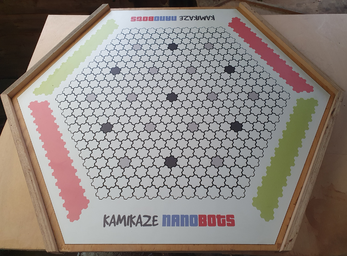
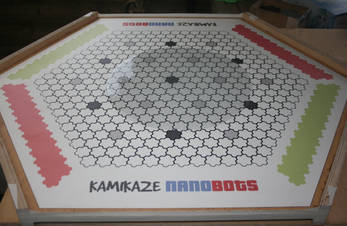
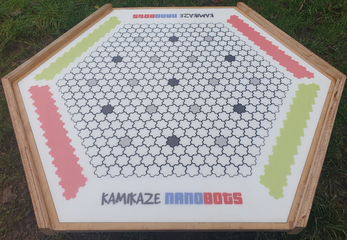
- Side B: Kamikaze Nanobots
Note: This page is purely informational. Do not attempt any build yourself if you lack the skills and experience required. Commission a professional. I'm an amateur with no qualifications.
Elements
- Build Sheet
- Base Board
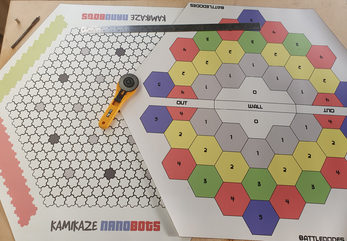
- Print Cutouts
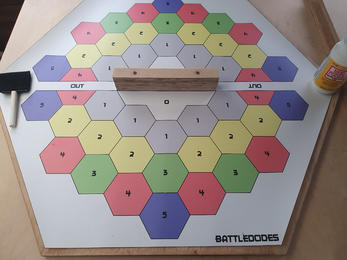
- Side A: Battledodes
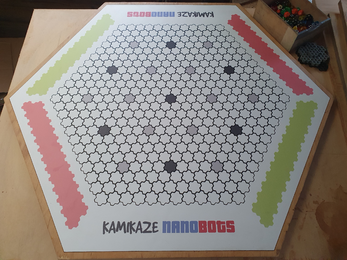
- Side B: Kamikaze Nanobots
- Raised Borders
- Epoxy Tops
- Finish
- Table Stand
Build Sheet
Materials
- Battledodes A0 print - £23 (online print store)
- Kamikaze Nanobots A0 print - £23 (online print store)
- Full-sized 18mm hardwood plywood sheet (2440 x 1220mm) - £44
- This could make three game boards
- 6 disk magnets (10 x 2mm) - £3
- Now recommend 8-10 magnets (or 15 x 3mm)
- 1.3L clear epoxy - £32
Supplies
- Sponge brushes/medium-ply rollers
- 20 wood screws (40mm long)
- Sand paper/blocks (120-320 grit)
- Strong wood glue
- Masking tape
Tools
- Electric screwdriver + wood drill bits
- Circular saw (with angle setting)
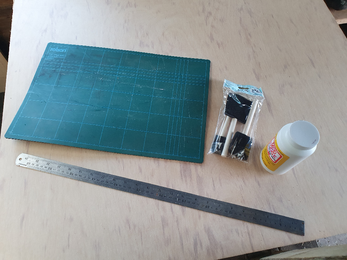
- Hobby cutting board + roller cutter
- 60cm metal ruler + measuring tape
- Heatgun/blowtorch
- Plastic spatula
- Wood clamps
- Level
Base Board
The main playing area is a regular hexagon 938 x 812mm, leaving a thin border around the game prints (shown in grey - 900 x 780mm):
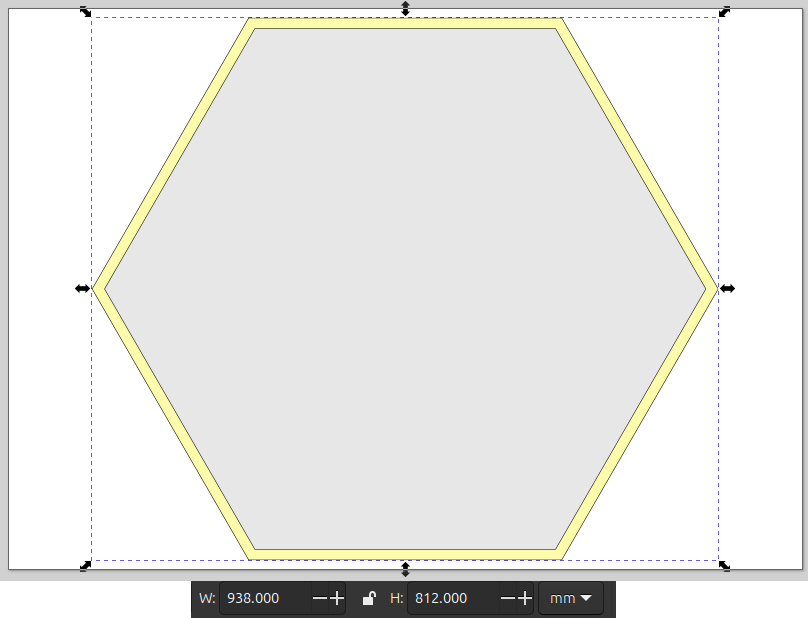
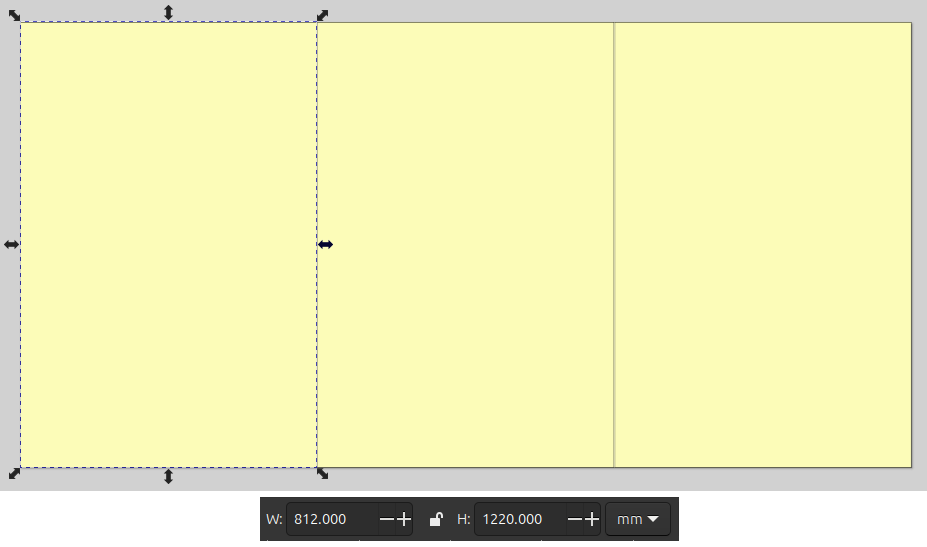
This makes the most of the plywood. The original sheet (2440 x 1200mm) was cut into equal thirds at the lumber yard, each 812 x 1220mm:
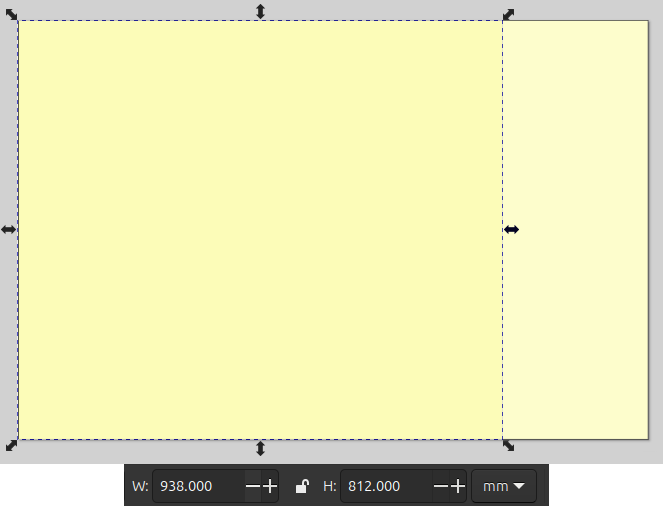
Trim one of these to a rectangle 938 x 812mm (the excess will be used later in the build):
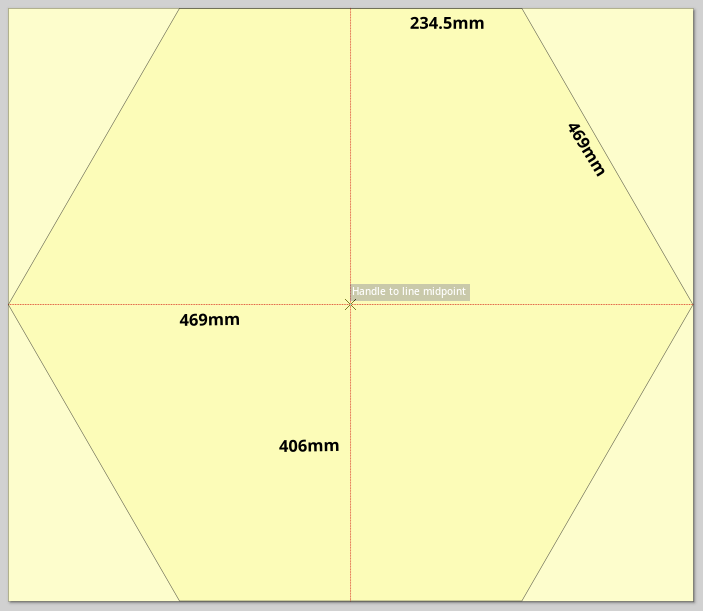
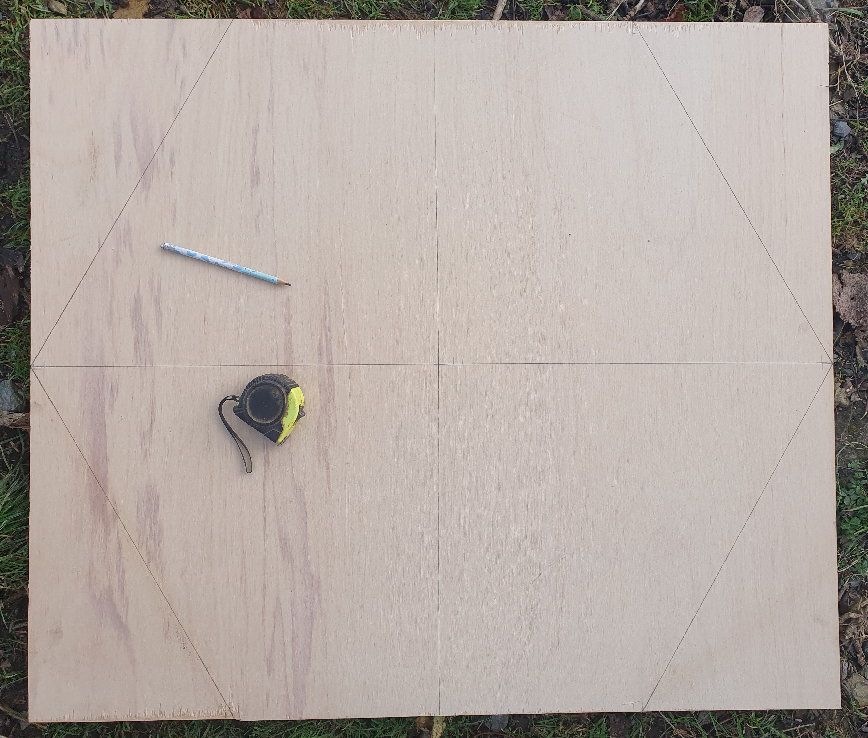
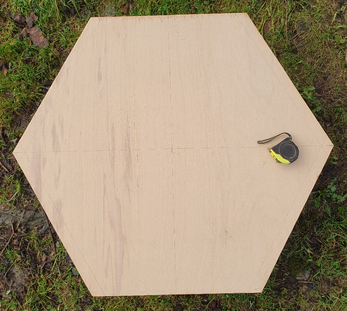
Mark the halfway point on each side and draw the quadrants (red lines).
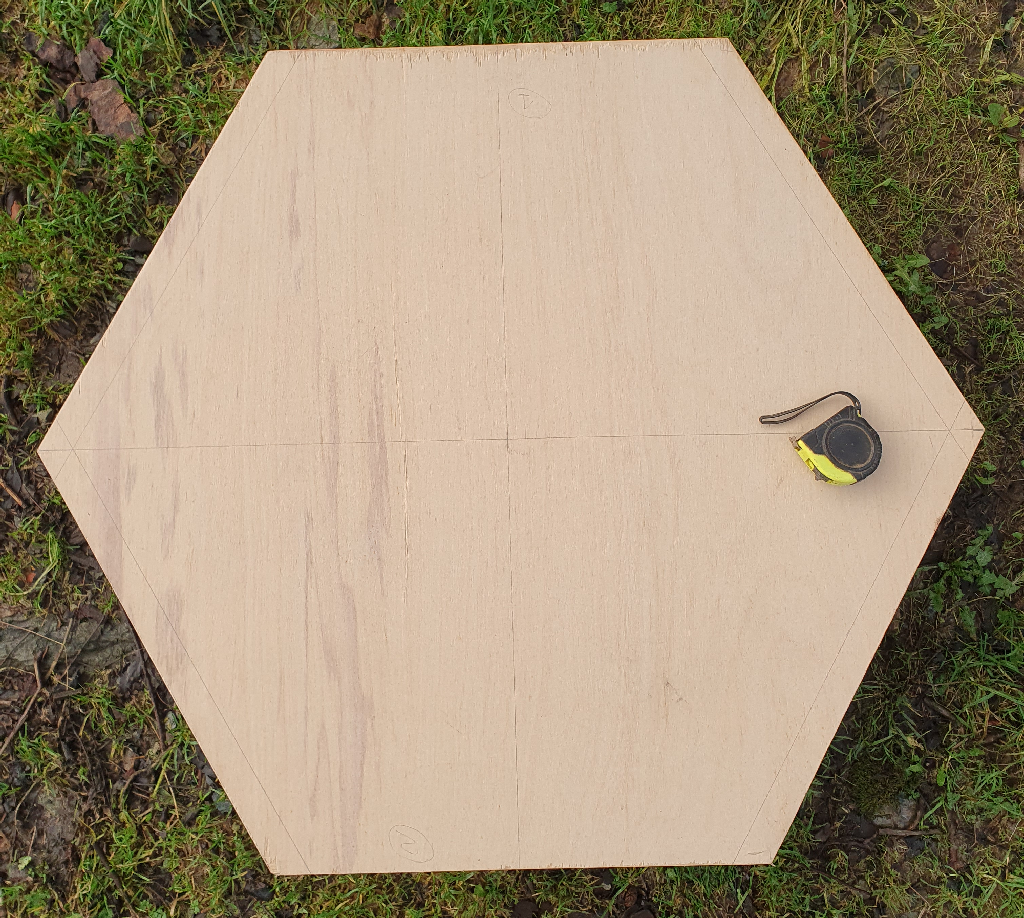
All hexagon sides are 469mm wide, so mark 234.5mm either side of the top and bottom midpoints and draw the board outline:
Initial draw:
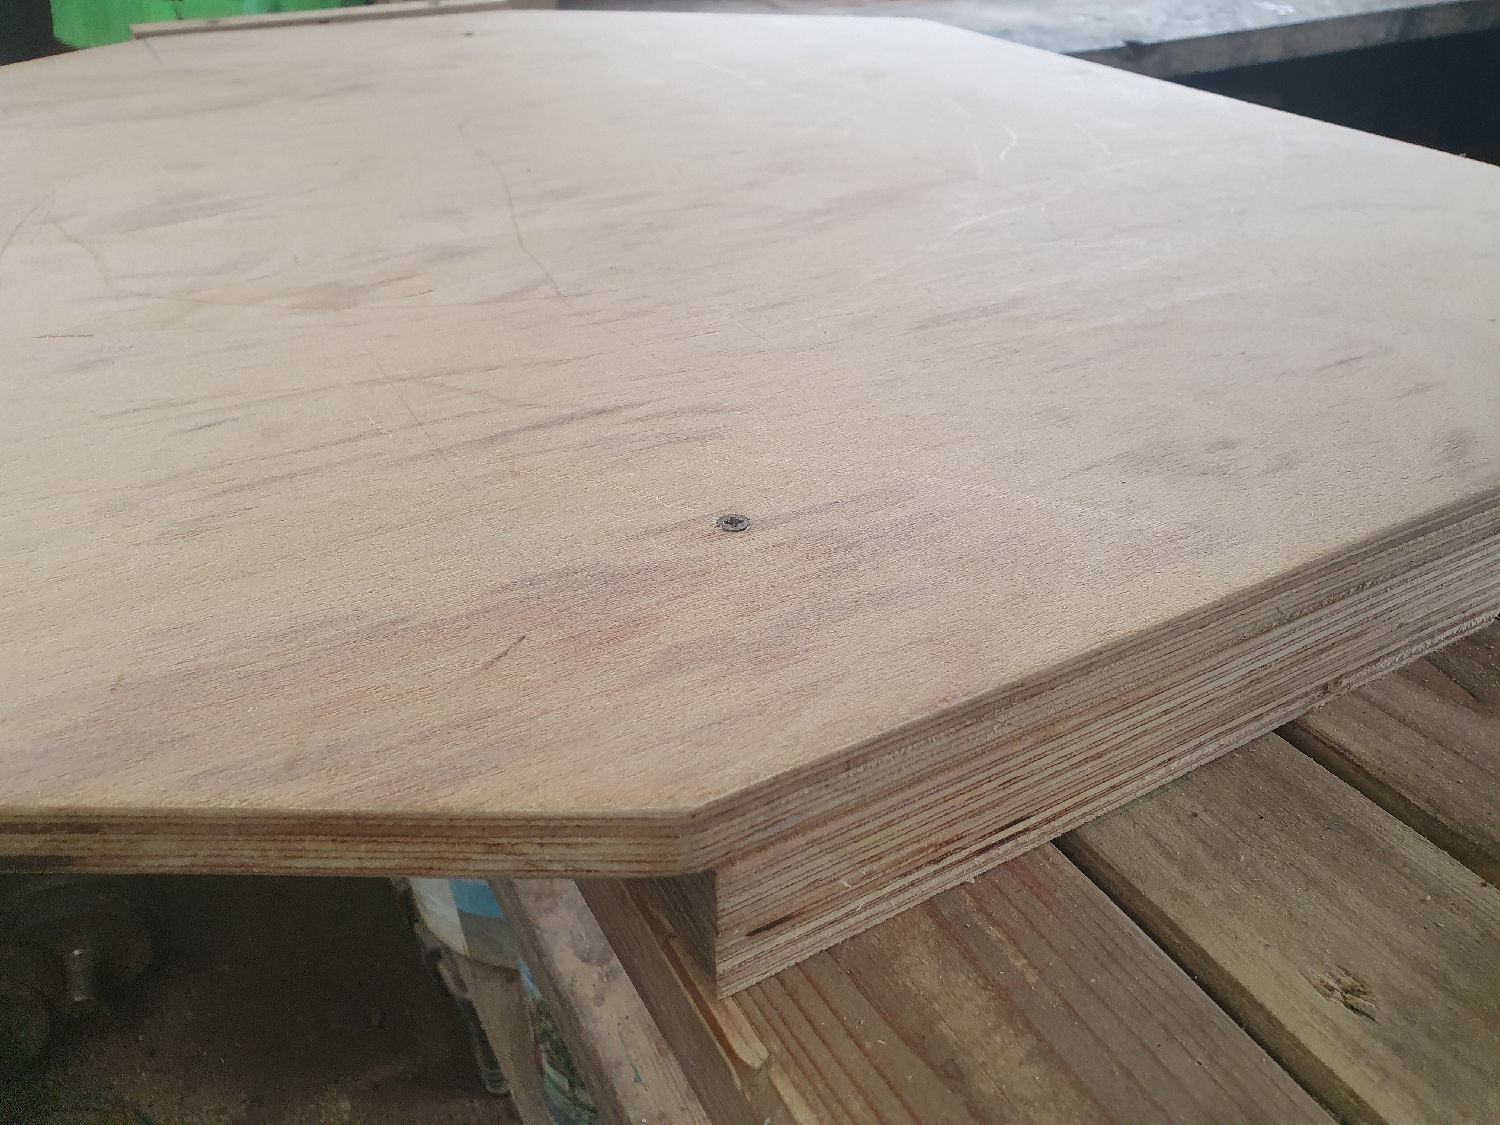
Final cut (32mm saw offset lines visible):
Print Cutouts
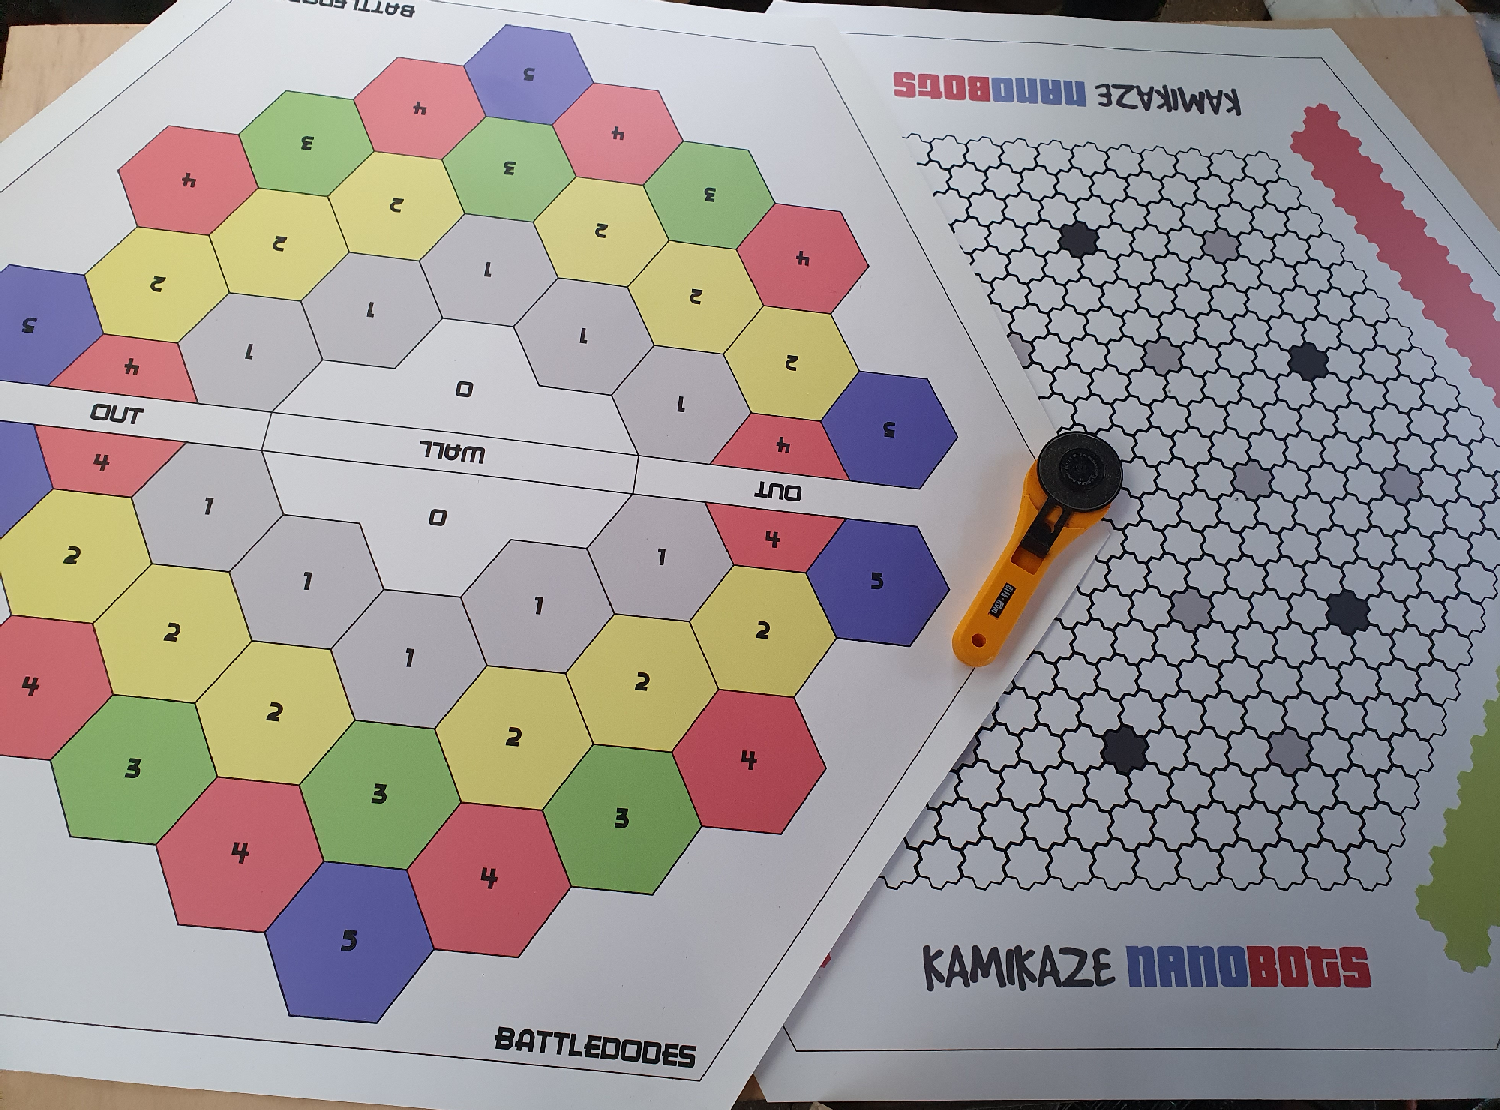
Rough cuts:
Close cuts:
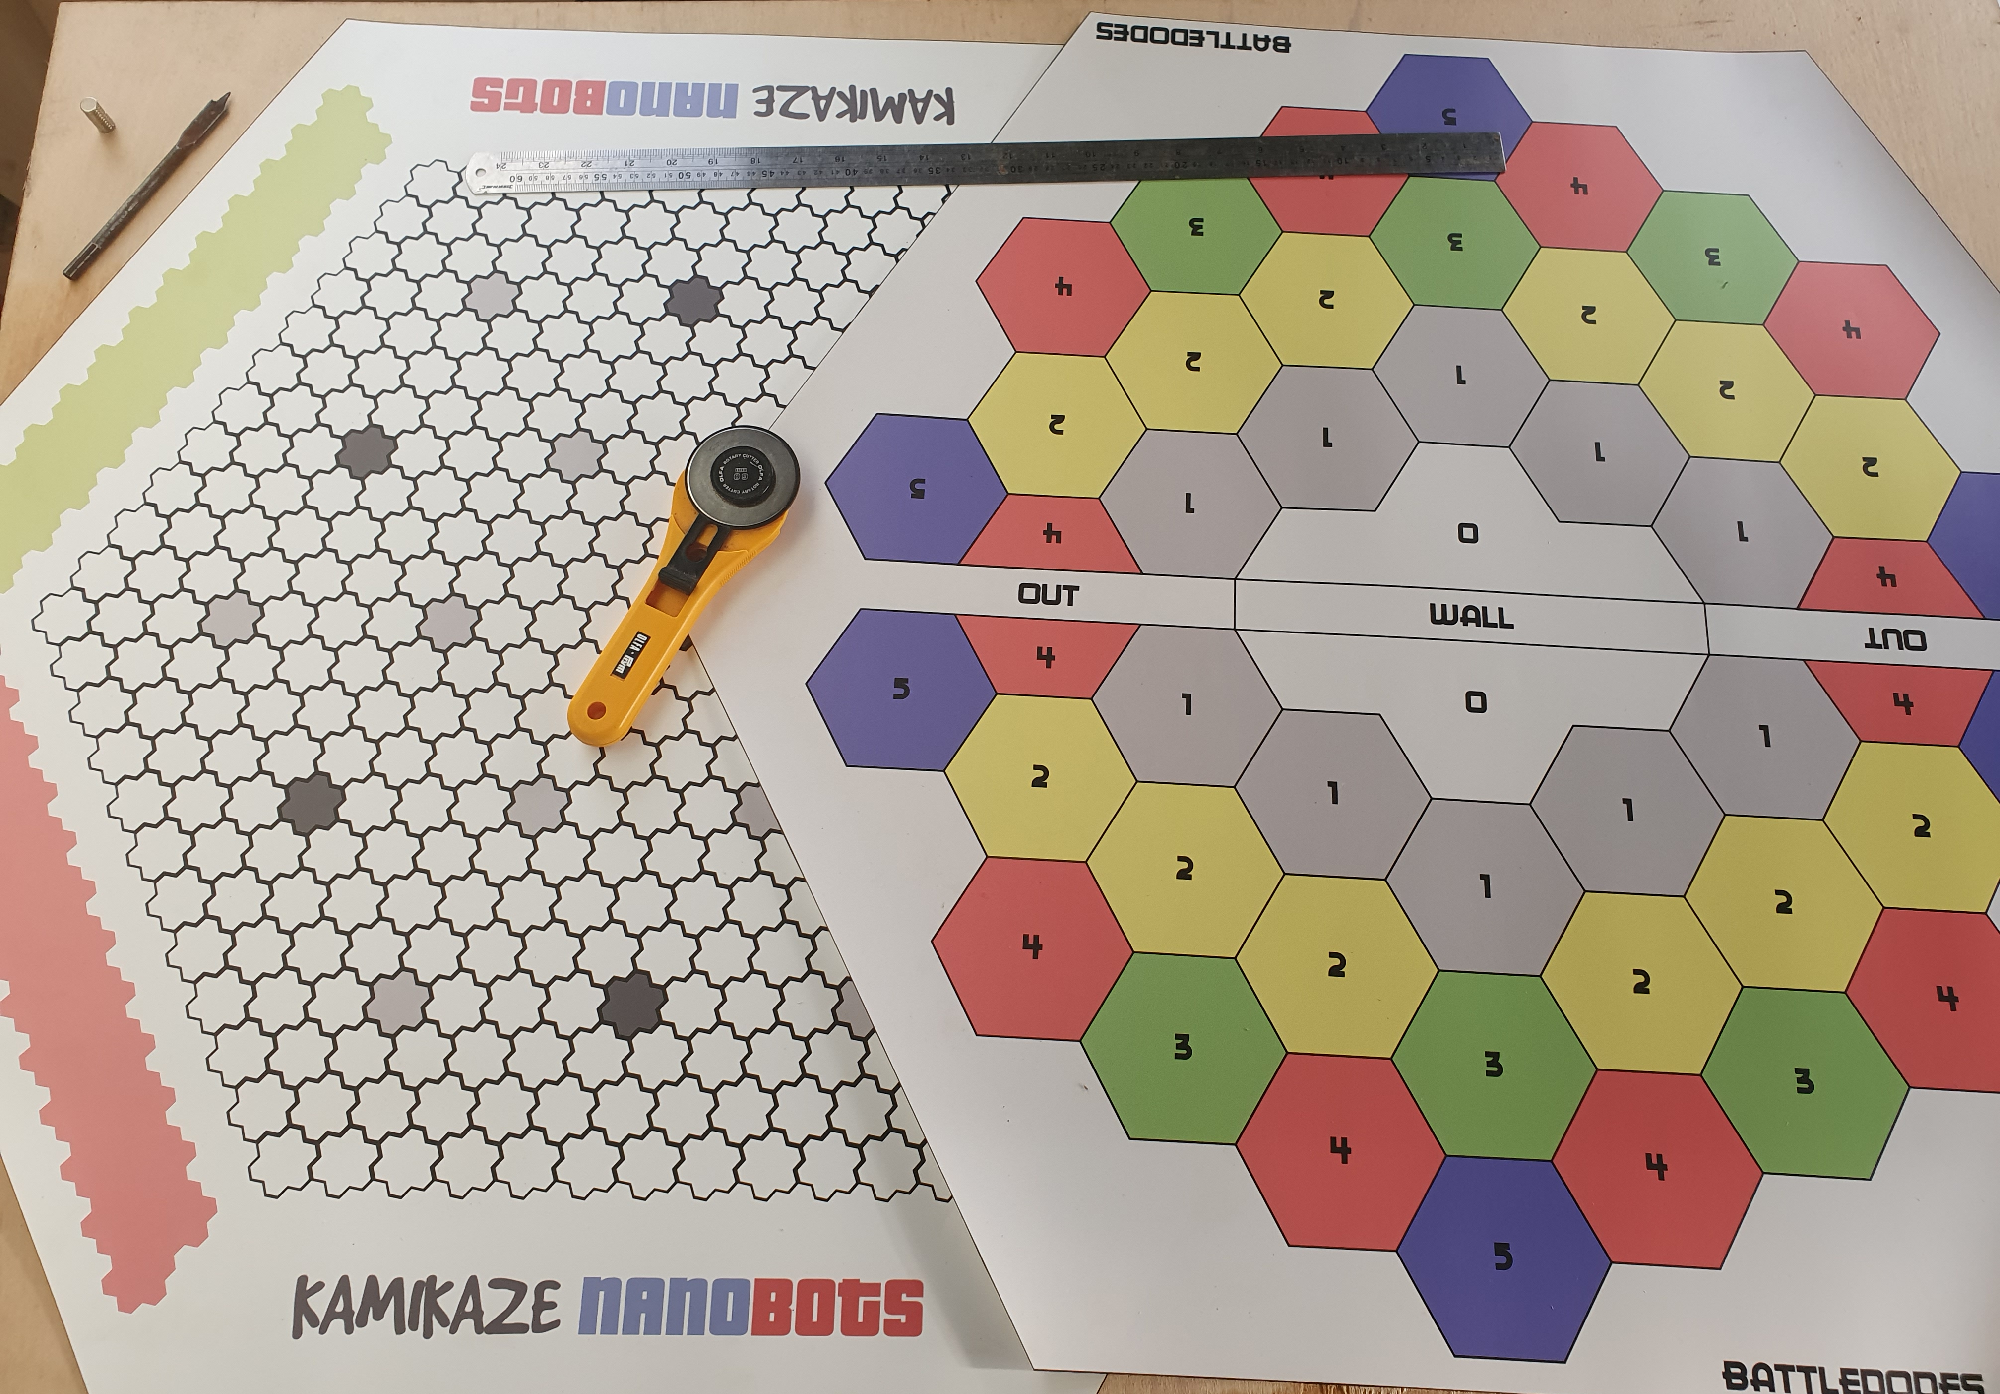
These will be glued down after the Battledodes wall is built.
Side A: Battledodes
Board Magnets
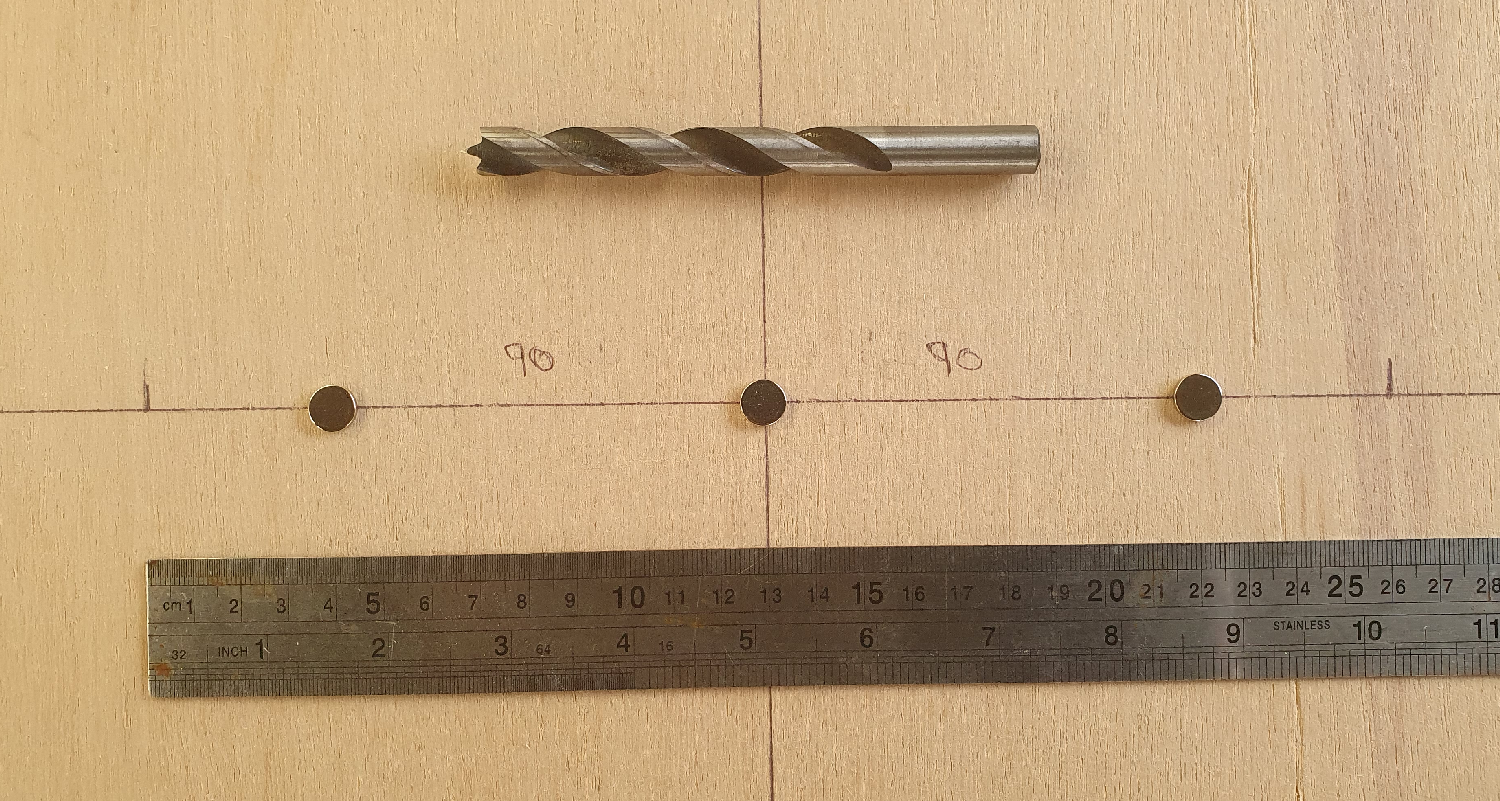
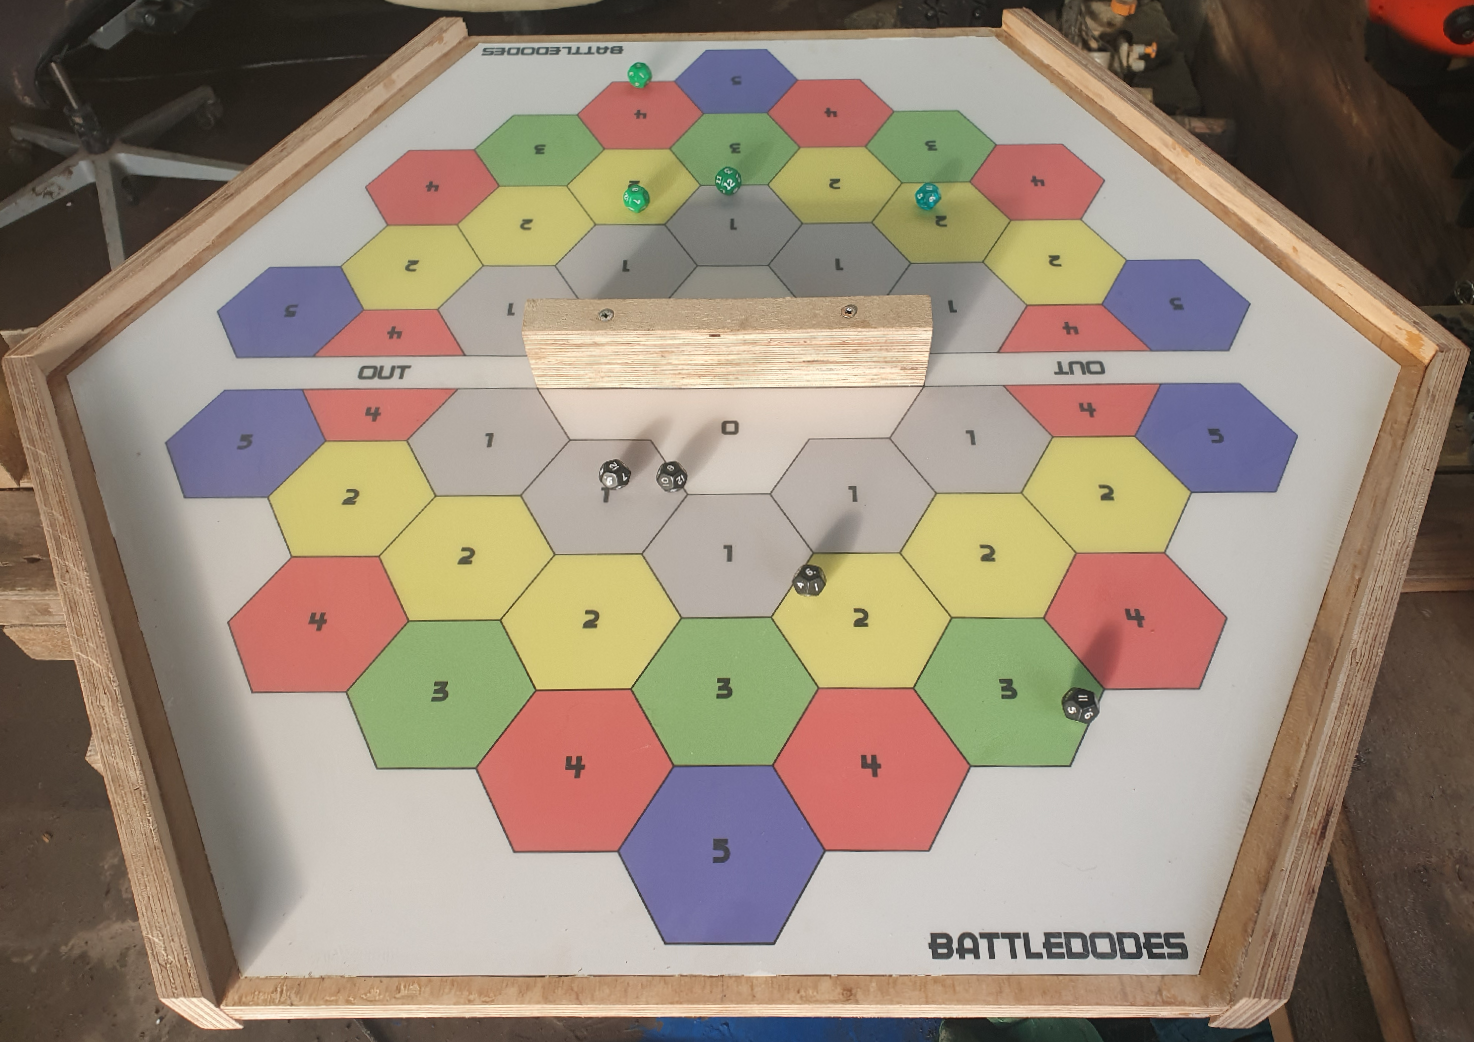
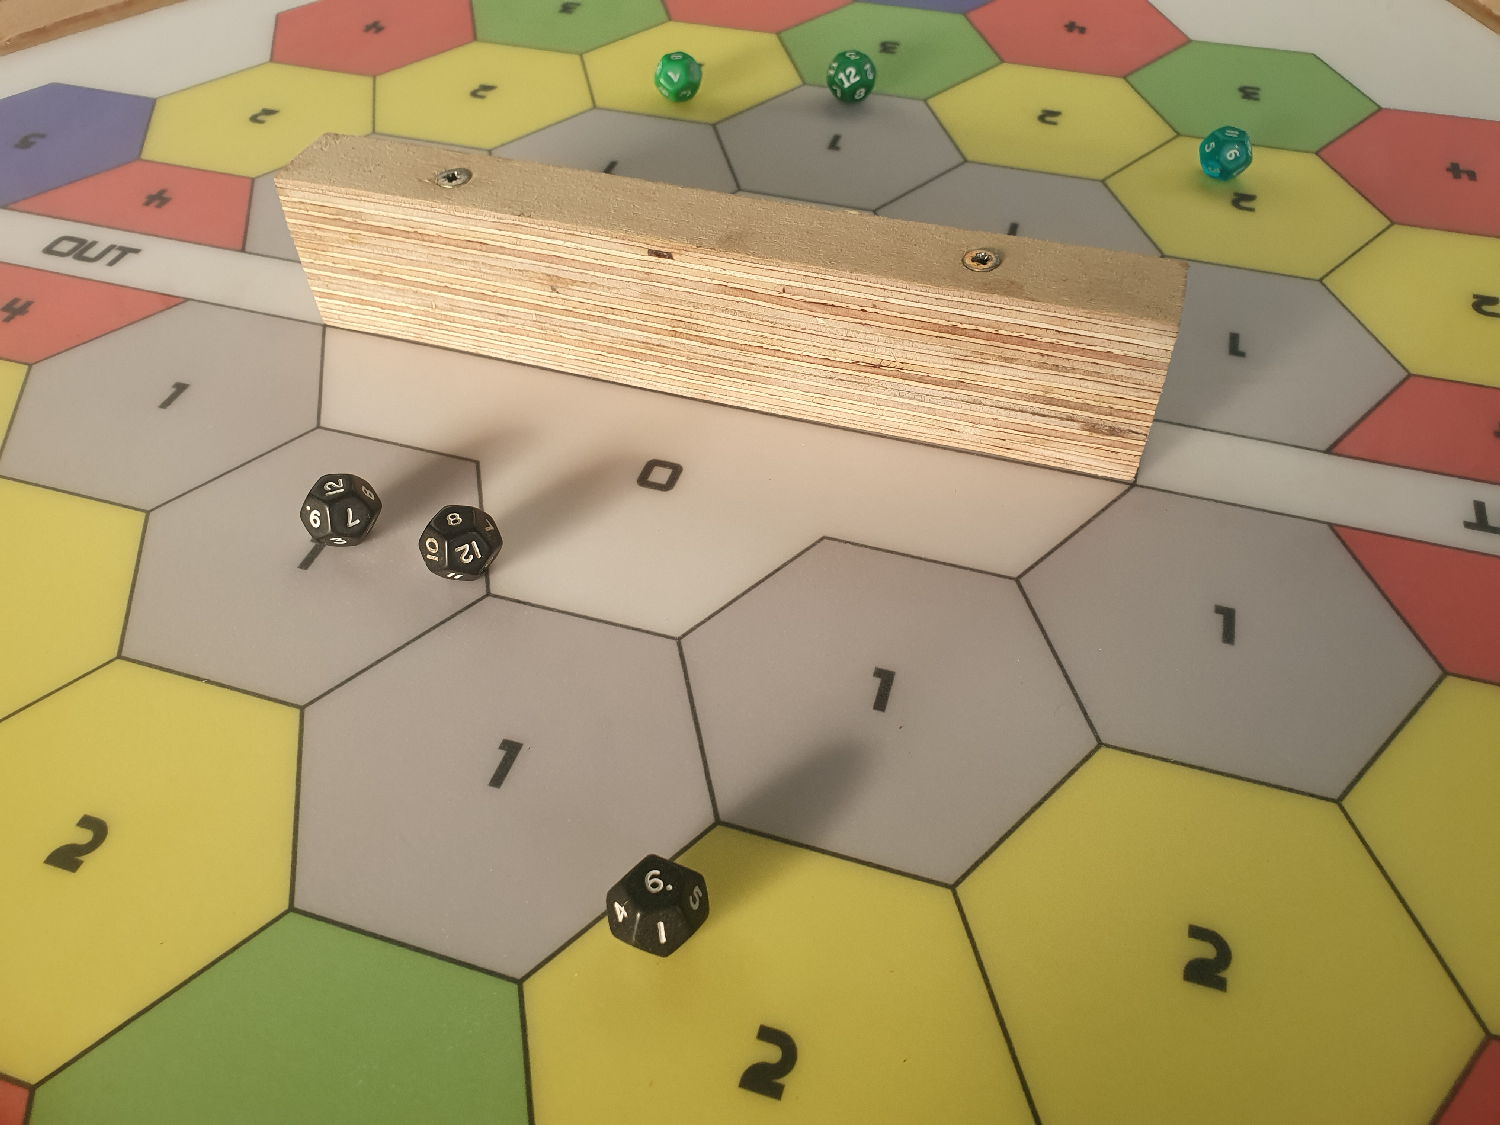
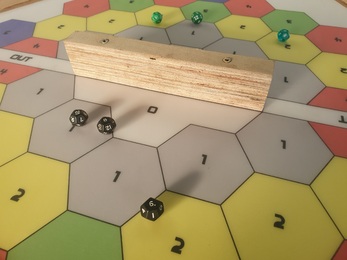
Battledodes has a central wall to bounce dice off. Disk magnets will stick it to the board so it can be removed before flipping over to Side B. Mark the board magnet placements - one at the centre and 90mm either side:
Drill the three 10mm wide holes (5-6mm deep):
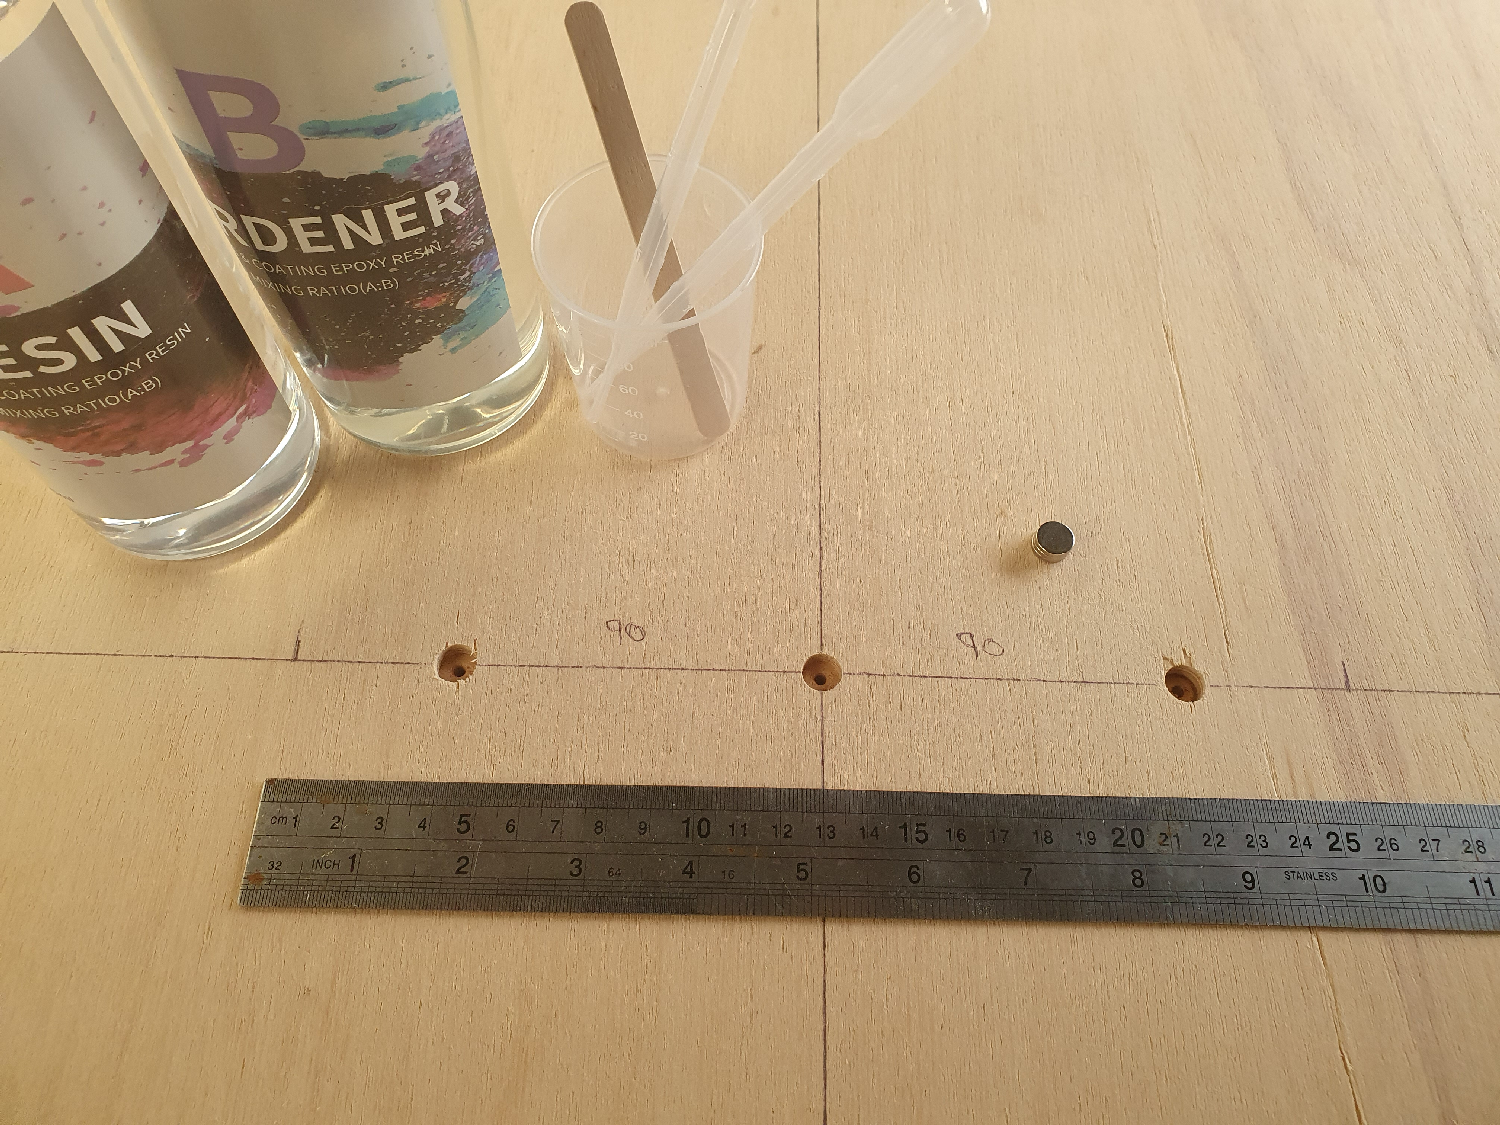
Install the magnets using epoxy under and on top of the magnets, ensuring they all face up the same way. Leave to cure for 24 hours and hand sand flush.
Wall Build
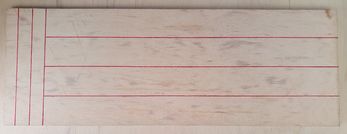
The excess cutoff (812 x 280mm) is used to build the magnetic wall and four raised borders. Demo of cut lines:
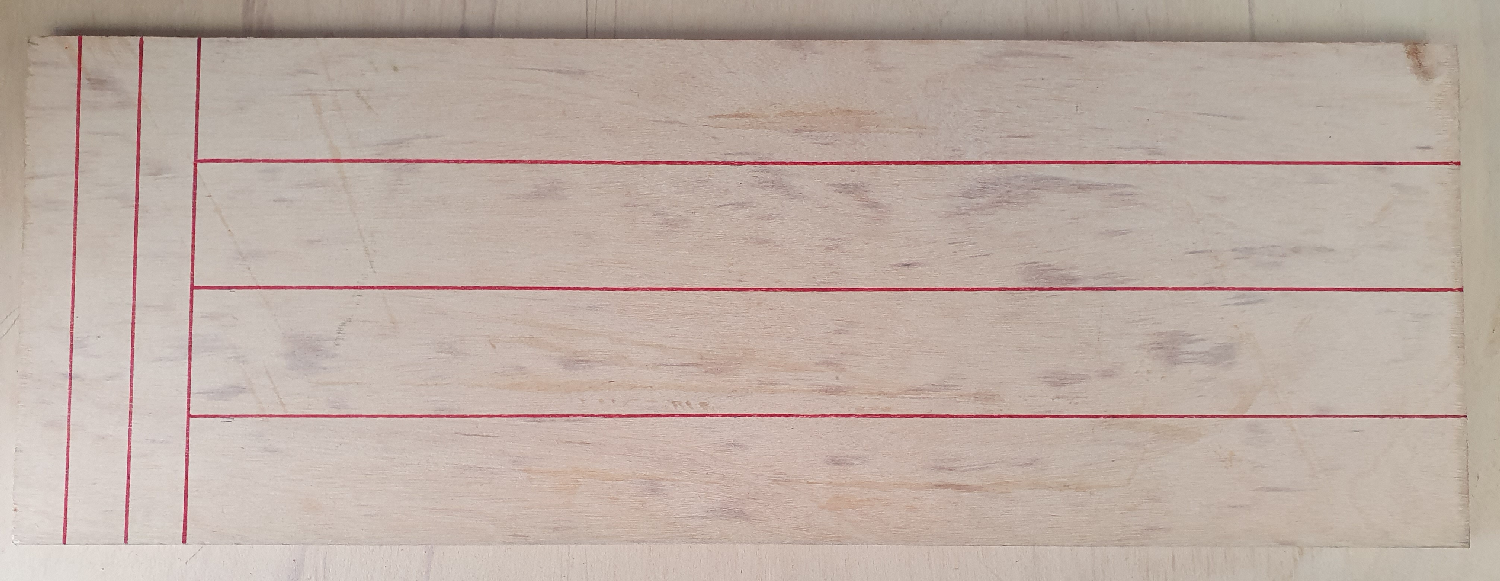
For the wall, the three left strips are each cut to 30 x 260mm. Then:
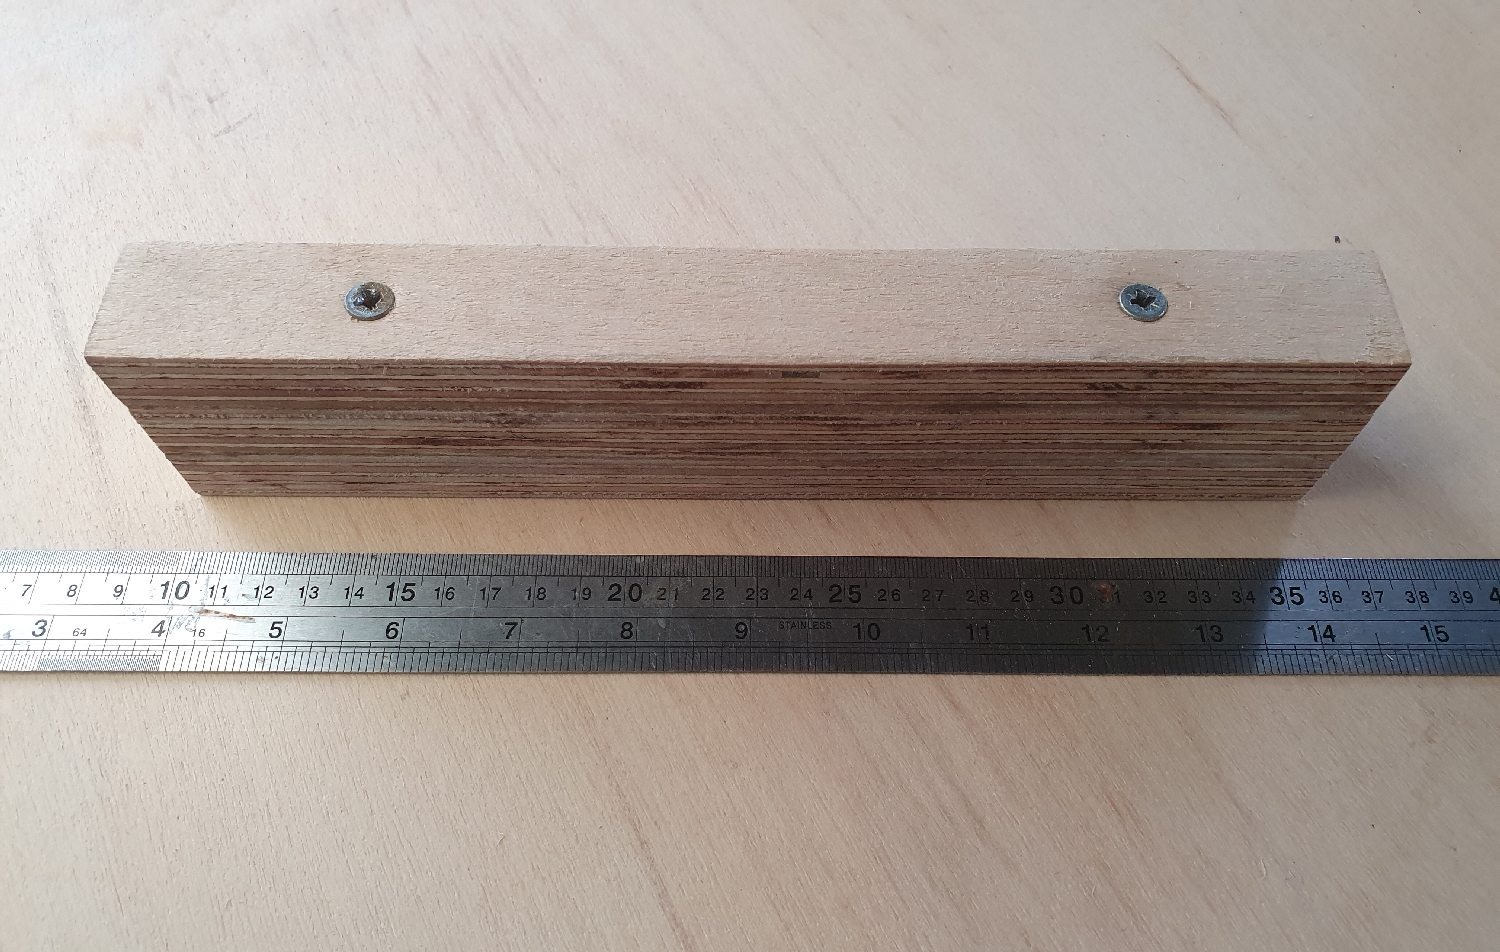
- Glue and stack to 54mm (54 x 30 x 260mm - H x D x W)
- Add two 50mm securing screws, top-down (optional)
- Clamp and dry overnight
- Sand flush on all sides
Wall Magnets
- Mark and drill holes on wall base (centre and 90mm either side)
- Check orientation of wall magnets to board
- Install magnets with epoxy under and on top
- Leave to cure for 24 hours
- Light sand flush
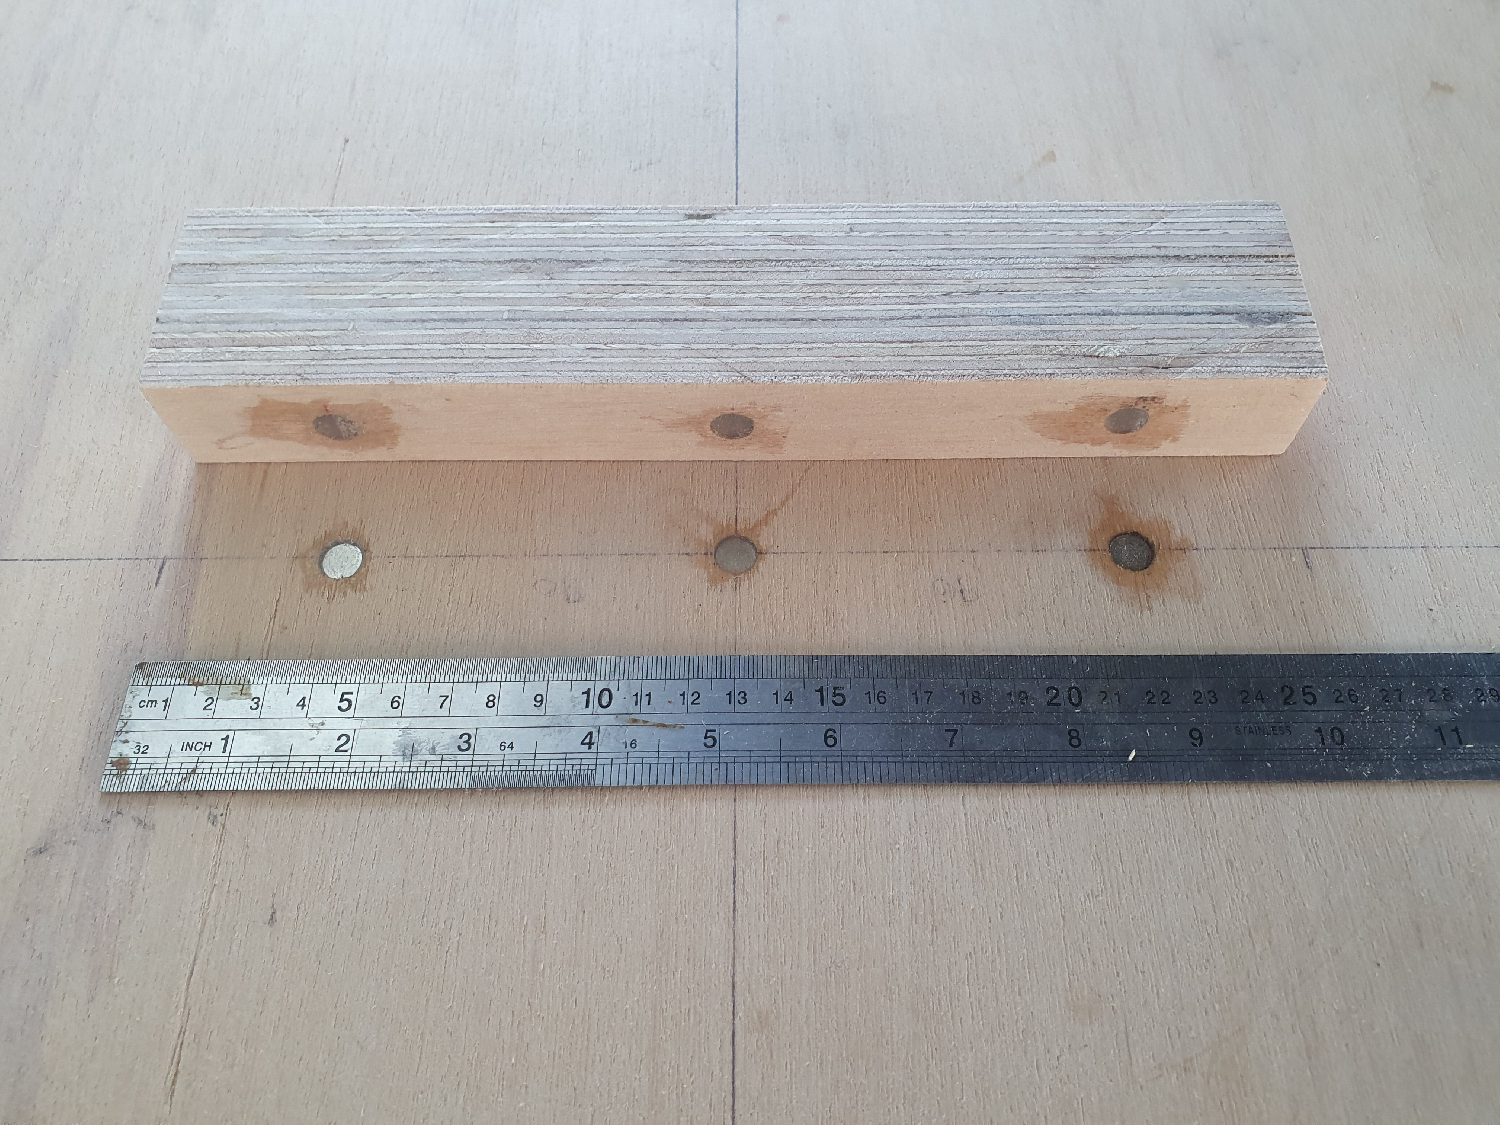
Test wall placement:
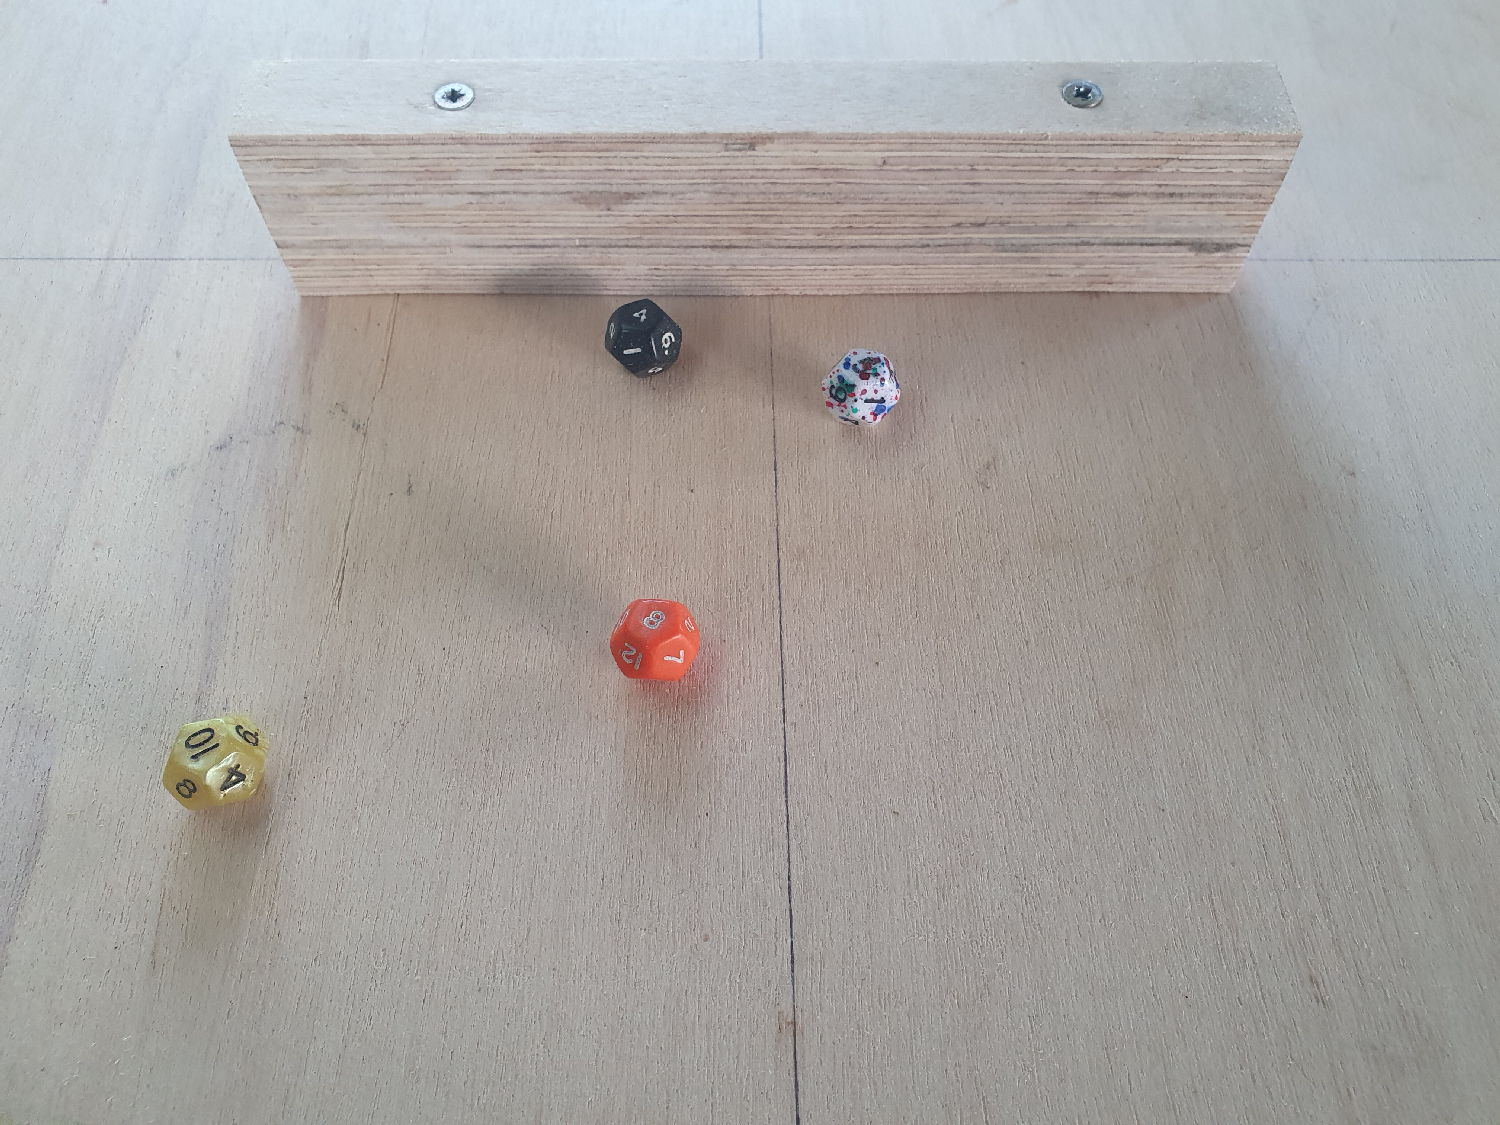
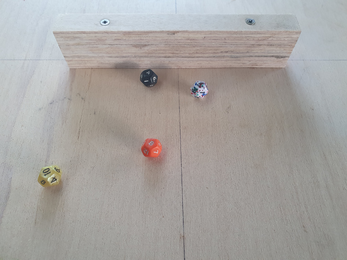
Note: I found that 6 magnets works well for bouncing dice but you may feel more sturdy with 8-10 magnets, or larger 15 x 3mm, which I'm toying with.
Glue Print
Light sand to prep plywood top. Dry run to check wall alignment:
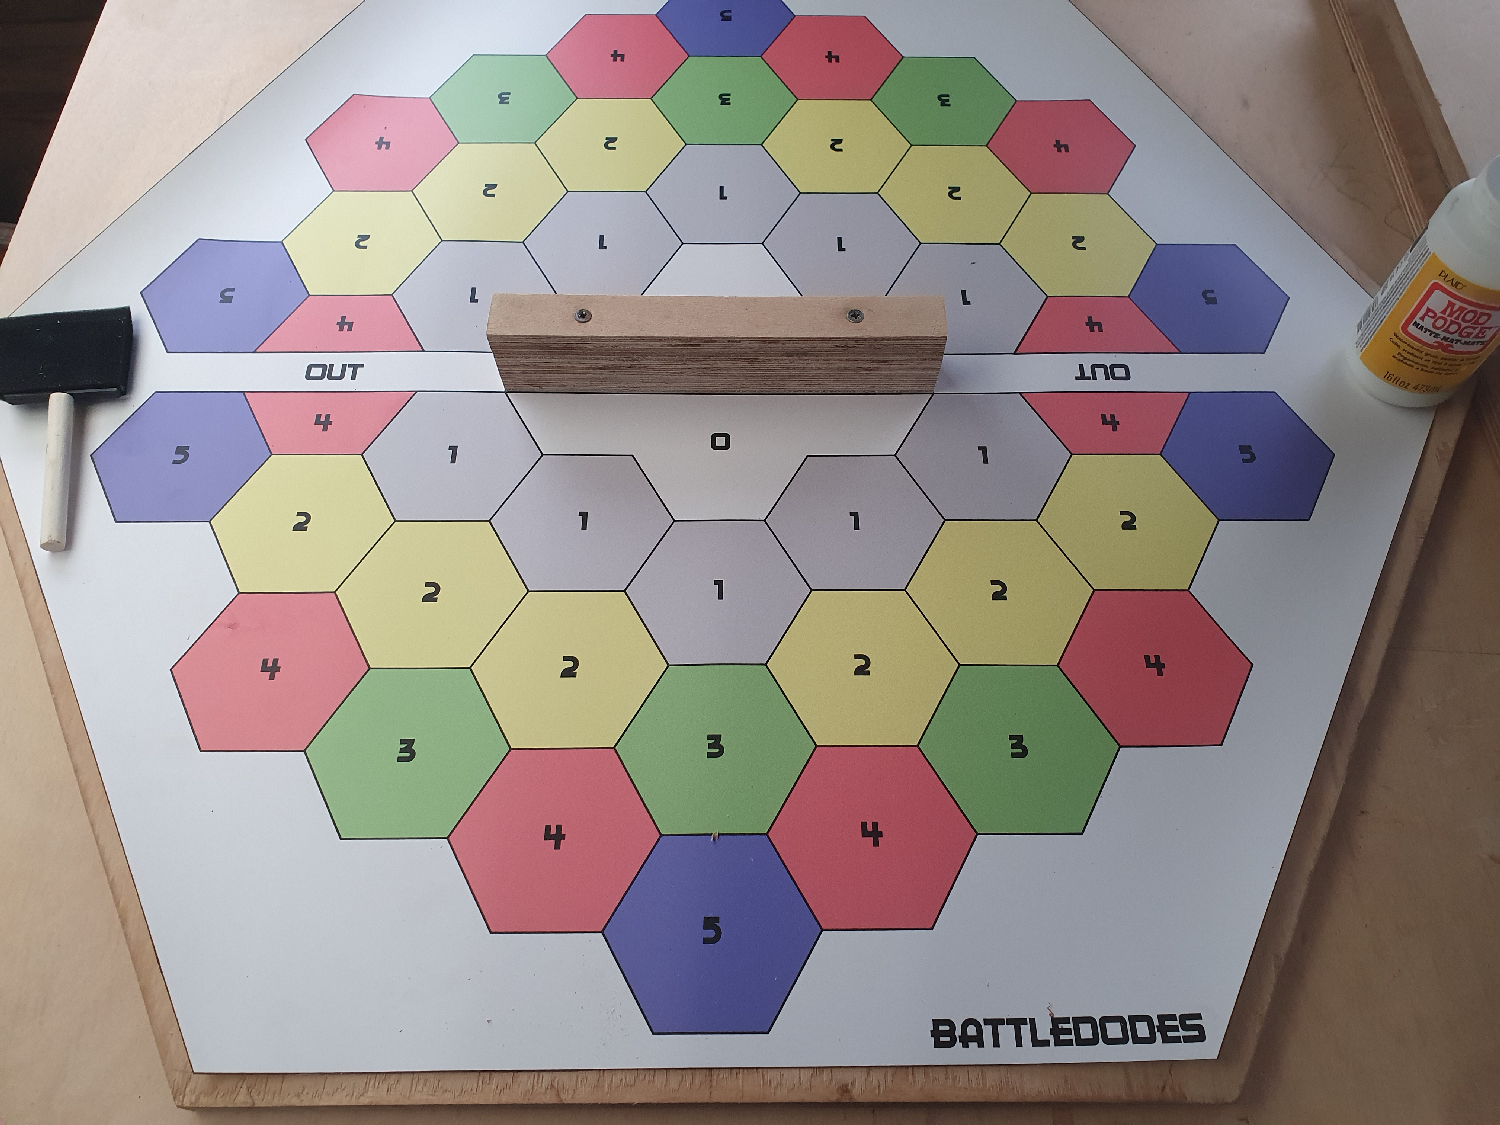
Cover board in strong wood glue (I used ~150mL Mod Podge):
- Place print, confirming wall alignment
- Ensure no bubbles
- Clear excess glue from edges
- Fully press overnight:
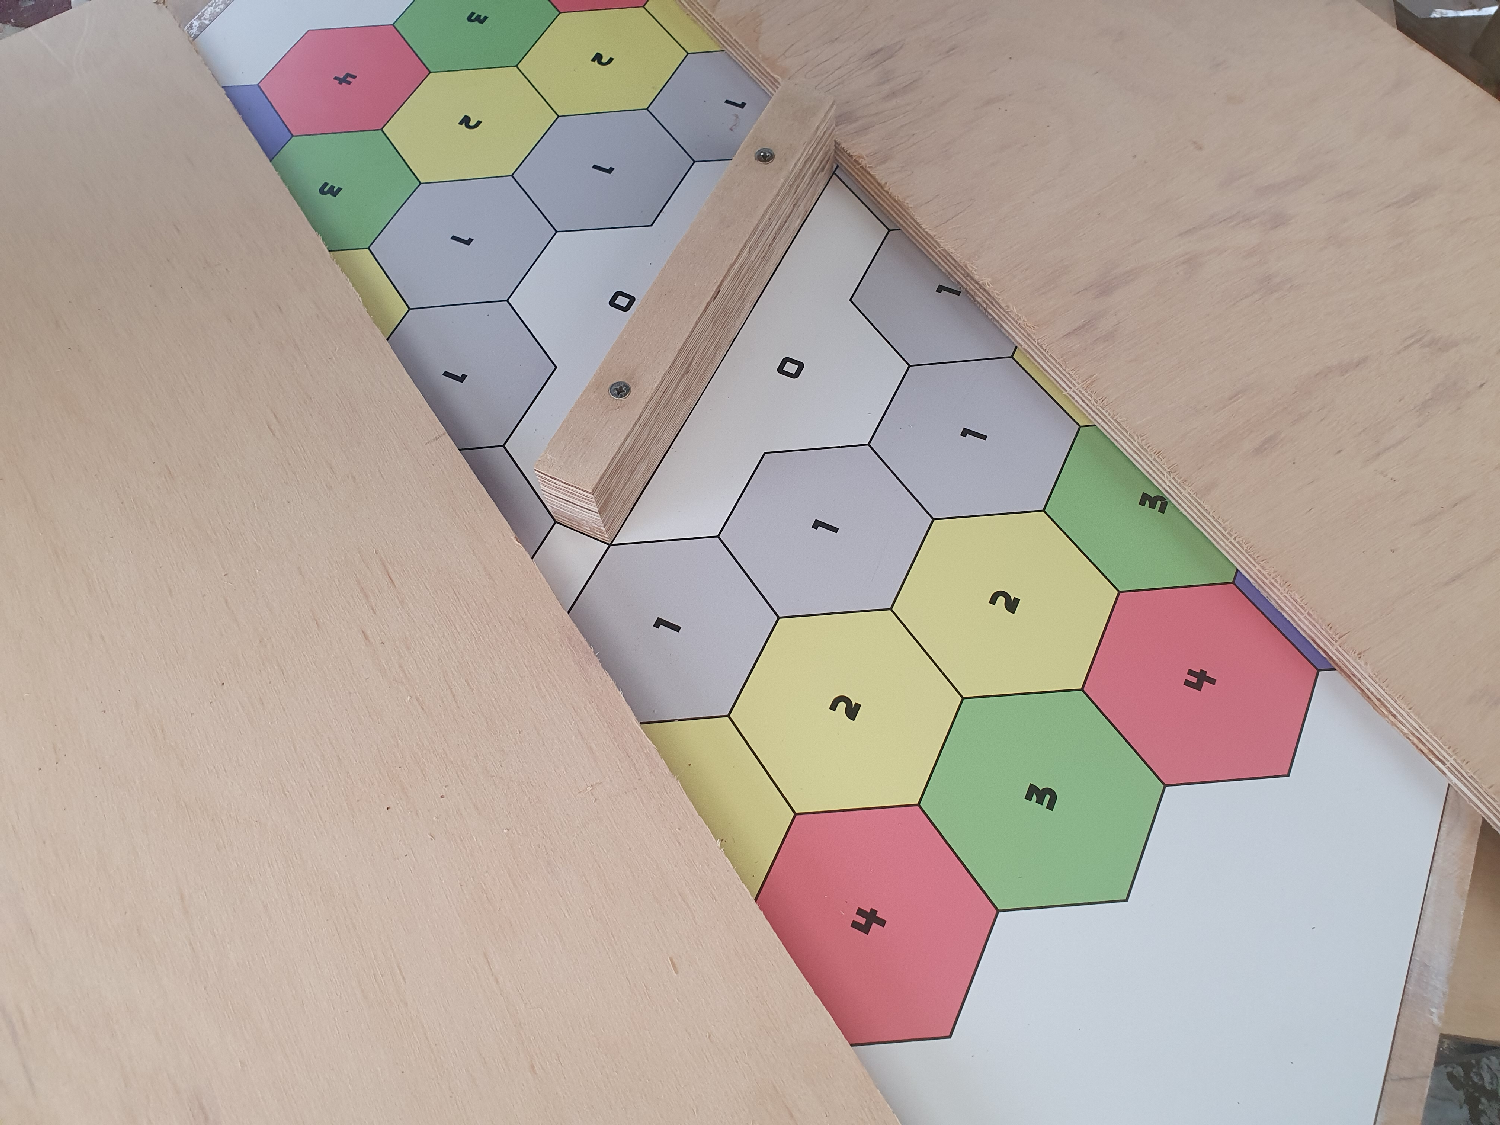
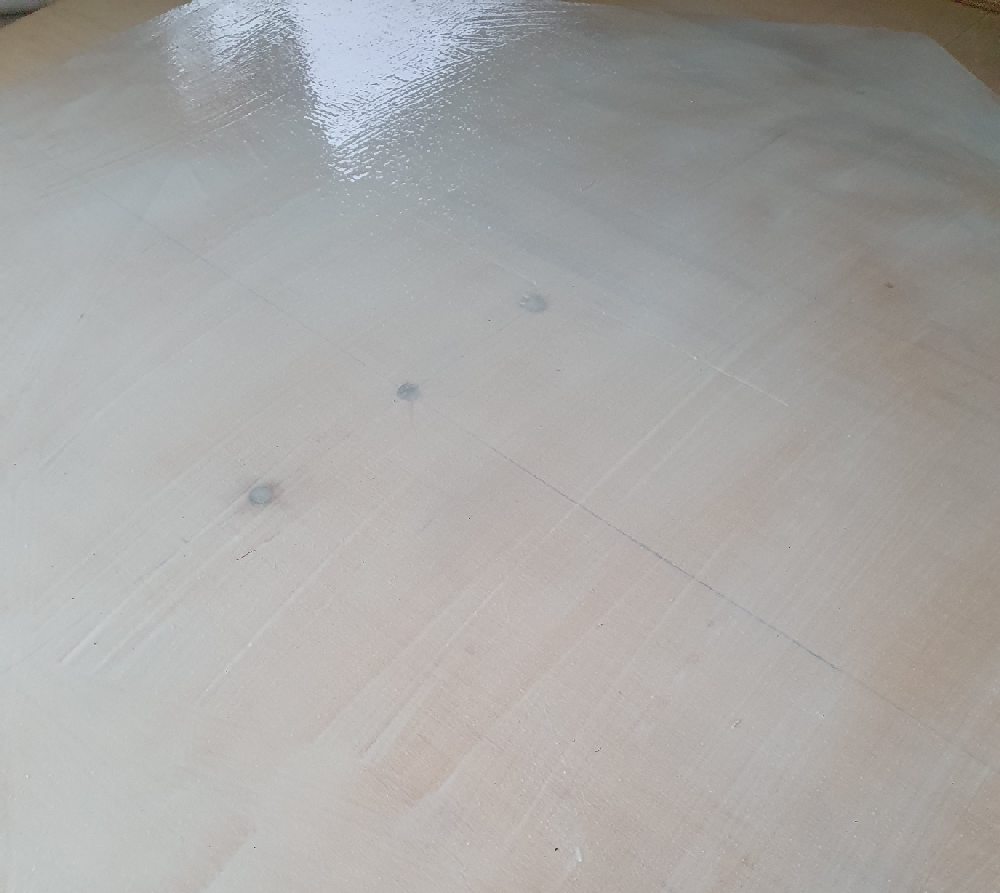
Pre-epoxy finish:
Side B: Kamikaze Nanobots
Same process for the second print:
- Light sand to surface
- Cover board in wood glue (~150mL Mod Podge)
- Lay down print, ensuring no air bubbles
- Clear excess glue from edges
- Fully press until dry:
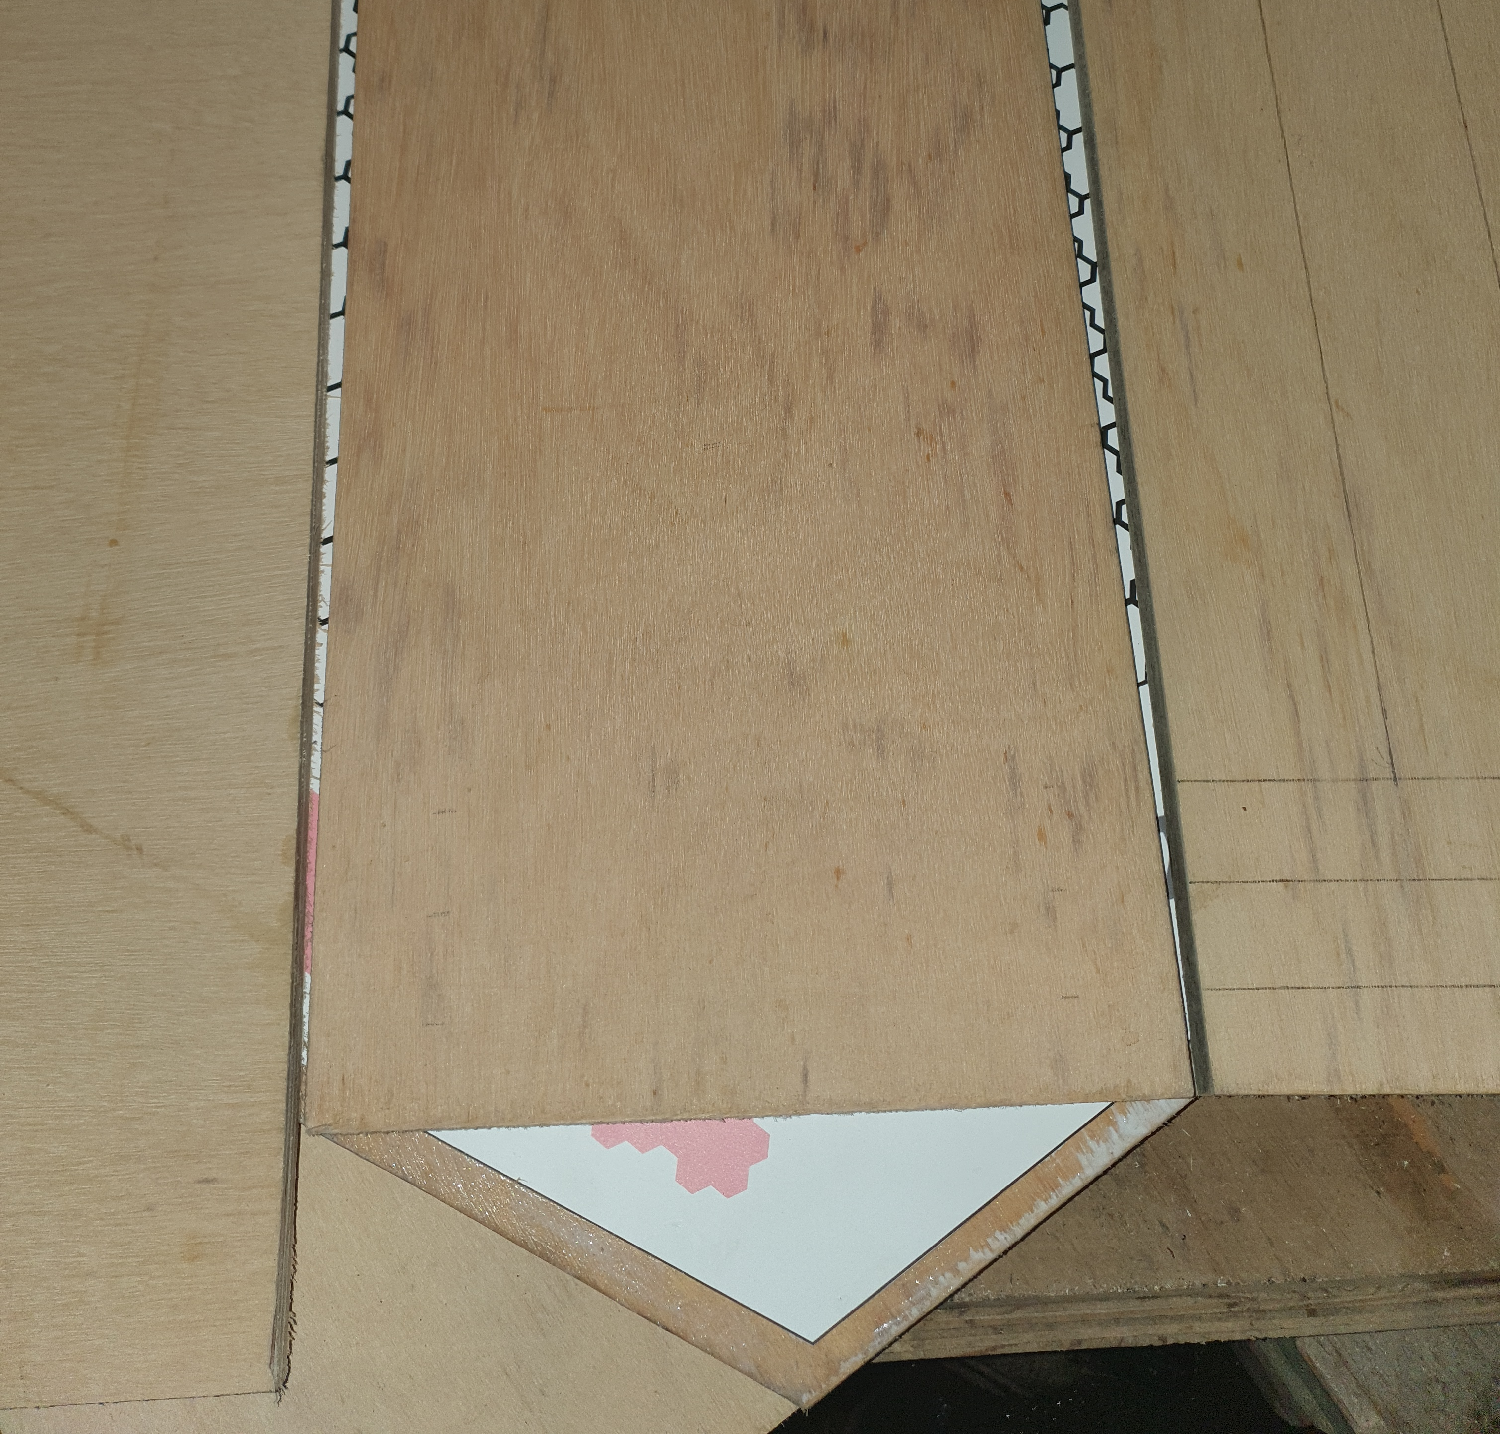
Pre-epoxy finish:
Raised Borders
The rest of the excess cutoff is split into four lengths (54mm wide) for the four central borders (18mm high on both sides). These will catch dodes and nanobots:
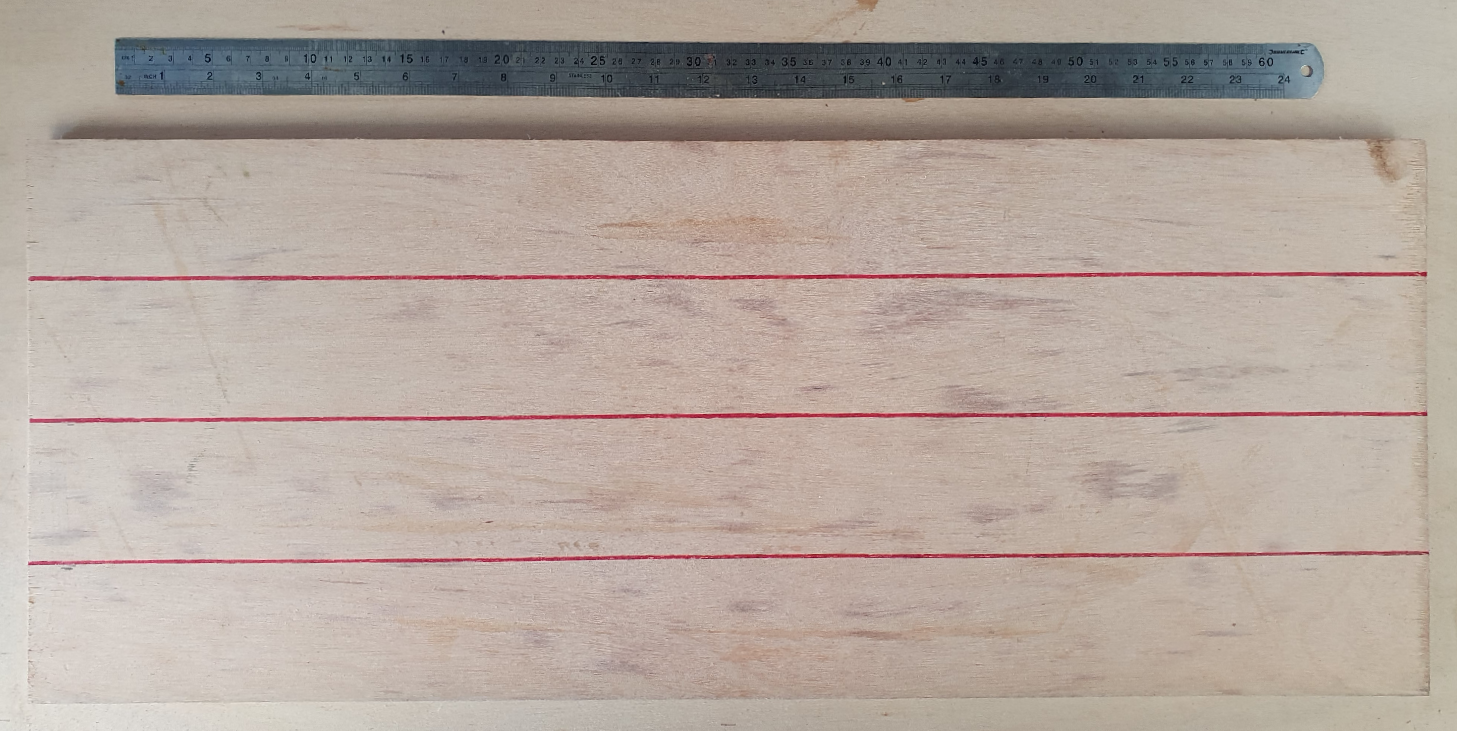
- Set the saw to cut at a 30° angle and take a few centimeters off one end
- Note the the saw offset (39mm from the guide clamp, in my case)
- Cut at the same angle, 469mm from the first cut:
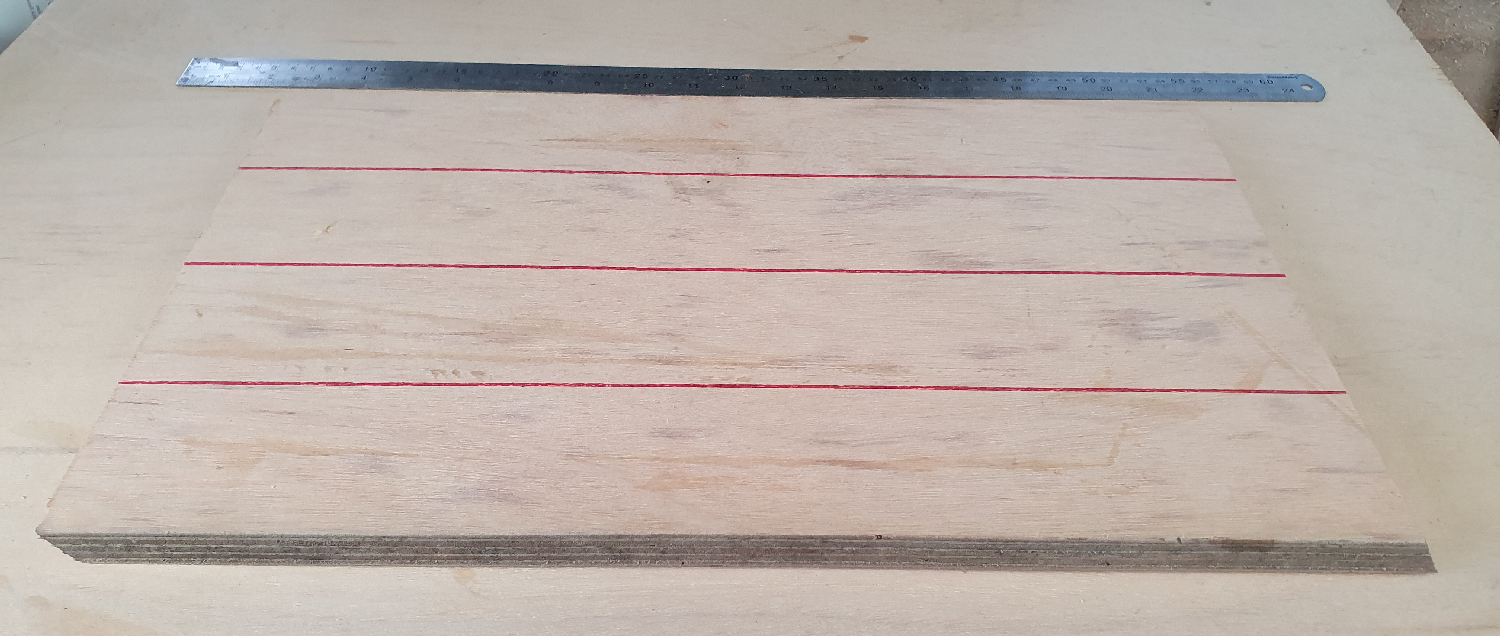
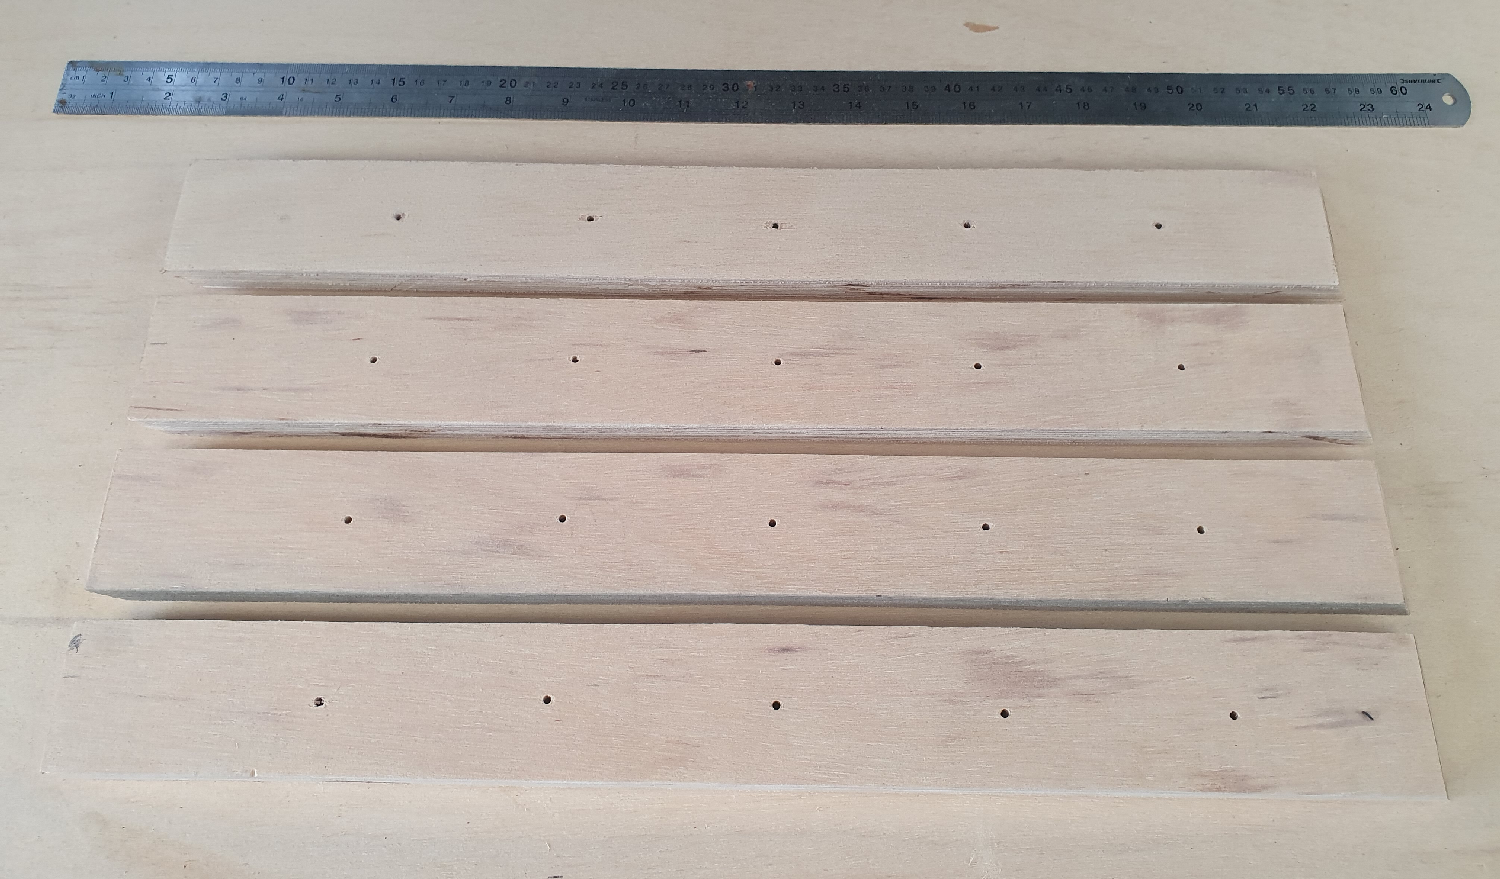
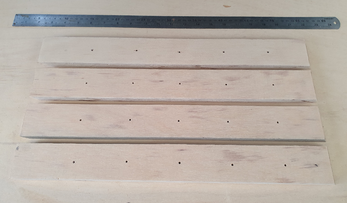
Split into 54mm-wide strips and pre-drill 5 holes in each (78mm apart):
Raise the board 18mm on top of scrap plywood. This centres the borders:
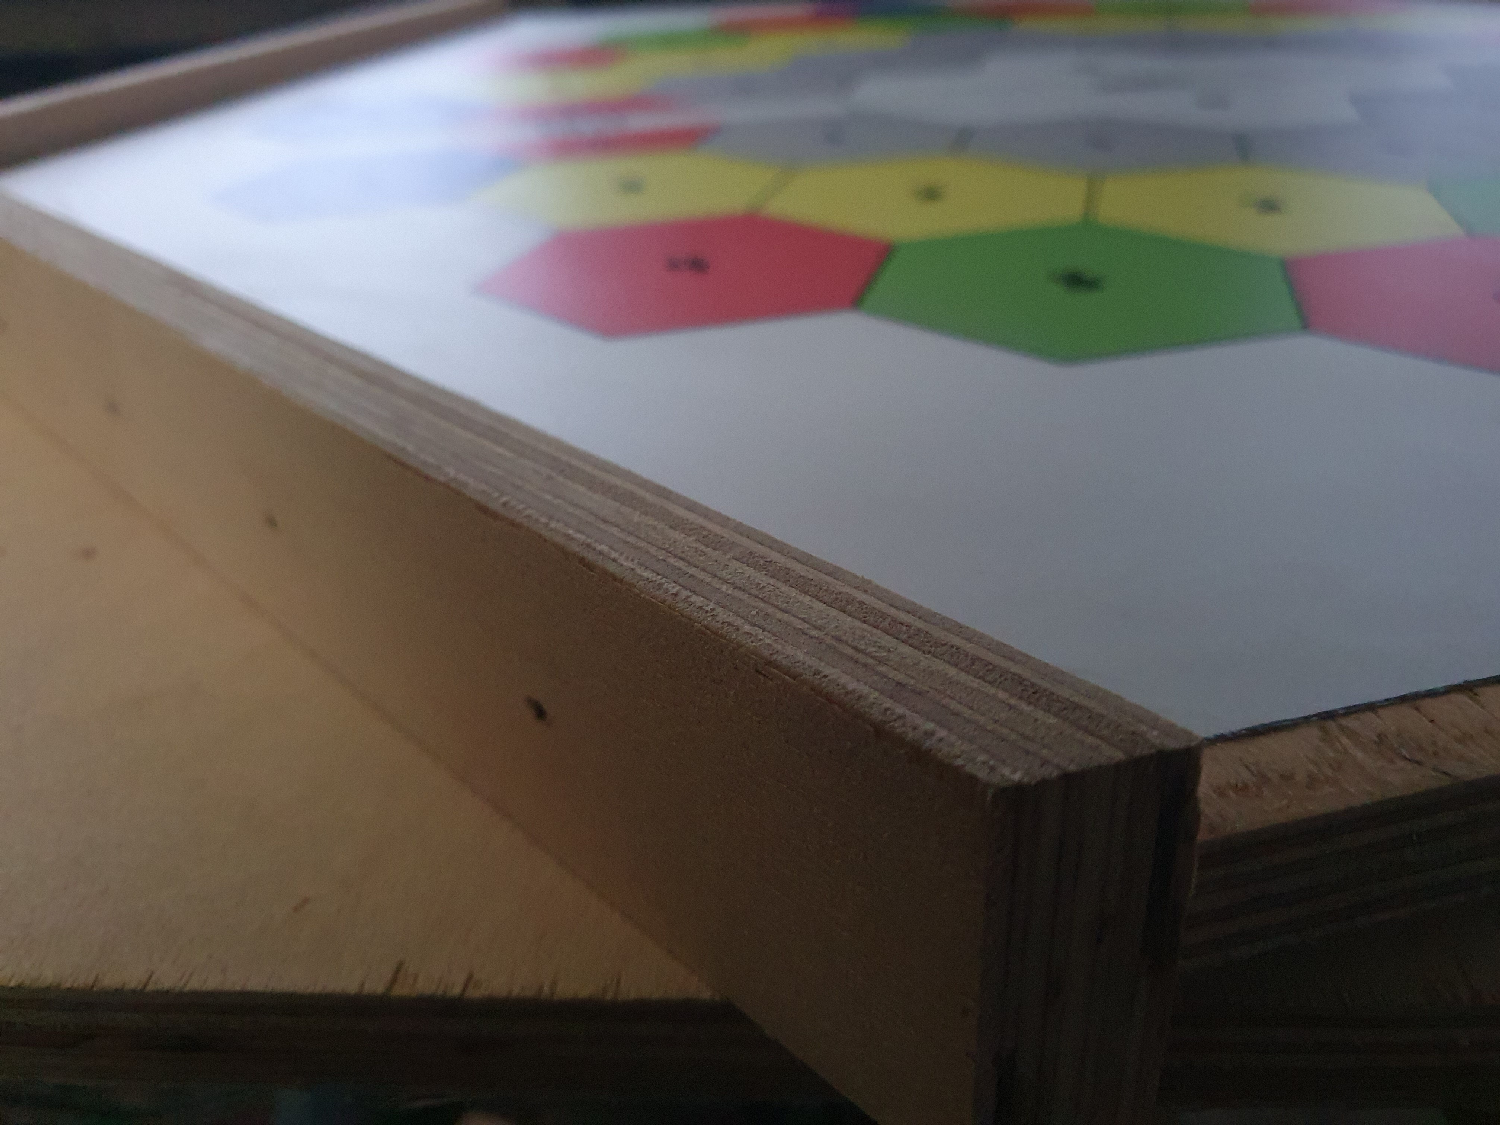
Screw to edges. At times, I tipped the board sideways, resting it on my shoes, to get the screws in fully (again using scrap ply to centre the border):
Sand flush with open sides. I may varnish or paint the borders later. Of course, this could be done before fully fixing them to the board...
Epoxy Tops
This was my first time pouring epoxy for a board game. If I were to do it again, I might roller on 500mL each side (250mL parts A and B), as opposed to pouring and then spreading with a plastic spatula. This may also make finishing easier.
On the Battledodes side, I poured 600mL for a 1mm-thick surface. For KamikazeNanobots, 700mL for a 1.25mm-thick surface - this was easier to spread to all edges and corners. Epoxy Calculator (board area: 0.57m²).
Tape underside edges:
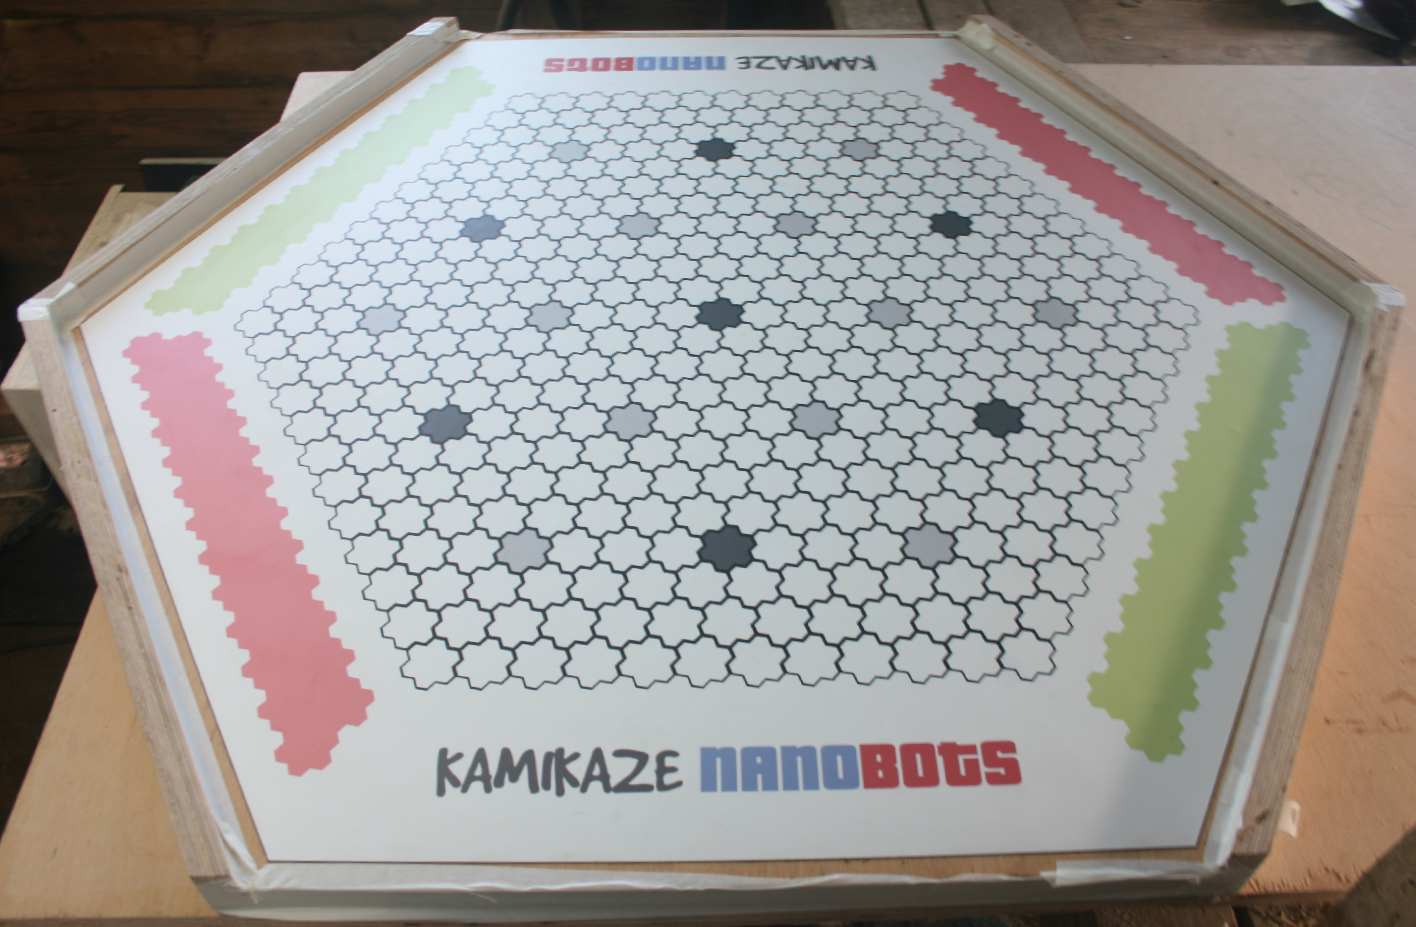
- Flip the board and tape open edges
- Check completely level
- Mix (3 minutes) and pour 600mL epoxy onto board centre
- Help spread it around the board (~10mins) with the spatula
- Blowtorch 20-30cm above the surface to get a smooth finish:
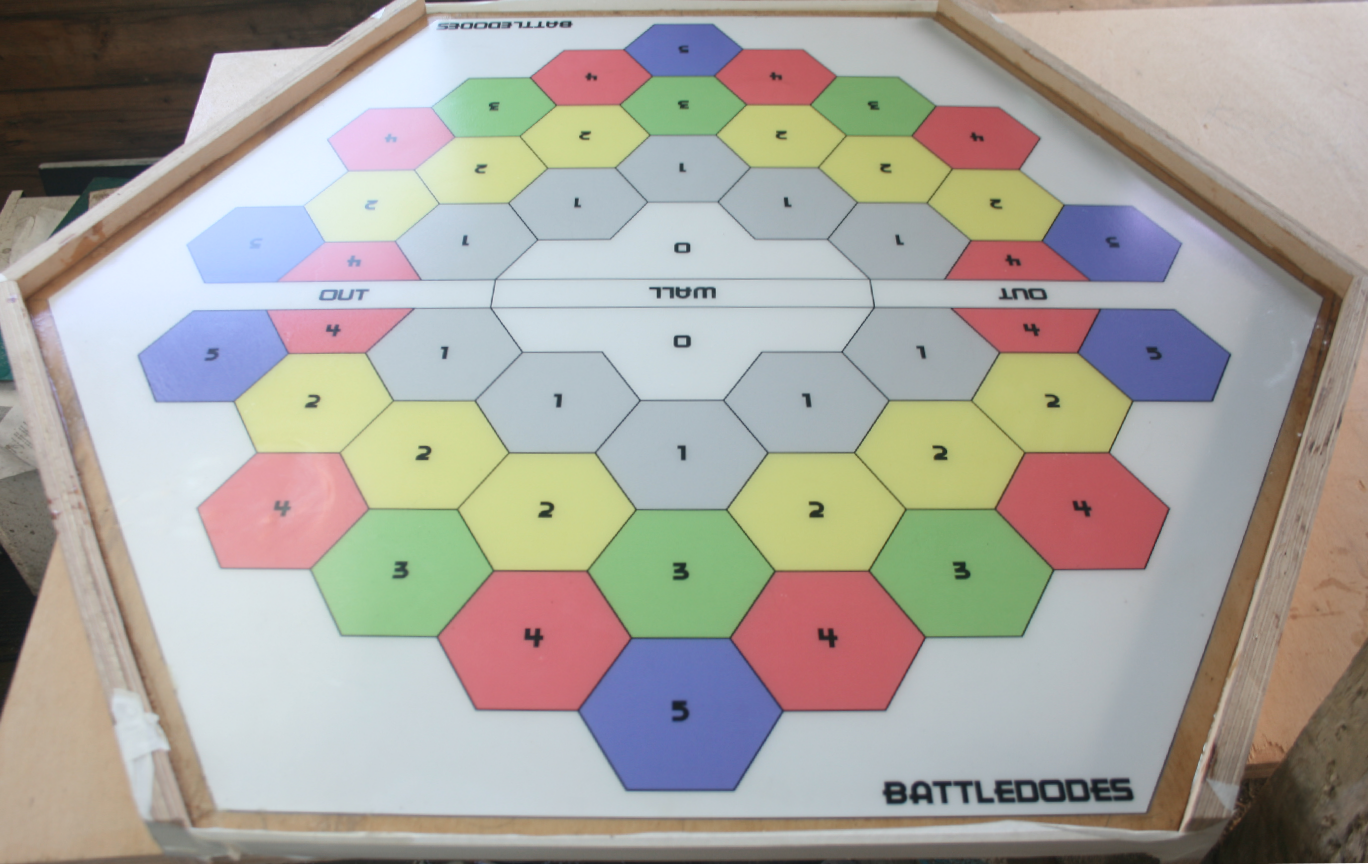
Leave to part-cure (18-24 hours) and remove all tape:
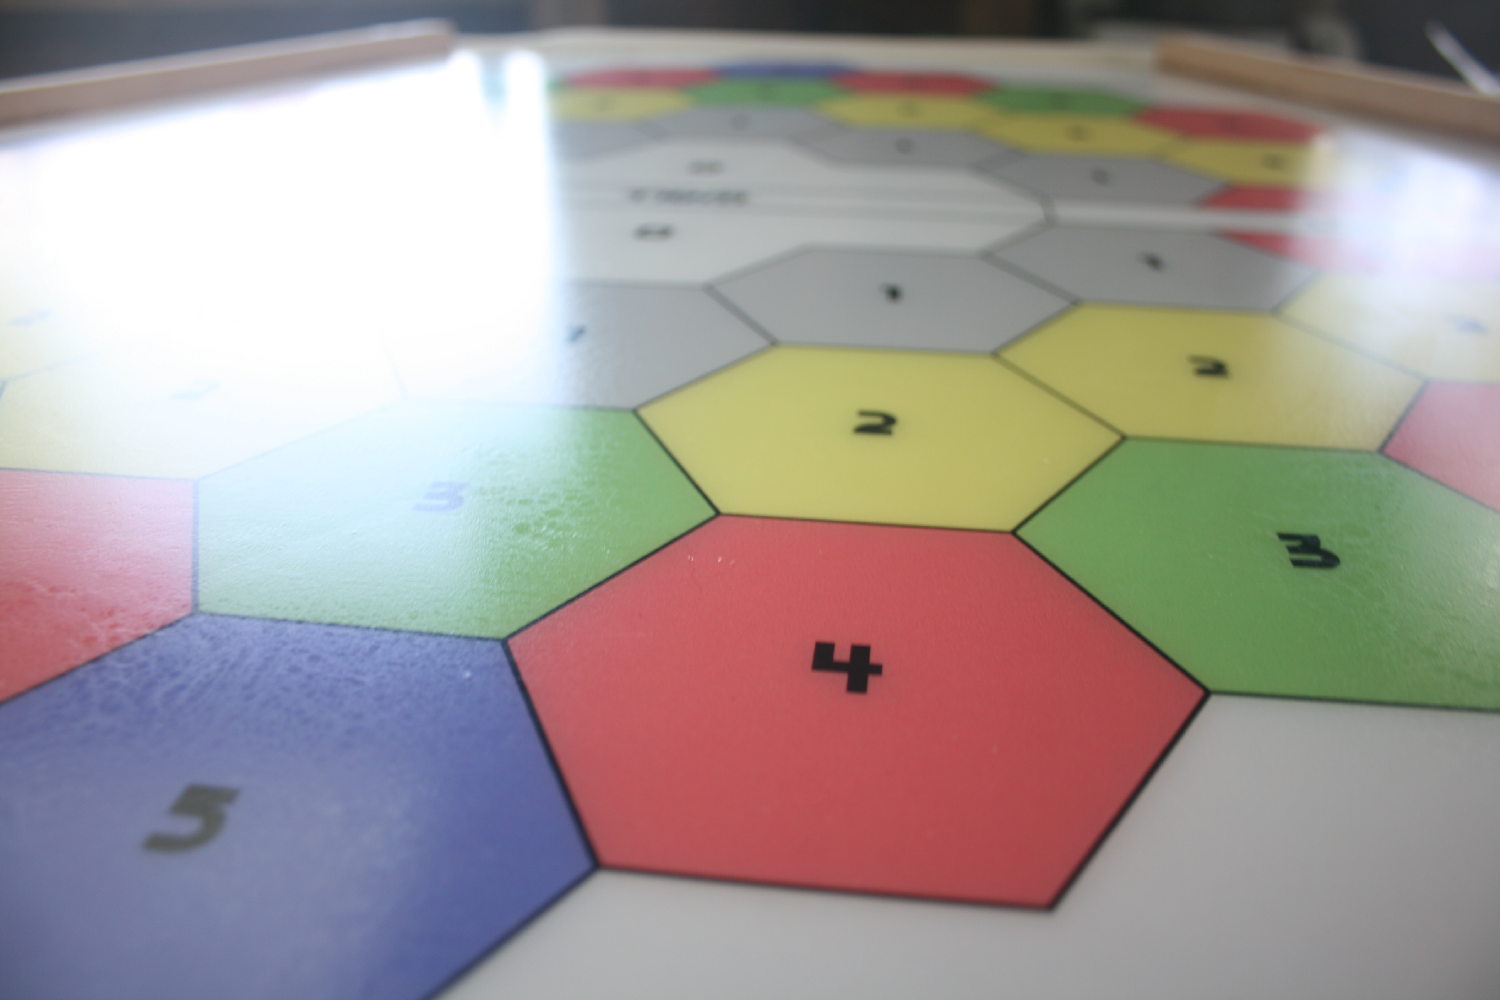
- Flip the board, ensuring the underside play surface doesn't touch anything
- Re-tape open edges
- Confirm completely level:
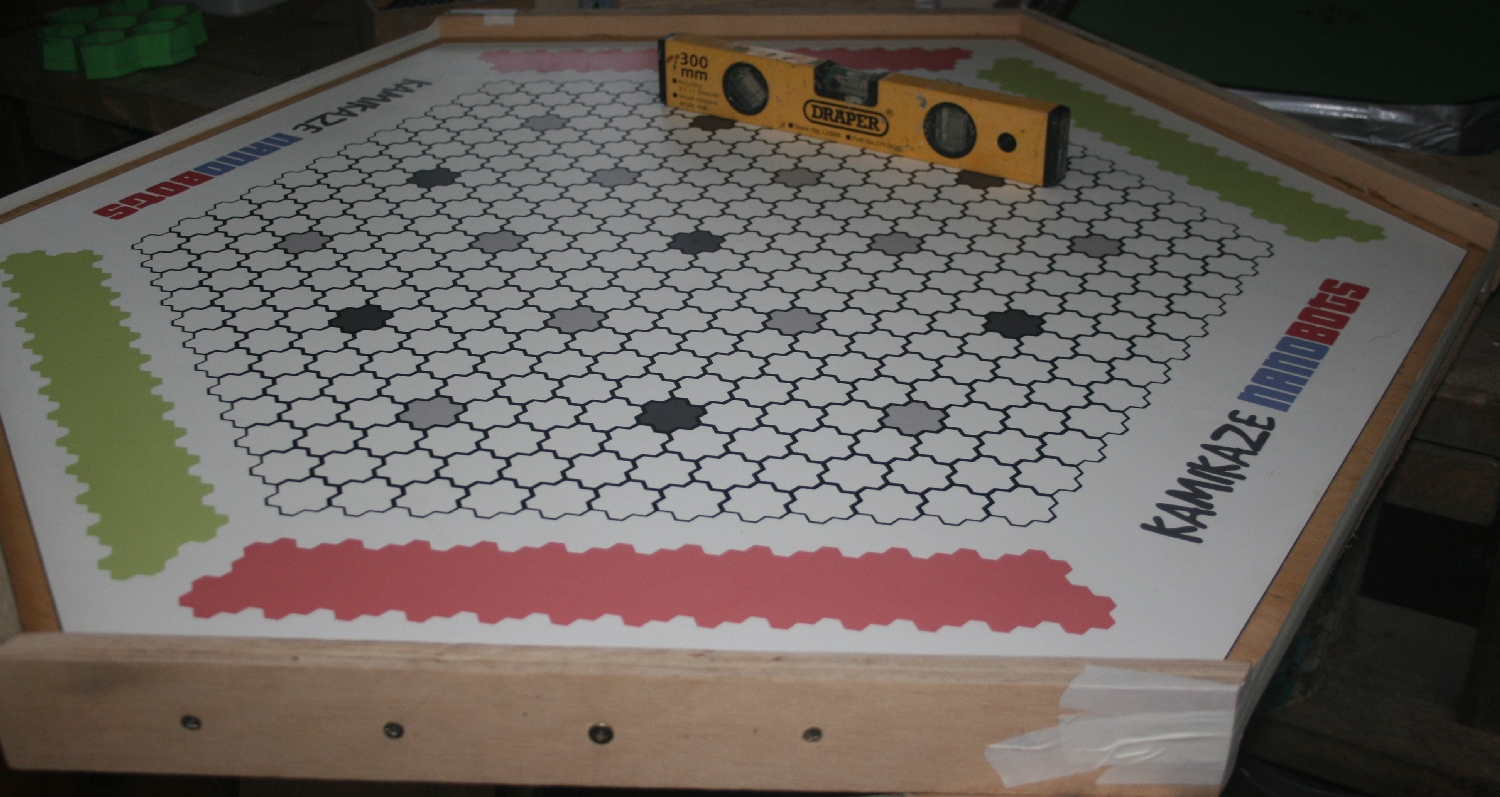
Mix (3 minutes) and pour 700mL epoxy:
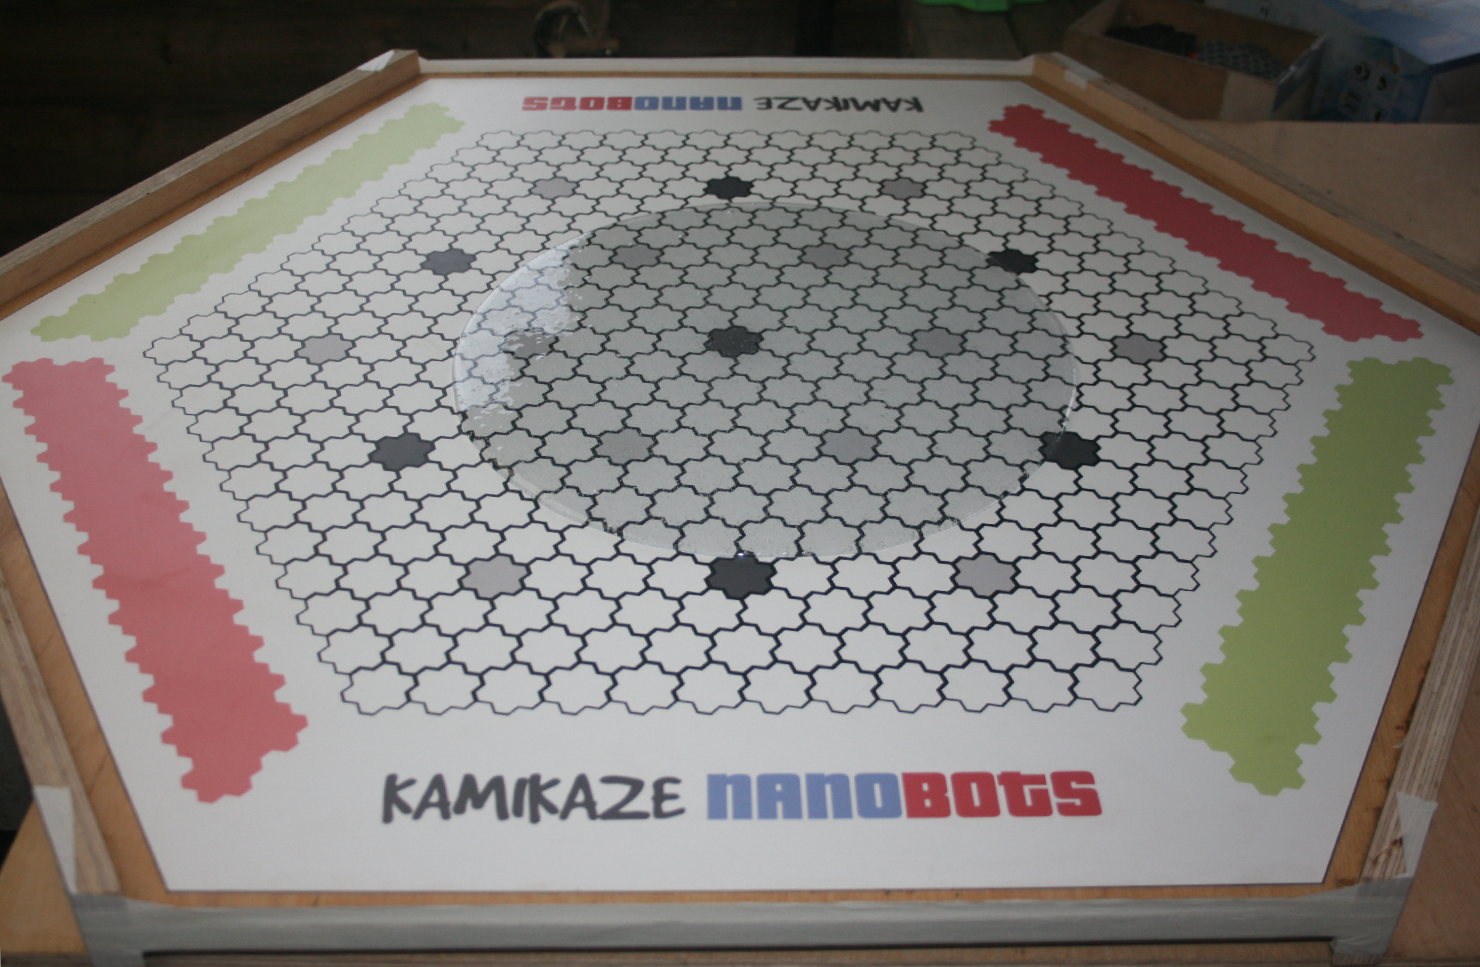
Help spread with the spatula and blowtorch clear:
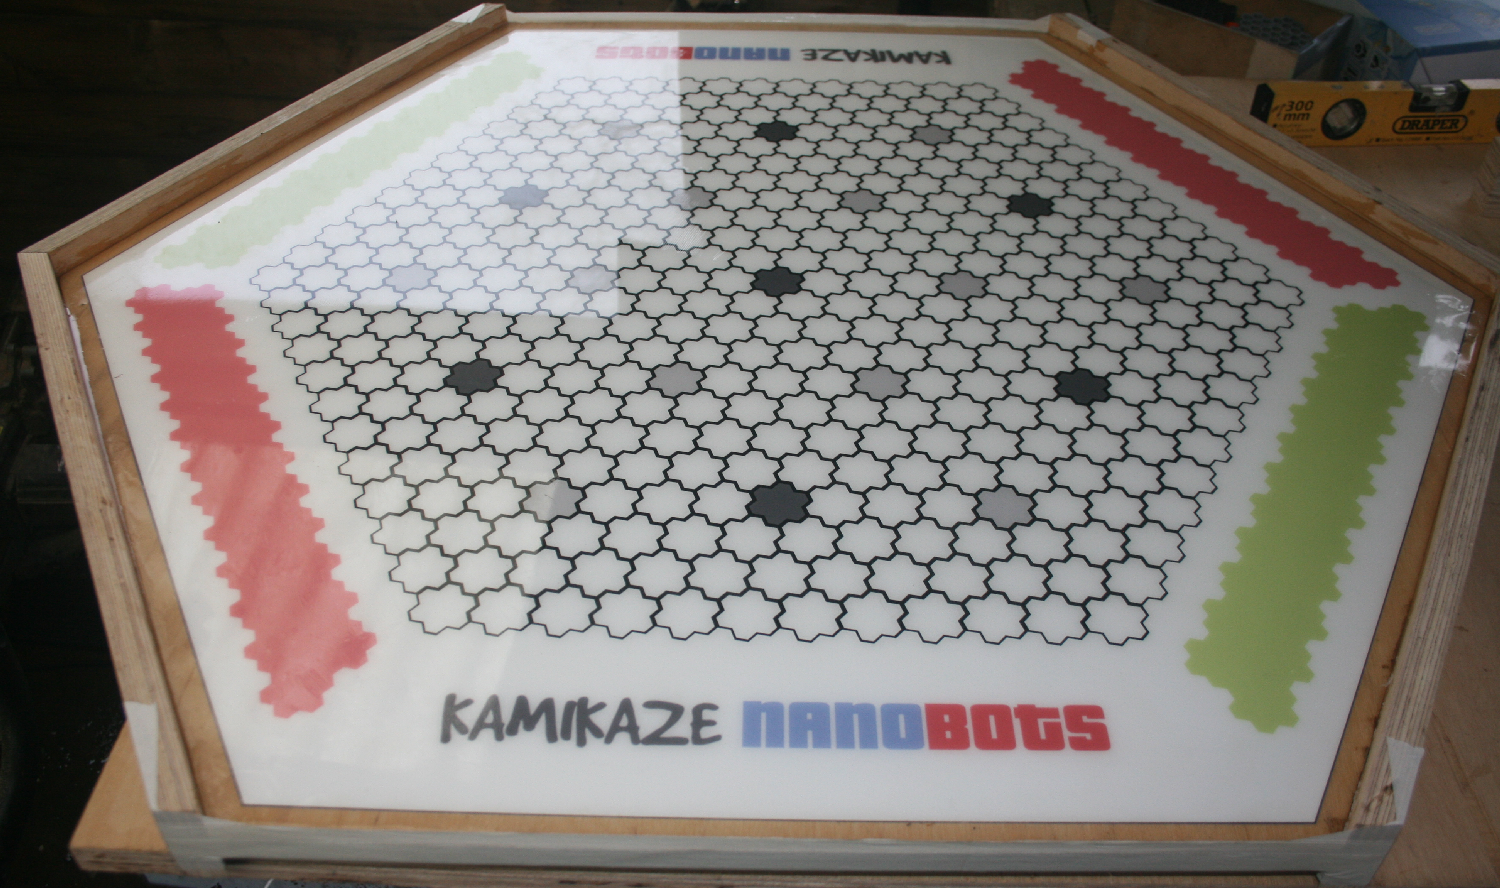
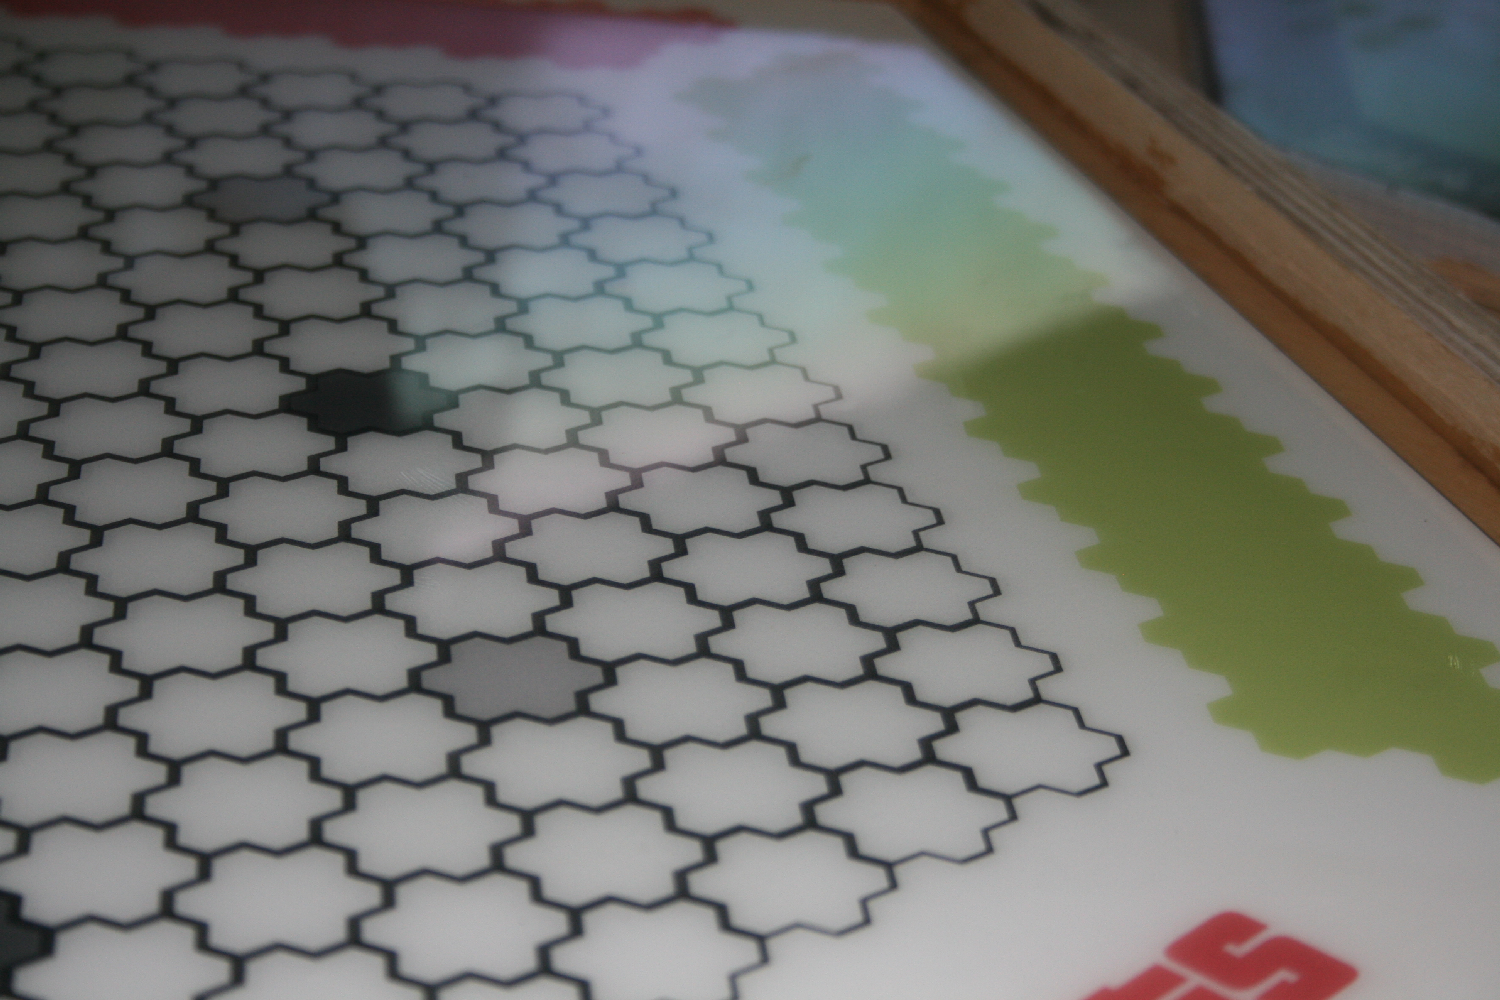
Leave to part-cure (18-24 hours), remove tape and then leave to fully cure:
Test play:
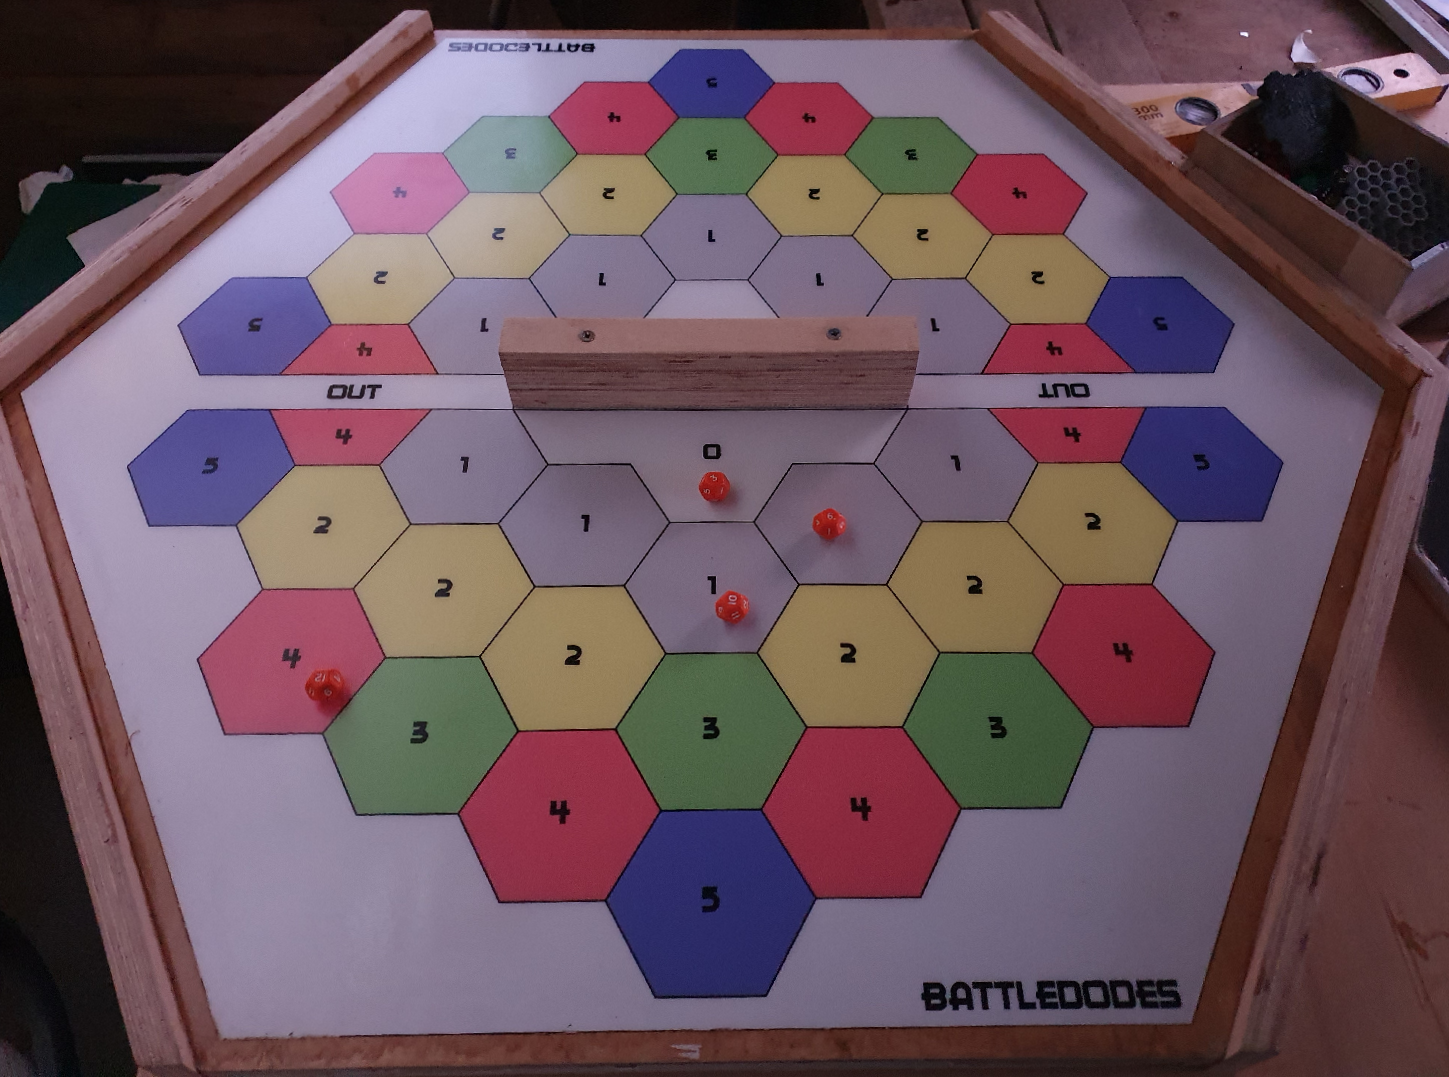
(Apologies for the low light in photos, we had a 4-day power cut after a storm.)
Finish
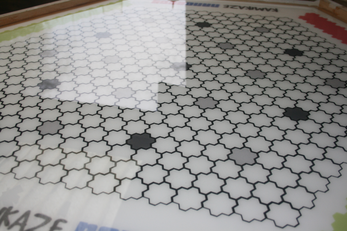
Use 120, 240, and 320 grit sand paper to finish the open edges and iron out any imperfections, as needed. I found the 320 worked really well, finishing off matt and transparent, after a final clean with vacuum cleaner and damp cloth:
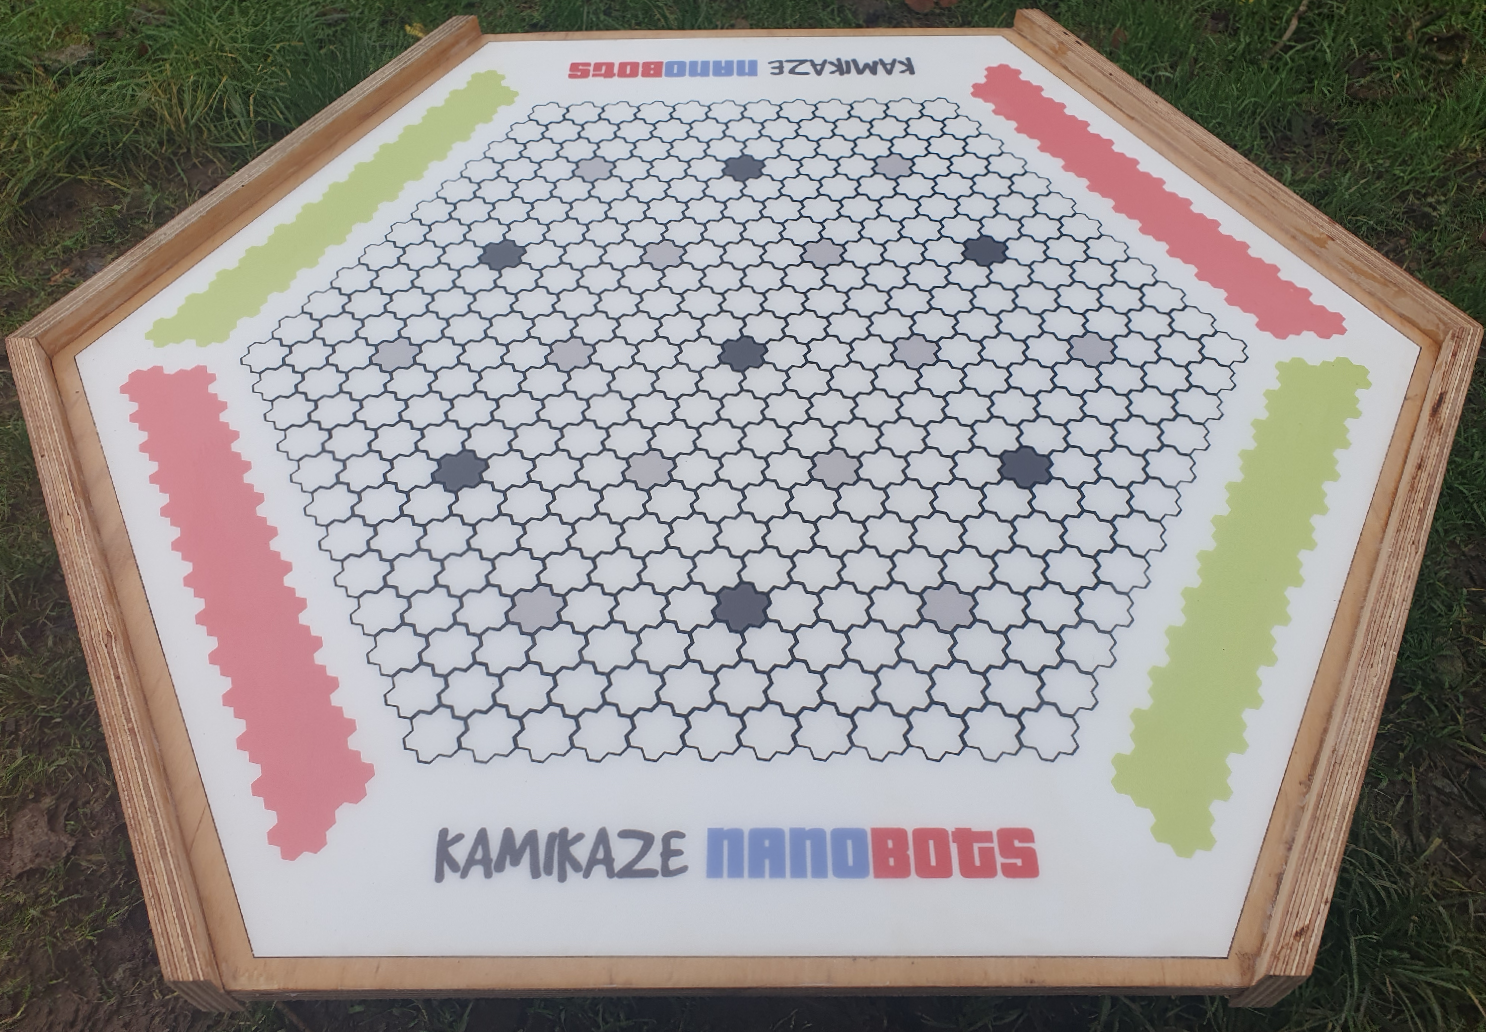
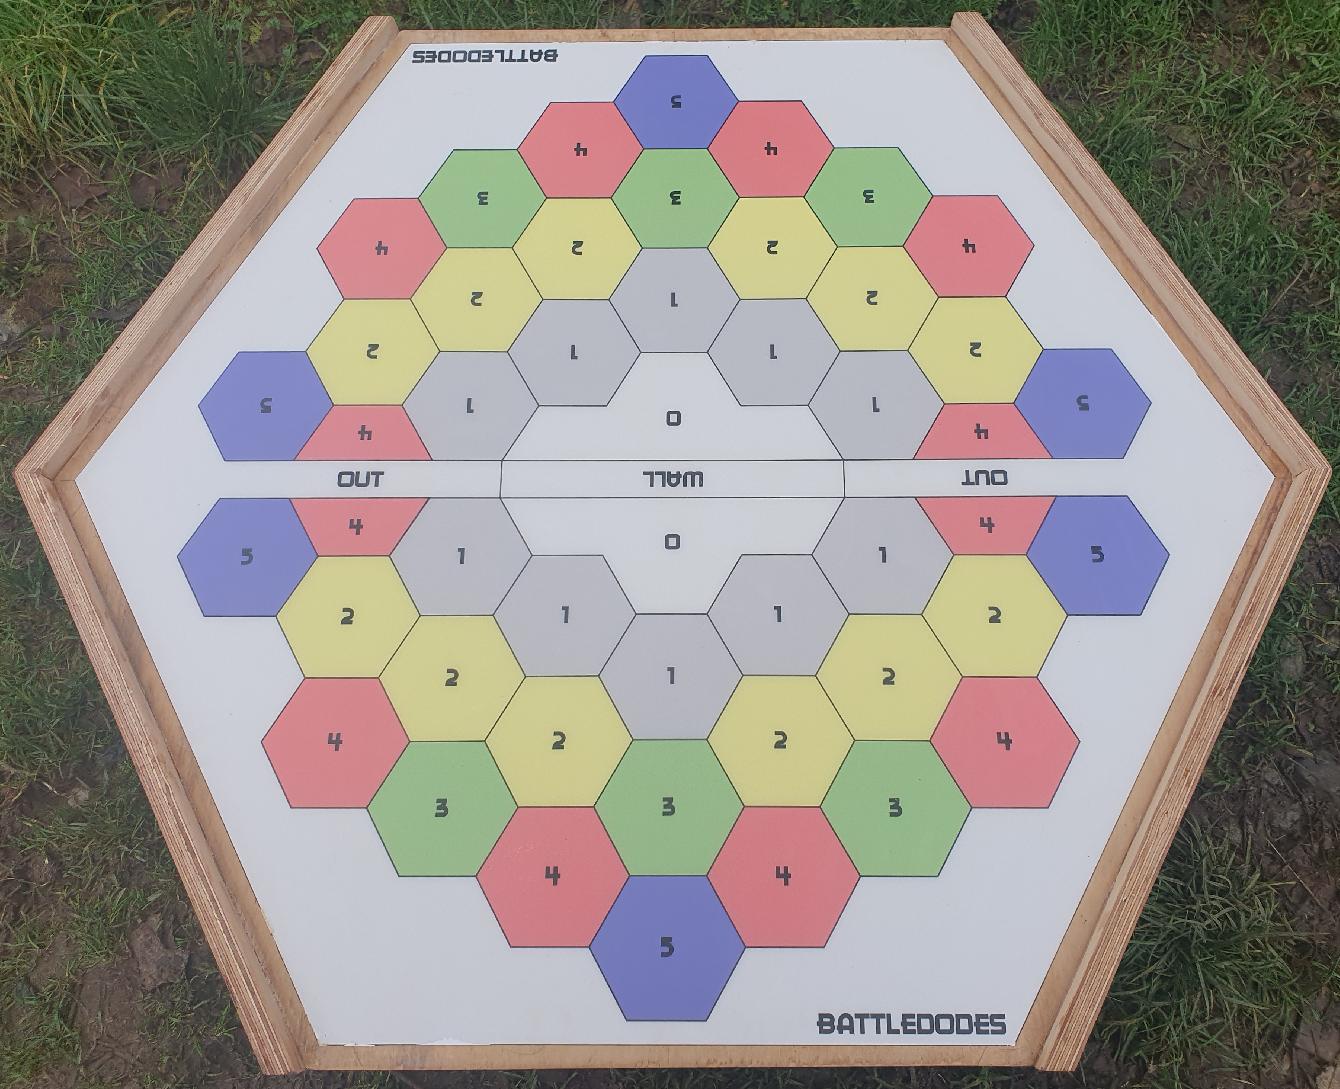
Table Stand
I've always played both games while standing. I replaced the 2x4" lengths the old board sat on with a table/stand to support more of the board area. This should keep it close to level during play (being lent on/slammed :D).
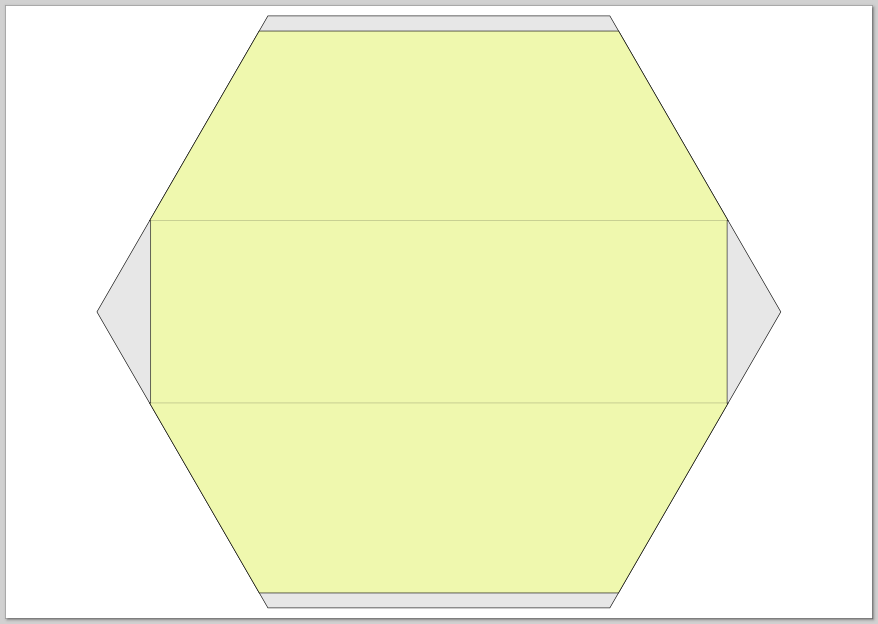
From the second plywood section, I cutout a similar shape to the game board base: 938 x 812mm (shown in grey)
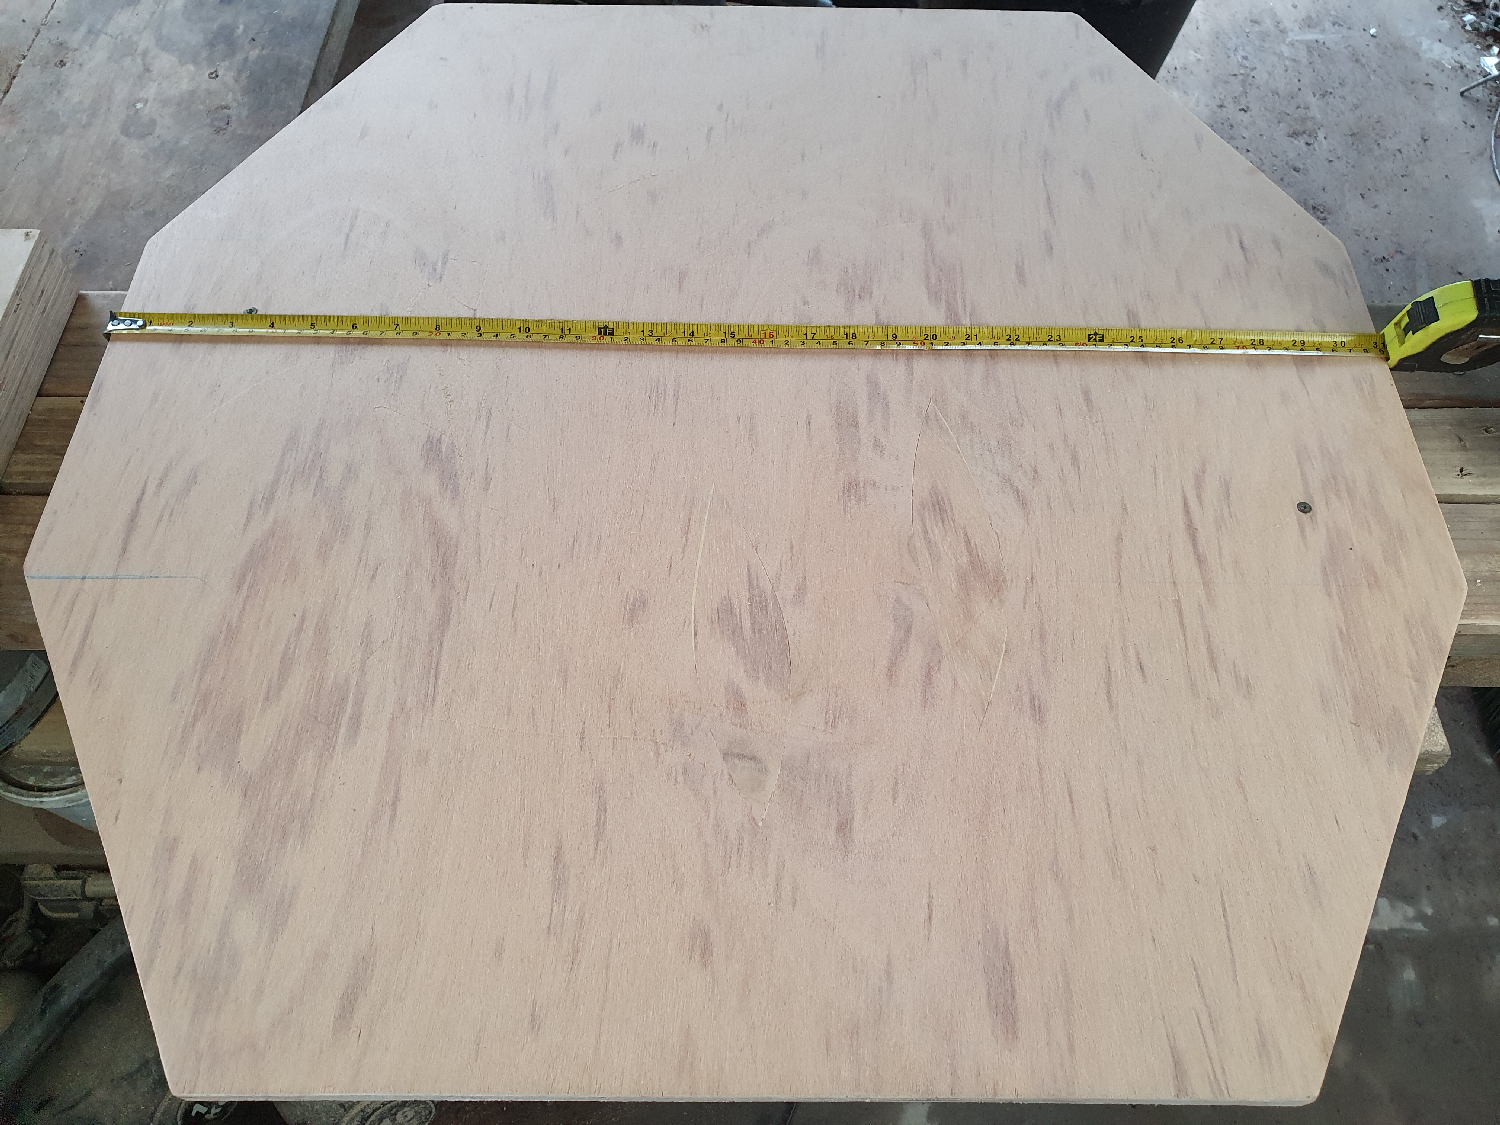
- The left and right corners trimmed, bringing the width to 790mm
- 20mm removed from top and bottom for a height of 770mm
- 1-2mm trim on border sides
- Placed on top of 2 plywood strips 790 x 250mm
- Confirm level
- Screw in place:
These games are licensed under a Creative Commons Attribution-NonCommercial 4.0 International License. You may download and print for personal use, and you’re welcome to create non-commercial adaptations, but please credit the original creator and do not sell any part of them.
Battledodes font: Cuppajoe
| Status | Released |
| Category | Physical game |
| Author | moolabs |
| Genre | Strategy |
| Tags | Board Game, build, epoxy, make, physical, plywood, Print & Play, Turn-based, Two Player |
| Asset license | Creative Commons Attribution_NonCommercial v4.0 International |
Leave a comment
Log in with itch.io to leave a comment.