
Smashdodes Build
A downloadable game
Build Log
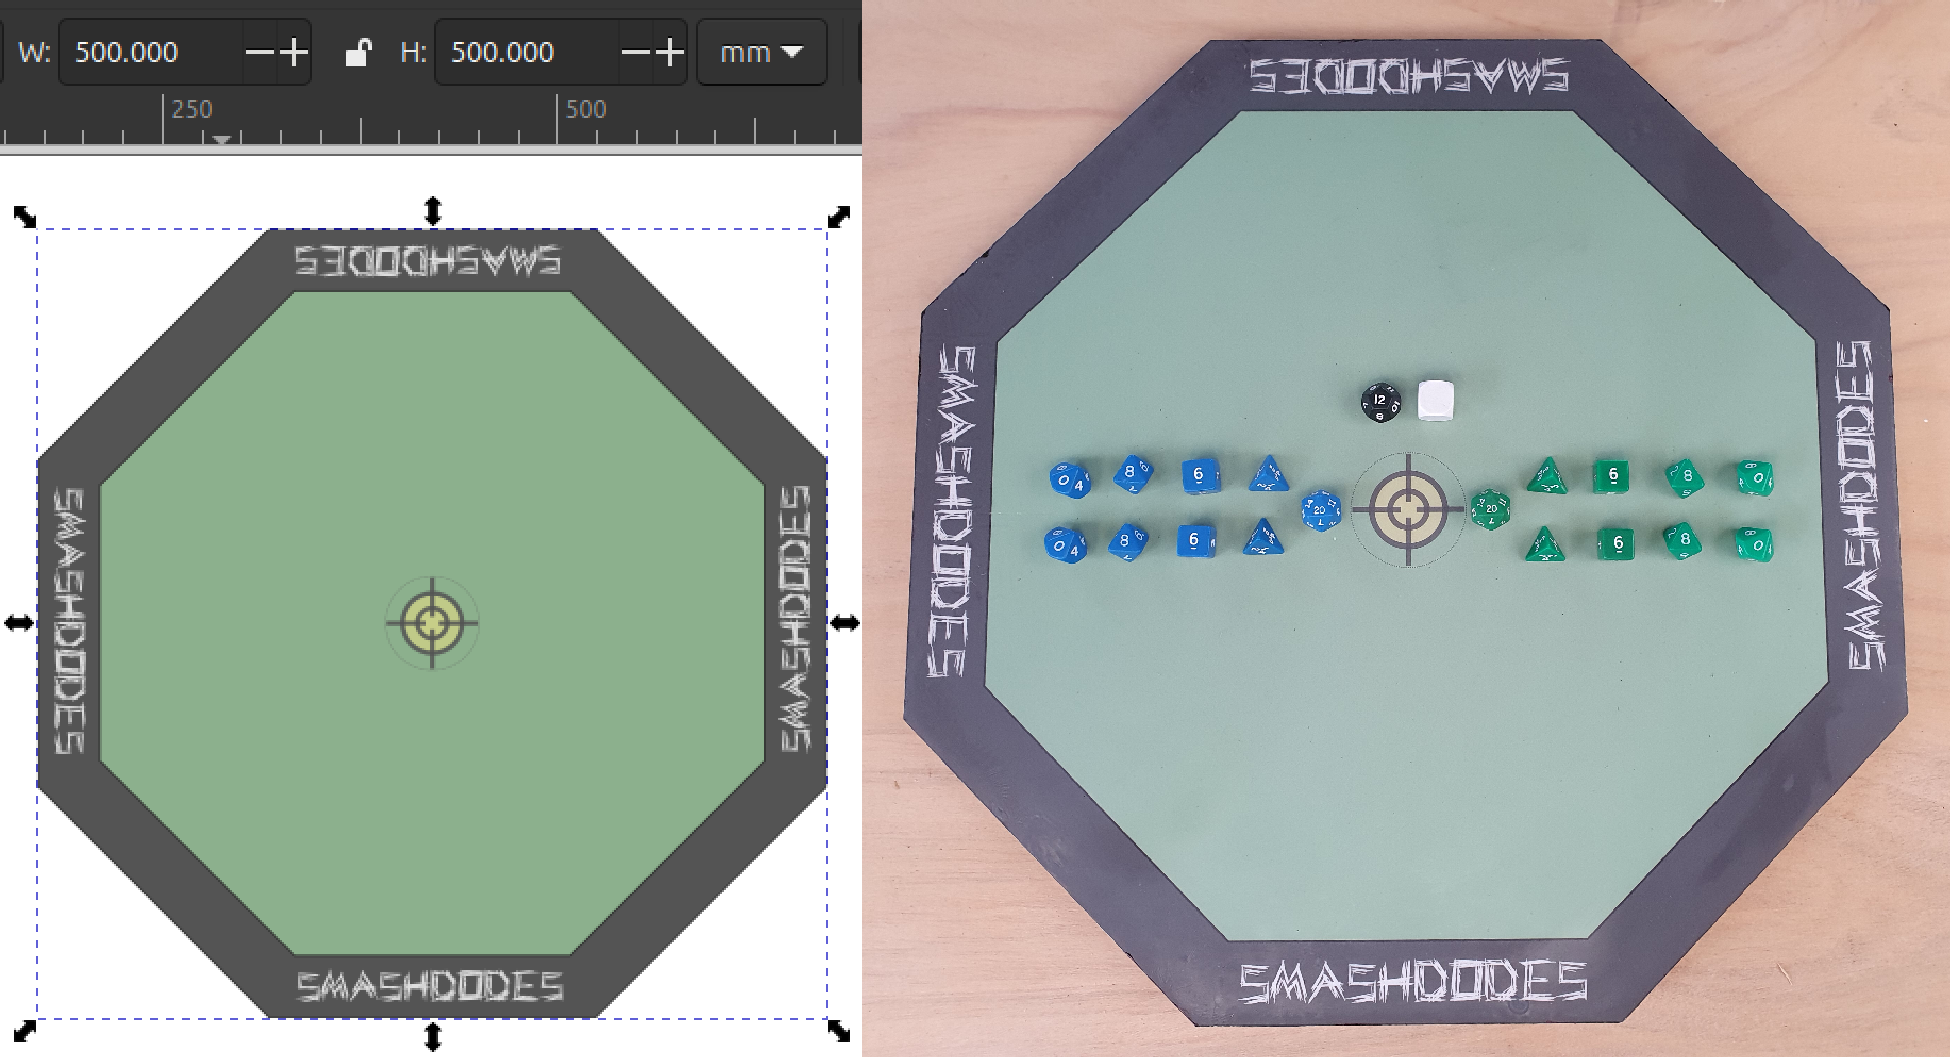
Smashdodes octagonal plywood game board with protective epoxy:
Note: This page is purely informational. Do not attempt any build yourself if you lack the skills and experience required. Commission a professional. I'm an amateur with no qualifications.
Elements
Build Sheet
Materials
- Smashdodes A1 print (online printshop – £18)
- 18mm hardwood plywood sheet (503 x 503mm minimum)
- 100–270mL clear epoxy, depending on desired thickness (0.5–1.3mm)
Supplies
- 50mL strong wood glue
- 2 x 4" foam rollers
- Sand paper / blocks (120–320 grit)
Tools
- Hobby board & roller cutter
- 60cm metal ruler & measuring tape
- Circular saw & cutting guide
- Heatgun / blowtorch
- Level
Print Cutout
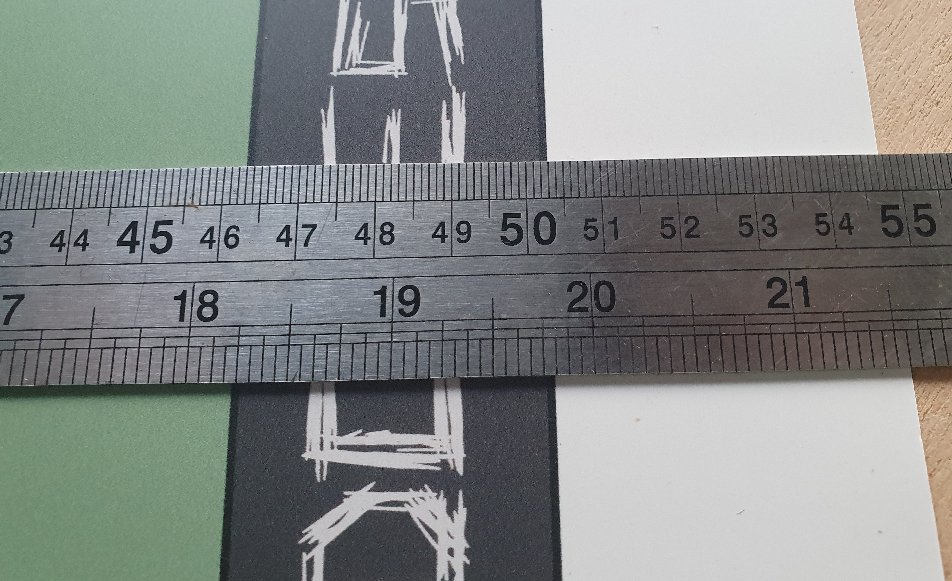
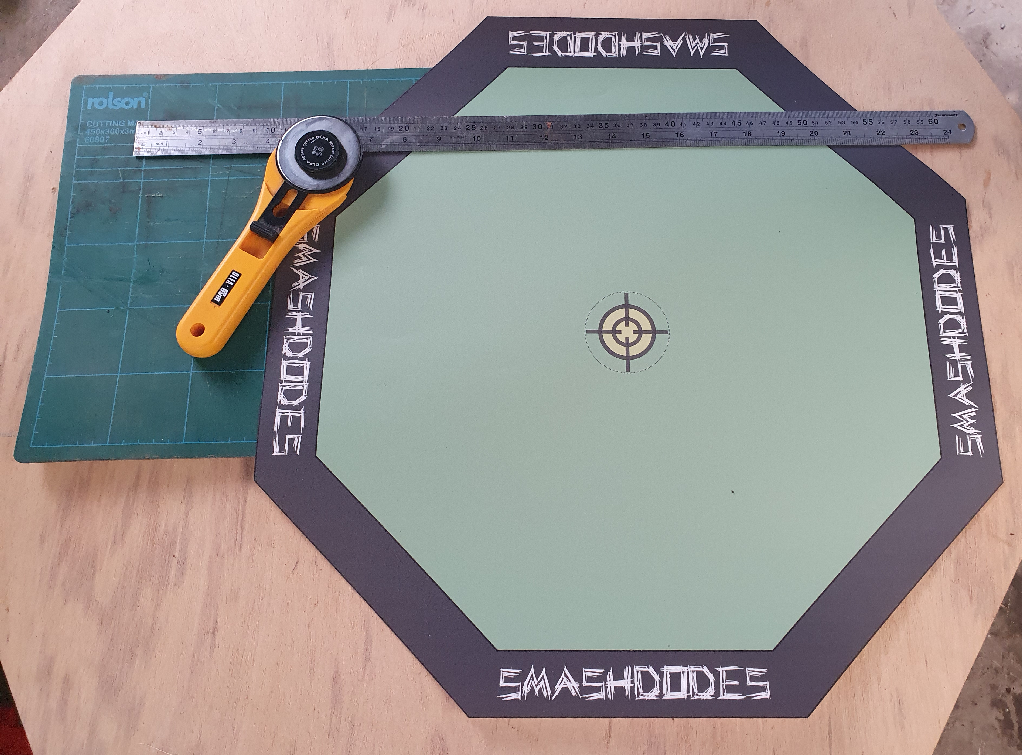
In my experience, the octagon print comes out at 503mm wide:
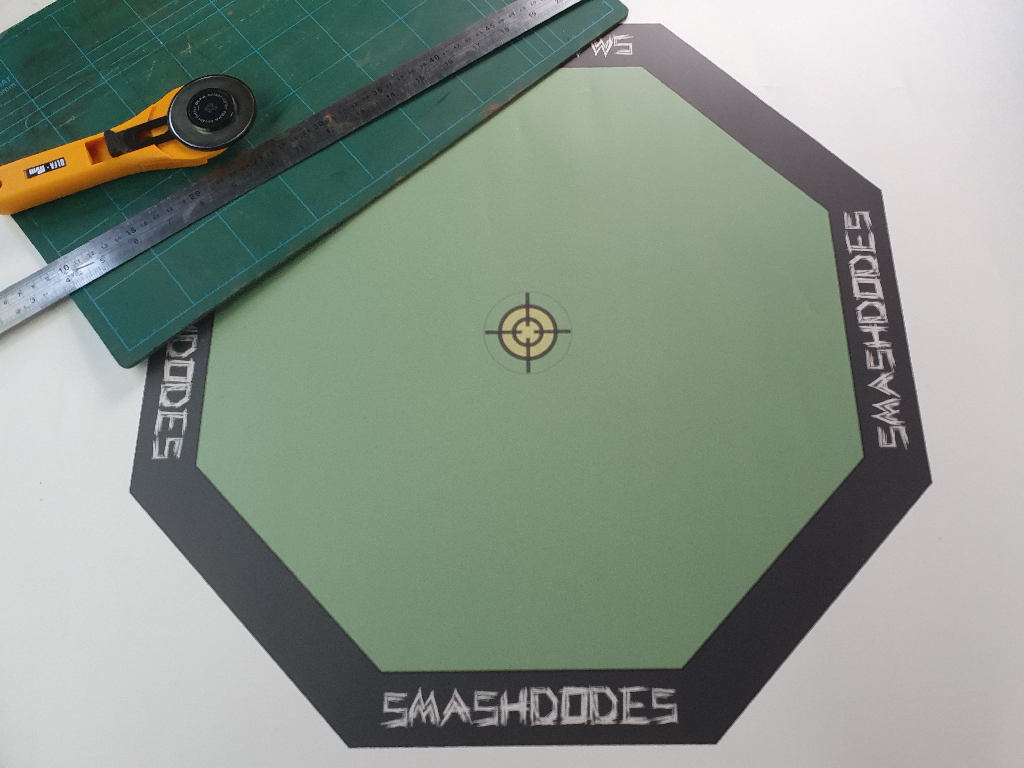
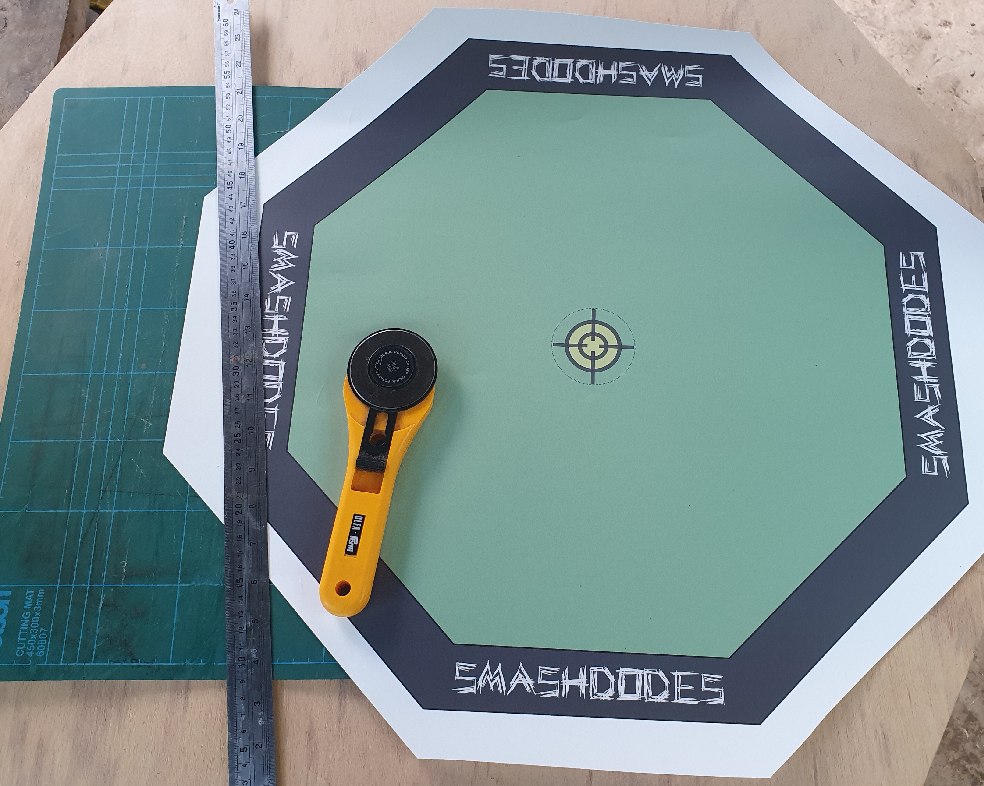
Rough and then close-cut the game print:
Glue Down
To get clean edges on the final board, glue down the print and then cut the ply to size. I used the third pre-cut section (812 x 1220mm) from the Double-Sided Game Board build. Confirm by eye (ruler/square) that it's completely flat.
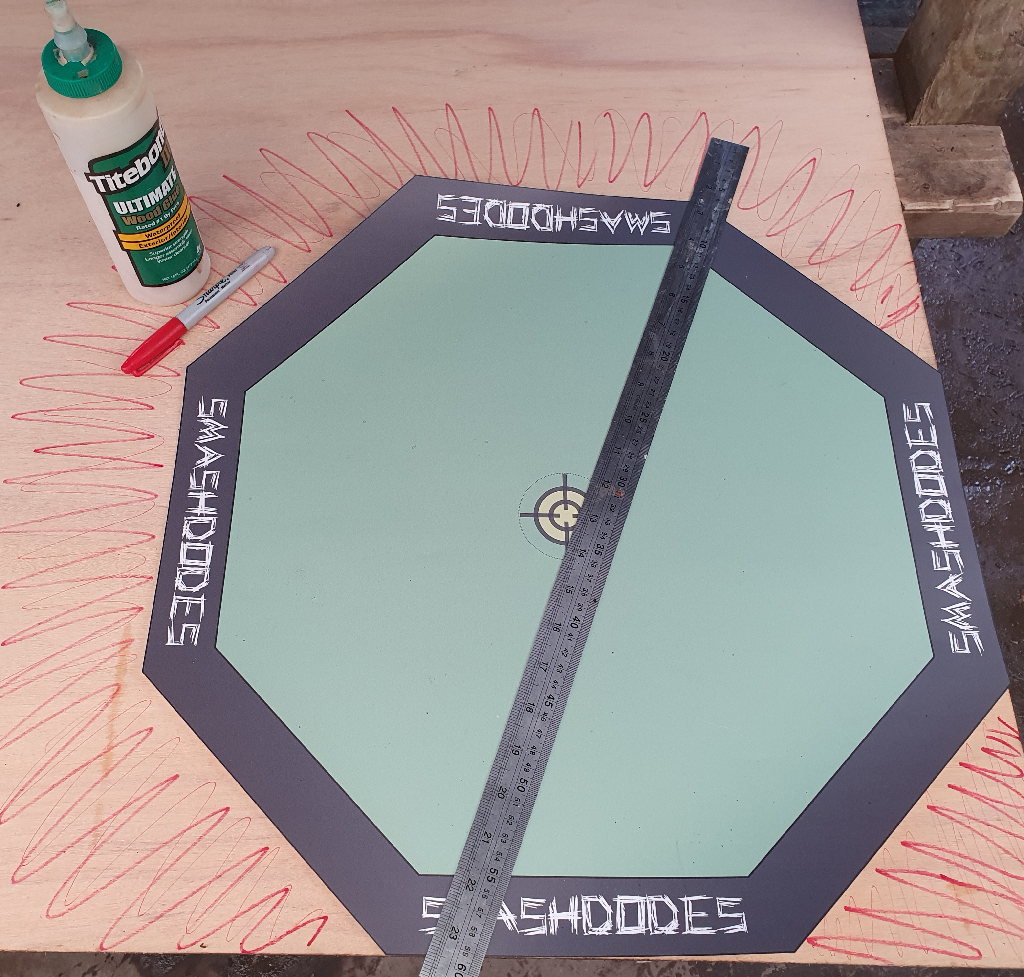
- Test lay the octagon, meeting two edges of the ply sheet
- Mark waste areas:
- Light sand the board area (120 grit)
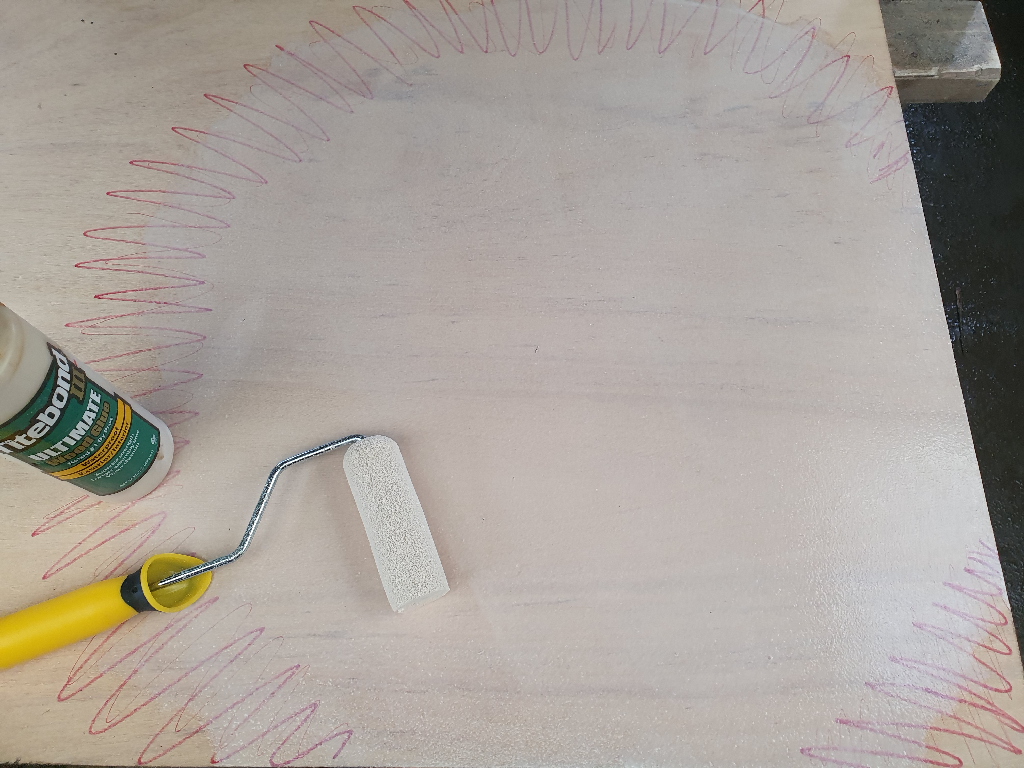
- Pour on 50mL of wood glue and roller out:
- Place print, meeting two sides of the plywood
- Ensure no air bubbles
- Clear excess glue from edges:
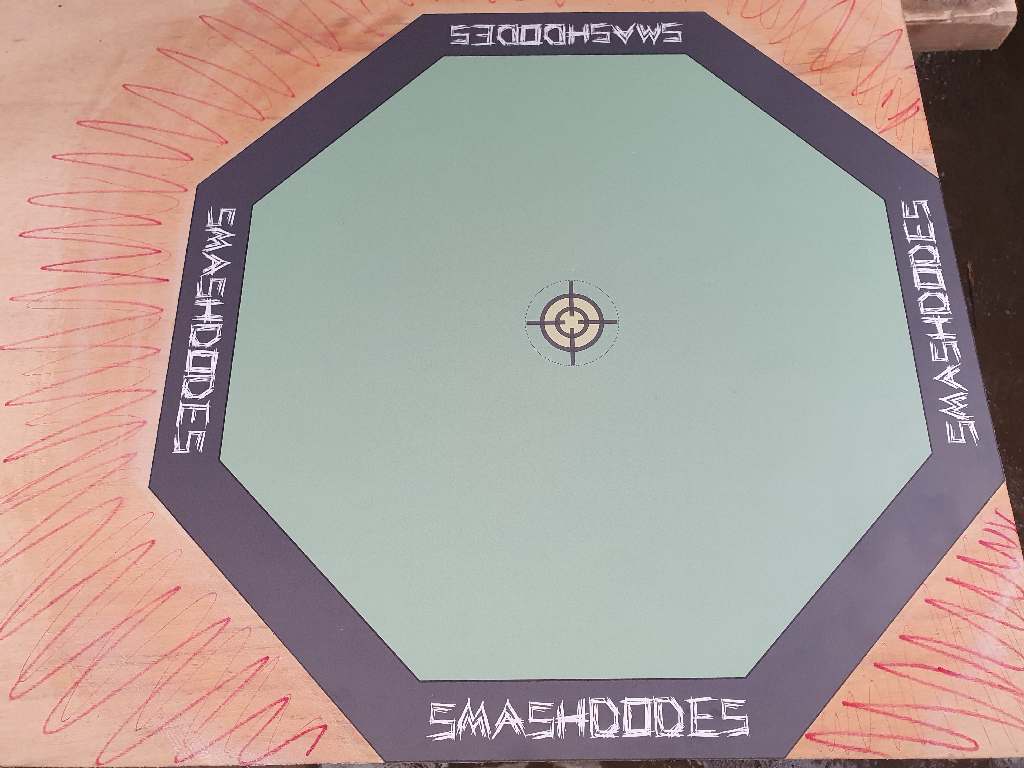
Press by laying scrap ply on top, and leave to dry overnight.
Board Cuts
Saw out the main area in two cuts, into a square 503 x 503mm. My saw has an offset of 32mm so I measured 471mm (503 – 32mm) from the plysheet edges, clamped the cutting guide and cut (slowly):
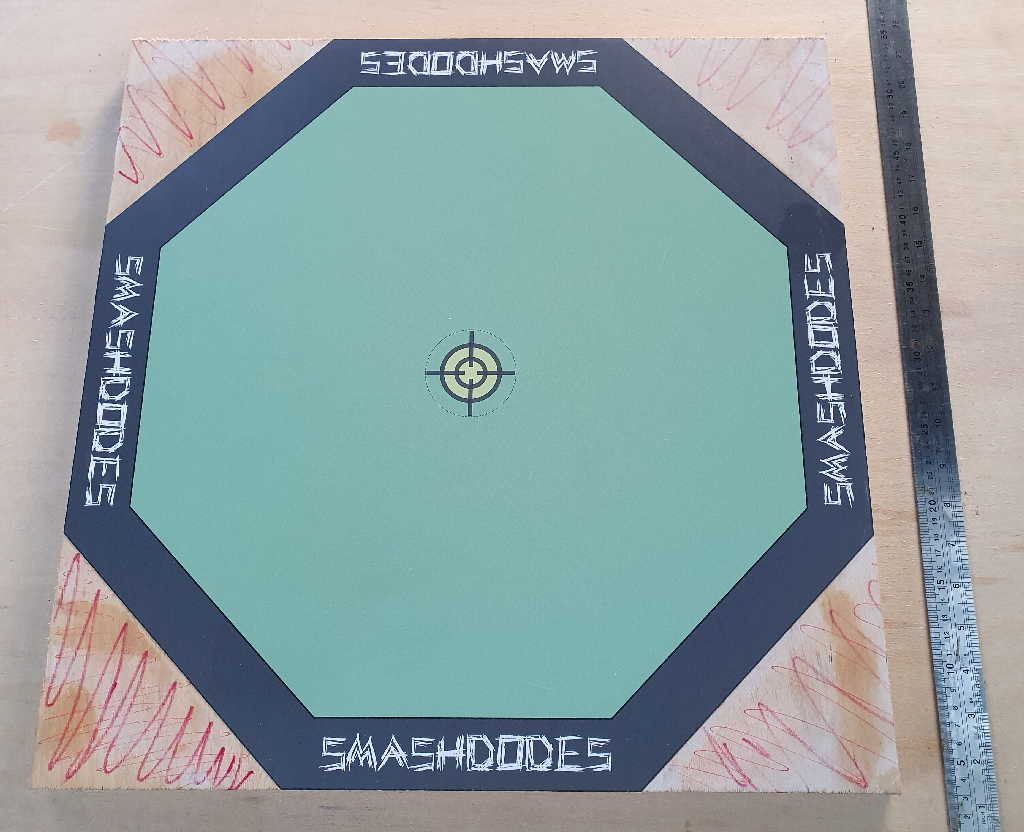
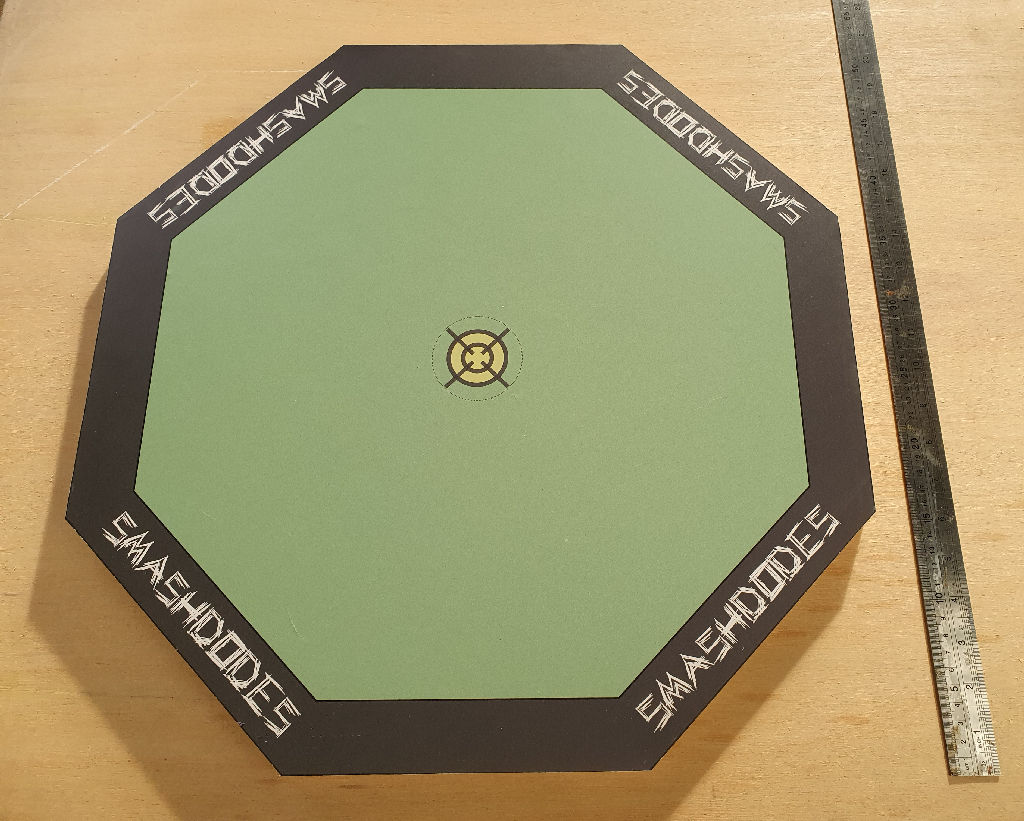
- Remove the four corners, into the final octagon
- Light sand of the edges, as needed, being careful not to damage the print surface (120 grit):
Epoxy Top
I'm still new to using epoxy on game boards so wasn't sure how much to use. I poured on, rollered out, blowtorched clear and allowed any excess to drip off the edges. The board area is 0.207m2 so I mixed 270mL (135mL Parts A and B) for a maximum thickness of 1.3mm (see Epoxy Calculator). I wouldn't try to apply the full amount in one go but it gave me a batch to play with.
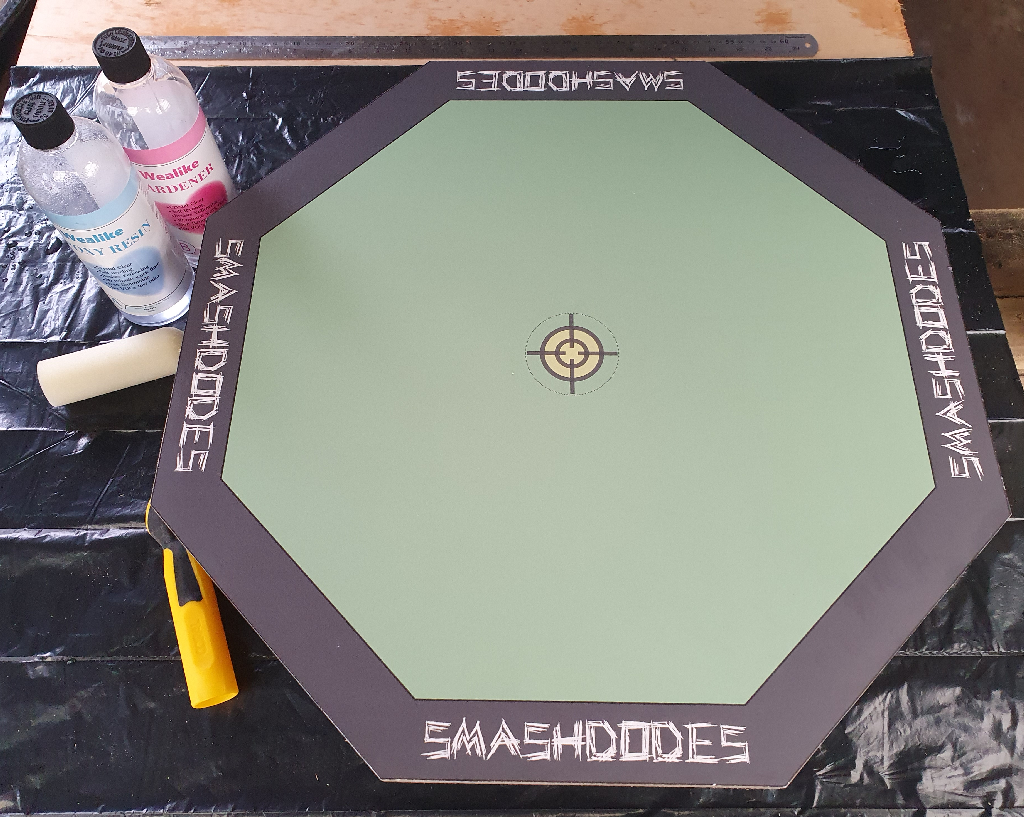
Raise the board over a covered surface:
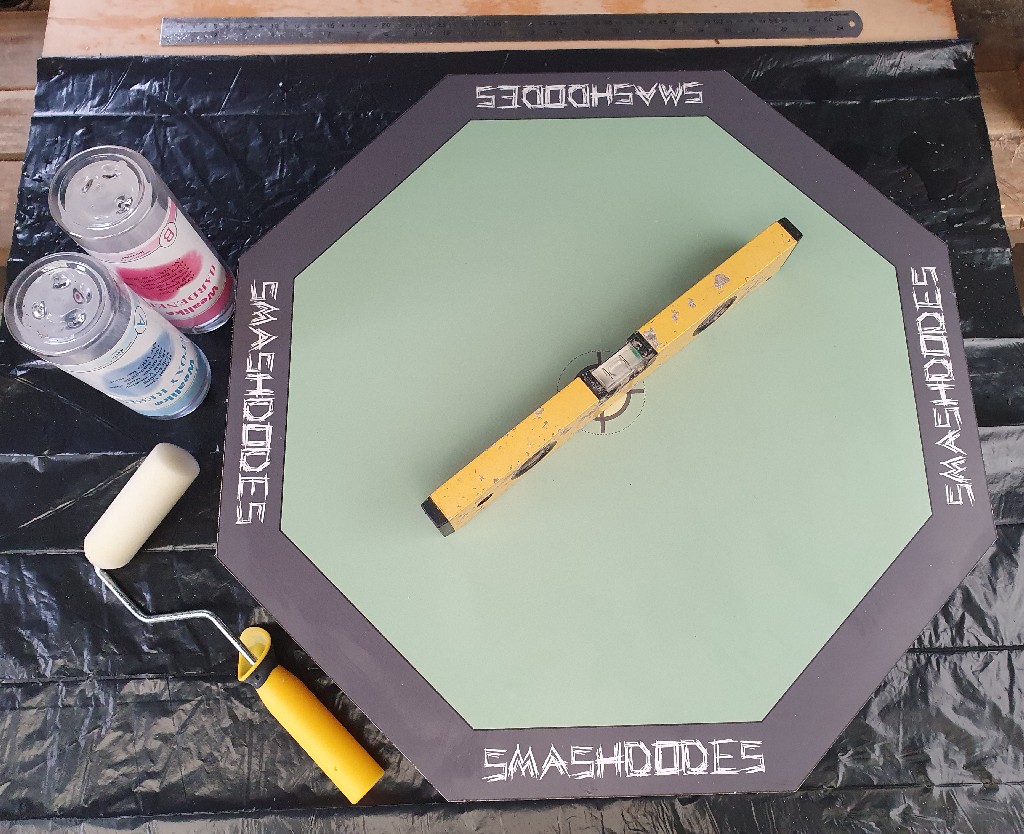
Ensure completely level:
I had a bit of a nightmare at first. After mixing, pouring and rolling out half the epoxy, I realised some white colouring had been transferred from the sponge:
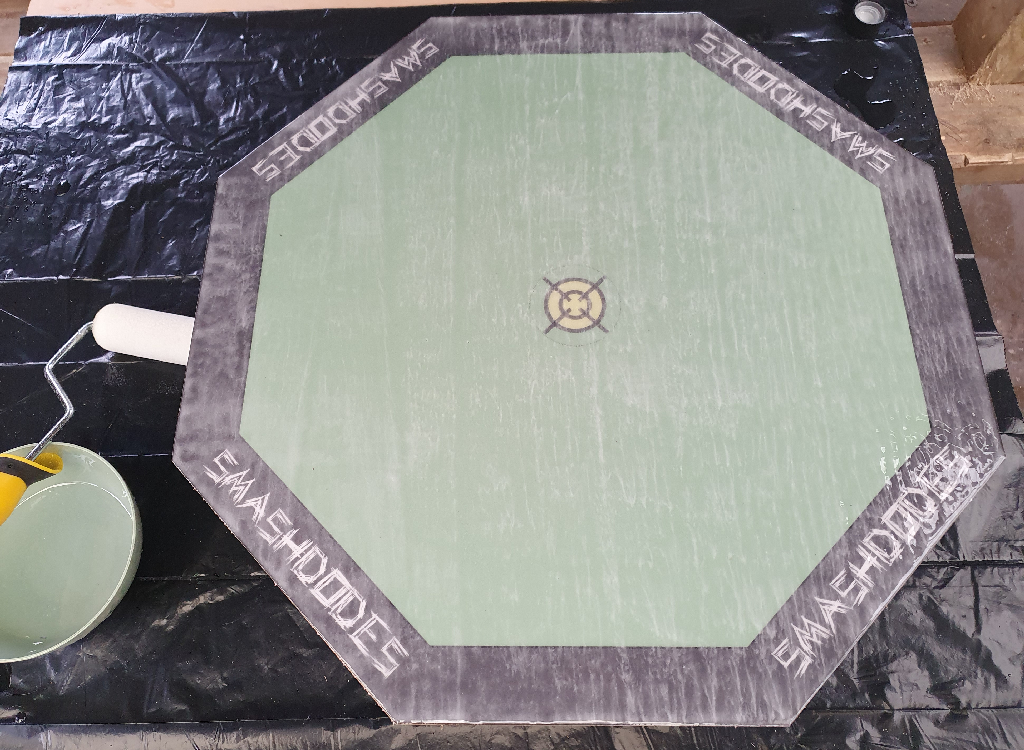
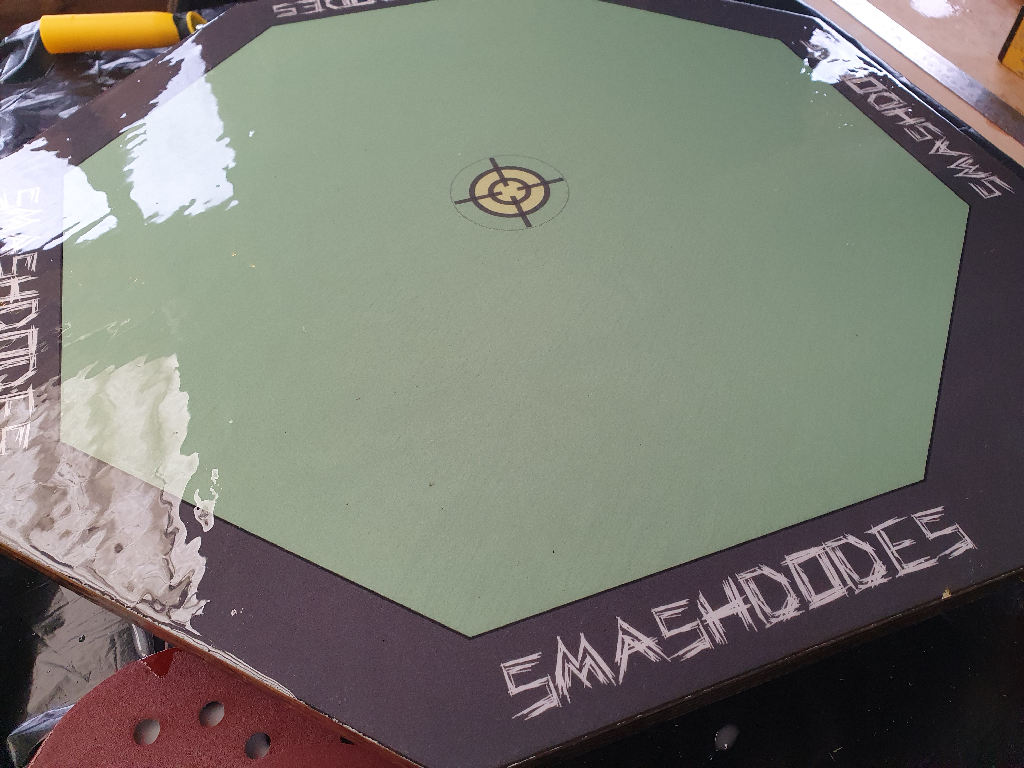
Wondering if all was lost, I gently scraped most of it off using the folded soft underside of some sanding disks. Then, using a roller from a different supplier, applied a fresh 100mL for a 0.5mm layer:
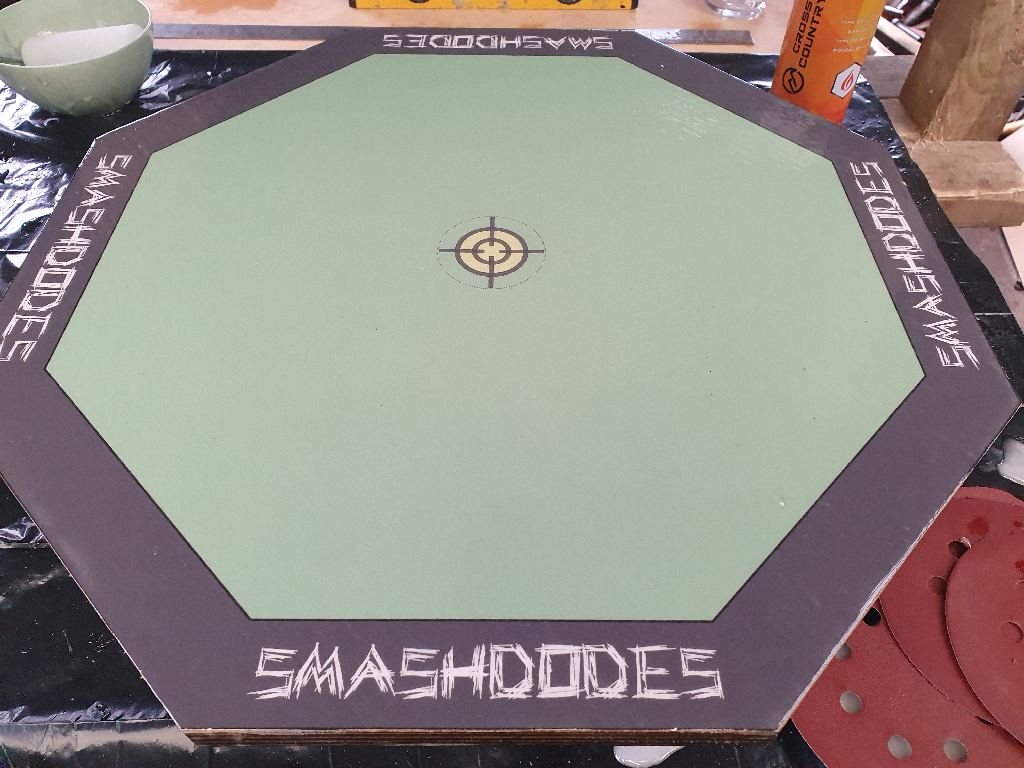
Blowtorch / heatgun until clear:
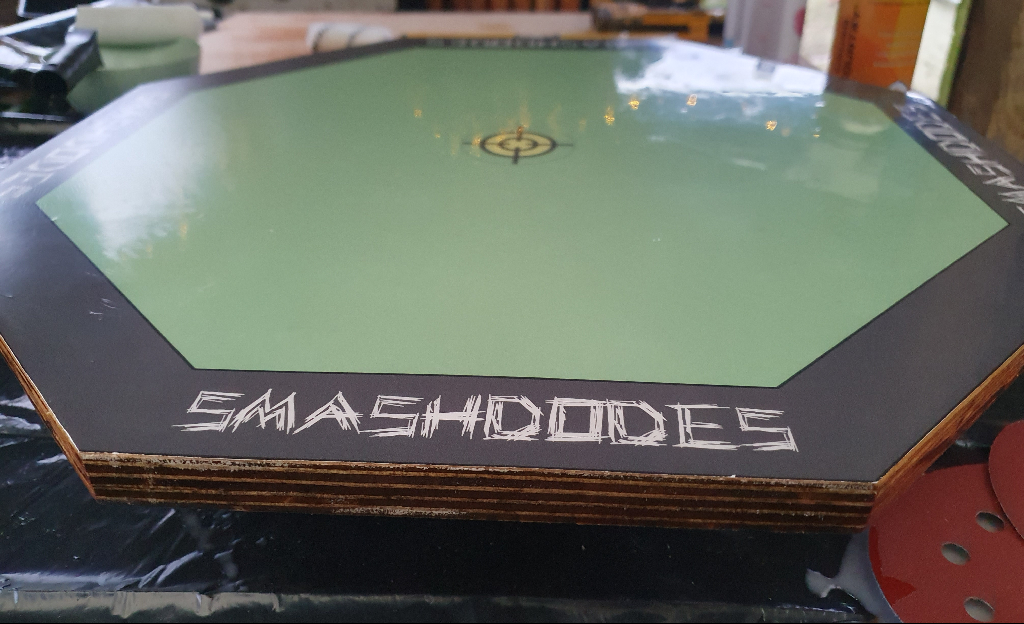
Roller edges to seal:
Leave to fully cure over 36 hours.
Finish
Lightly sand the top by hand (circular motion) with 240–320 grit. I used four folded sanding discs:
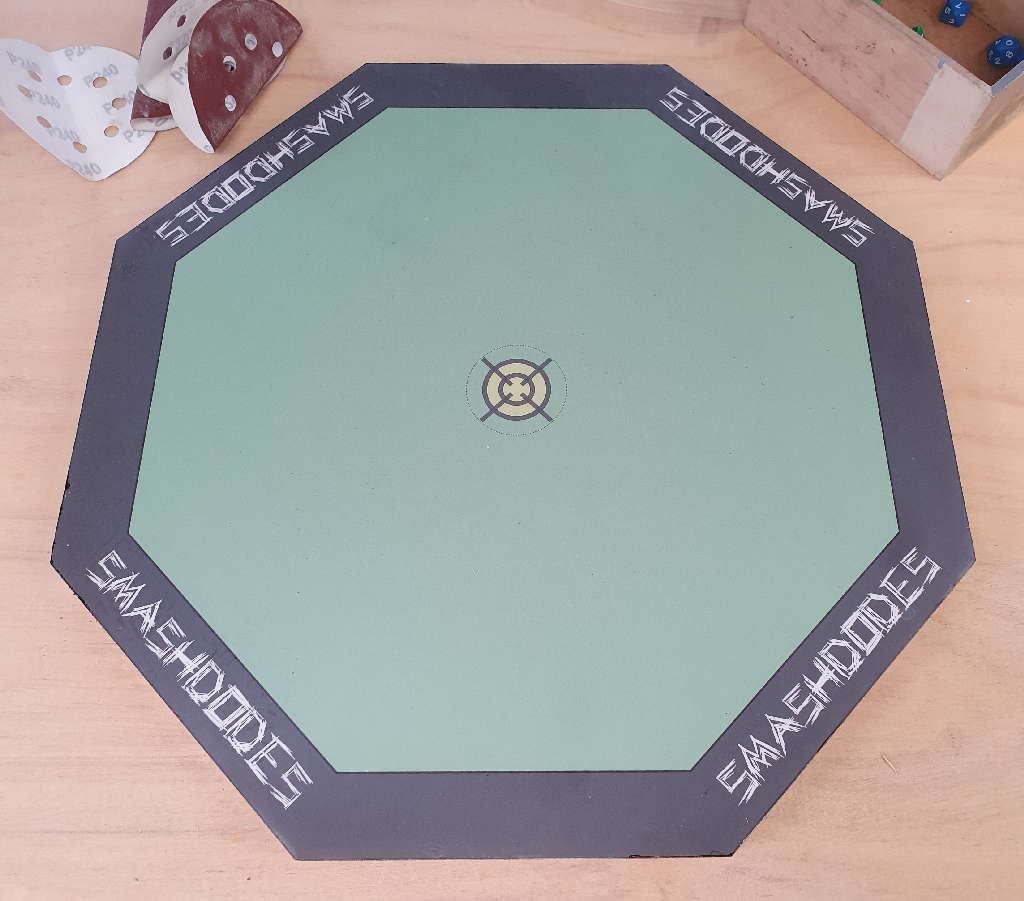
Wipe down with damp cloth and play:
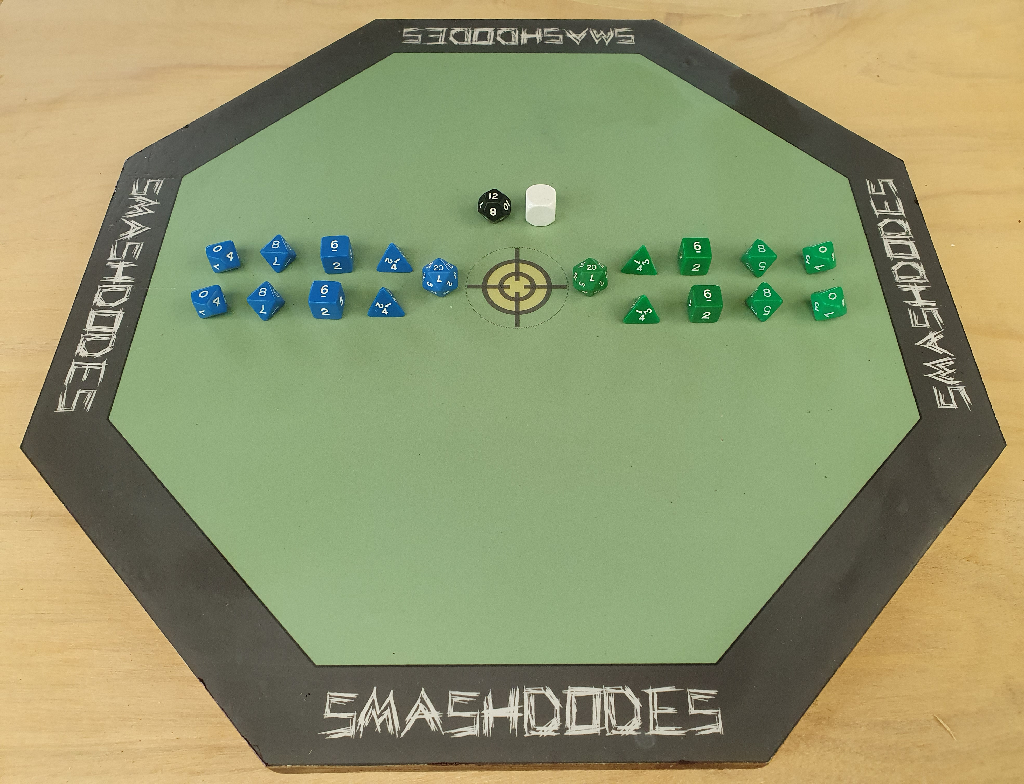
This is closest to the finish I first wanted and we'll see how it holds up. Another layer of epoxy can always be applied if needed. I'm a massive clutz and already managed to drop it so filled in any edge scuffs with pen 🤦🏼♂️.
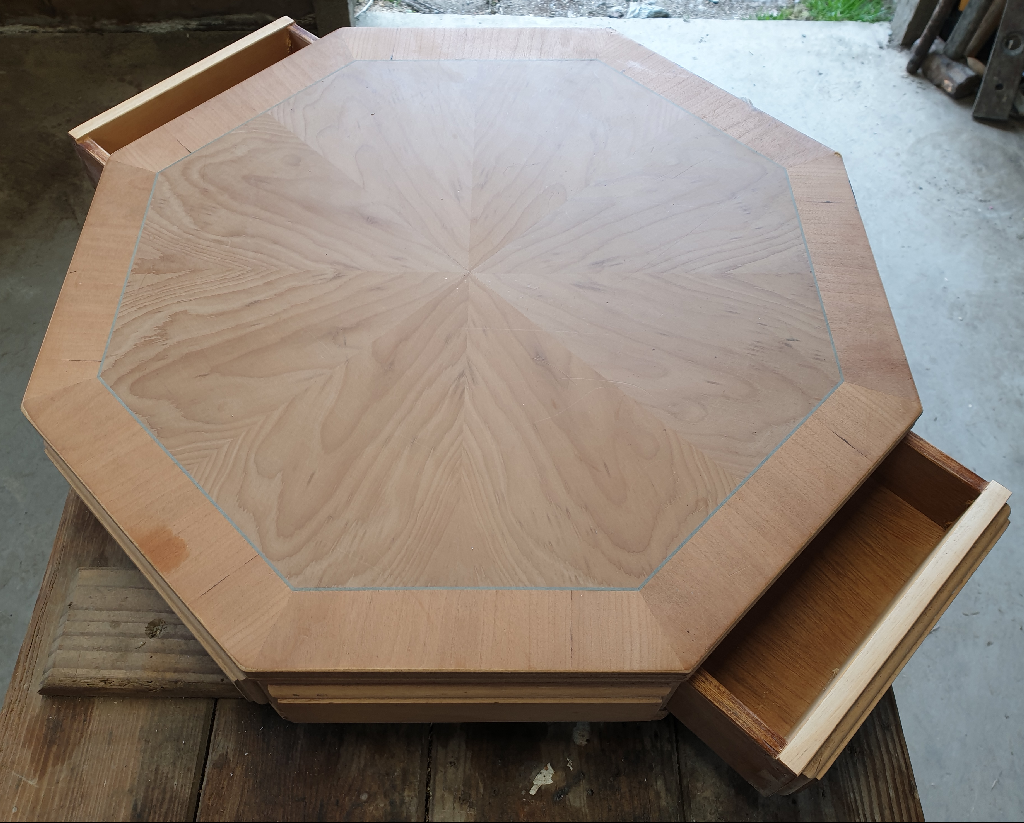
Special thanks to my mate Daniel for the gift of the original wooden box that inspired the game - I've not met the original builder. Also for the many hours putting up with me during test play.
Smashdodes font: WE WRESTLE
This game is licensed under a Creative Commons Attribution-NonCommercial 4.0 International License. You may download and print it for personal use, and you’re welcome to create non-commercial adaptations, but please credit the original creator and do not sell any part of it.
| Status | Released |
| Category | Physical game |
| Author | moolabs |
| Tags | Board Game, build, Dice, dodes, Print & Play, Tabletop, Two Player |
| Asset license | Creative Commons Attribution_NonCommercial v4.0 International |

Leave a comment
Log in with itch.io to leave a comment.